Tag: photos

  • 17+ PicMonkey Tutorials, Tips, and Projects

    17+ PicMonkey Tutorials, Tips, and Projects

    Picmonkey is an online resource for editing photos, creating collages and graphics, making your own watermark, invitations and much more! Not only will you learn Picmonkey photo editing with these Picmonkey tutorials, but you’ll also learn how to make so much more with it!

    This post contains affiliate links. 

    If you have been around here for long enough, you may have heard me chat about Picmonkey – the way I edit pictures online. But the question is, what all can it really do? The short answer: everything. The long answer: collages, recipe cards, labels, tags, and so much more….

    How to Use PicMonkey

    First things first, right? Head to PicMonkey. If you don’t already have an account, go ahead and create one. PicMonkey used to be free, but with upgrades you can buy. Now, it does cost $5.99 a month to use the service. In my opinion, it’s completely worth it. If you’re not sure though about going ahead and signing up for a paid account, I totally get it. You can do a free trial by clicking here.

    Now, onto actually using PicMonkey. Here are some basic PicMonkey tutorials.

    The Beginner’s Guide

    Picmonkey Tutorial for Beginners

    If you haven’t done much with PicMonkey before, then you should probably start with this beginner’s guide.

    PicMonkey Photo Editing Tutorials

    Editing Baby Pictures with PicMonkey

    Picmonkey Photo Editing - Babies

    This Picmonkey tutorial from We Lived Happily Ever After is a great guide for editing not only baby photos but other photos as well. Seriously, look at that photo! Gorgeous! This gal knows her PicMonkey!

    30 Second Edits on PicMonkey

    Editing Photos with PicMonkey

    Ummm, seriously, do you see the difference in those two photos? Yes, people. PicMonkey can do that with its photo edits. Creative Cain Cabin will show you how to make these 30 second edits. 

    Create Collages with PicMonkey

    How to Use PicMonkey

    Sweet C Designs has the deets on making collages with Picmonkey.

    PicMonkey Tutorials for Making Your Own Cards, Invitations, Party Decor and More

    Birthday Party Invitation using PicMonkey
    Picmonkey Tutorial for Party Invitations

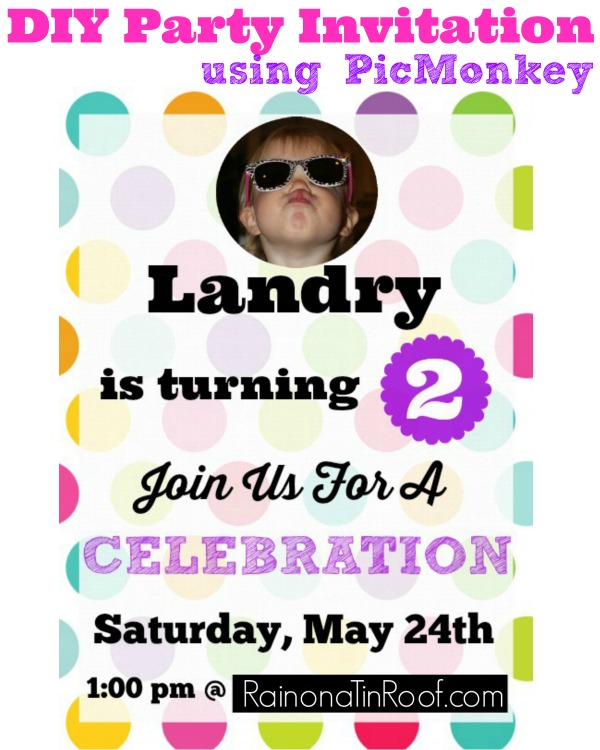
    For the kid’s second birthday, I made this fun party invitation on PicMonkey.

    Farm Party Invitation Using PicMonkey

    Picmonkey tutorial for birthday invitations

    We had a farm themed party for another one of the Circus’ birthdays and I made this farm themed birthday invitation for it.

    Superhero Party Banner using PicMonkey

    Picmonkey tutorial for party decor

    When the Circus had a superhero party, I made this customizable superhero banner for the party.

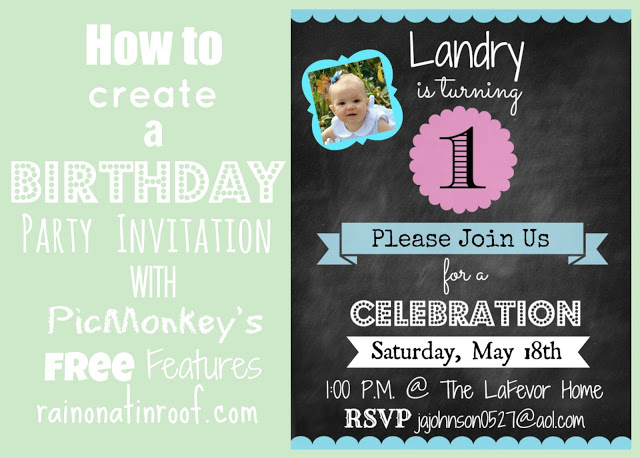
    Chalkboard Birthday Party Invitation 
    Picmonkey tutorials for making party invitations

    Last year, for the kid’s blue and pink 1st birthday party, I created her invitations in Picmonkey.

    Christmas Cards using PicMonkey

    Picmonkey tutorial for Christmas cards

    Christmas cards can be so expensive. Why not use Picmonkey to make your own and save a lot of dough?

    PicMonkey Tutorials for Creating Your Own Art, Graphics, and More

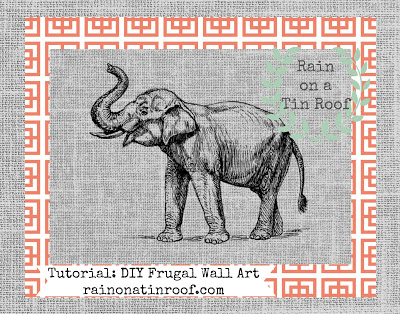
    Make your Own Wall Art
    How to Use PicMonkey to Make Your own Art

    When I was working on my master bedroom makeover last year, I needed new wall art, but didn’t want to spend a lot of money. I ended up making my own DIY Wall Art.

    Create Labels with PicMonkey

    How to use picmonkey to make labels

    Blissful Roots will show you how to make your own labels in Picmonkey.

    Make Recipe Cards

    Picmonkey tutorial for a recipe card

    Anyone else have a hot mess of a recipe box? Please don’t say its just me! Find out how to make a recipe card here and tame that hot mess!

    Make Printable Holiday and Gift Labels

    How to use picmonkey to make gift labels

    Don’t buy labels or gift tags again! Make your own with this tutorial from The Importance of Being Reese.

    Create Chalkboard Art and Printables

    How to use picmonkey to make chalkboard art

    Here’s another great tutorial for creating chalkboard art from House of Hawthornes.

    Picmonkey Tutorials for Bloggers

    Making Photos Pin-Worthy

    How to use Picmonkey for Bloggers

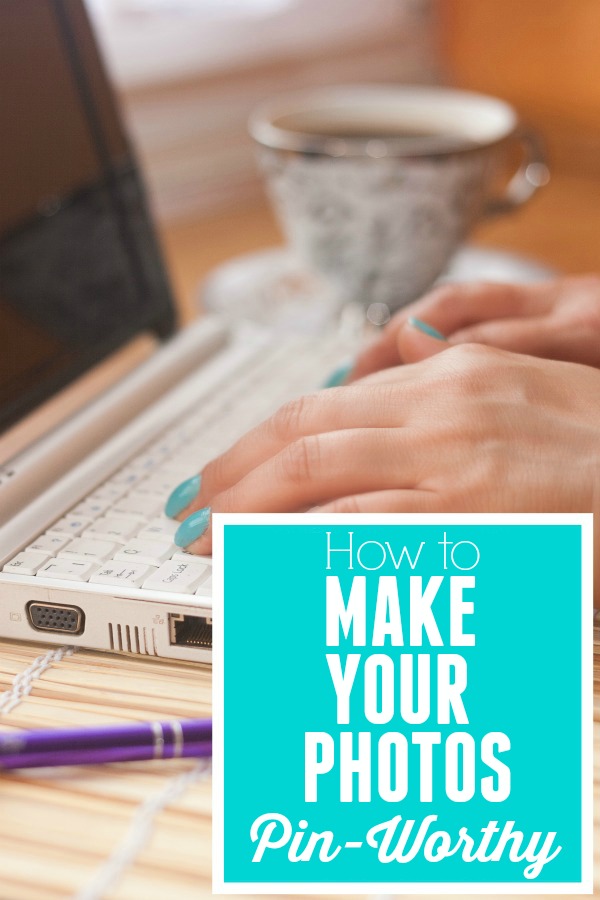
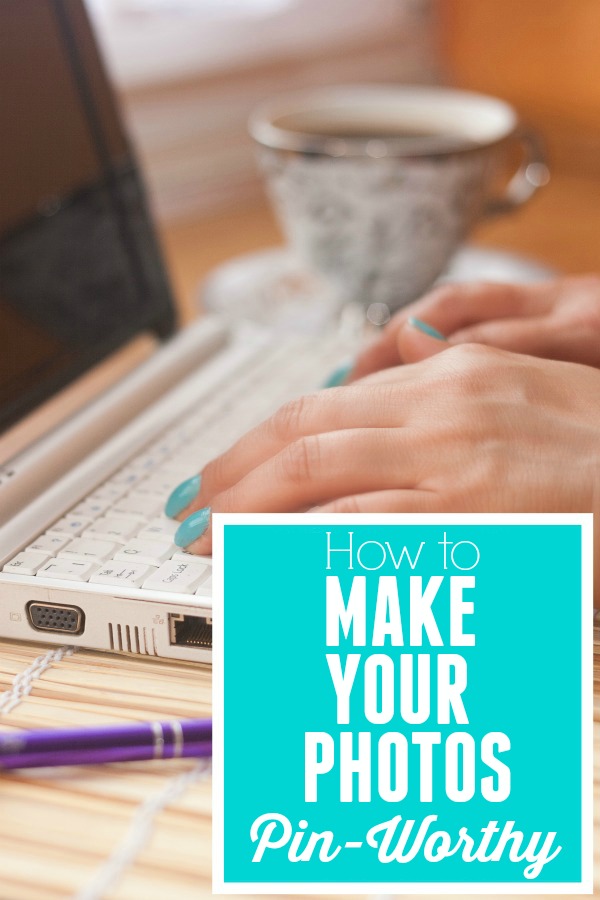
    Making your photos pin-worthy is super important for bloggers. These are my tips I use when editing photos with PicMonkey.

    Favorite Things Graphics

    Picmonkey Tutorial for creating graphics

    Honey We’re Home has a great tutorial for creating favorite things graphics.

    How to Make Watermarks with PicMonkey

    Picmonkey tutorial for creating watermarks

    I love this tutorial on creating a custom and transparent watermark.

    Are you ready to dive in and learn how to use Picmonkey so that you can follow some of these PicMonkey tutorials?

    pin-this-post

    Picmonkey Tutorials for Editing Photos, Invitations, Art and More

    You know you don’t wanna miss any of this crazy.

    Stalk Me Here:

    Pinterest / Facebook / Twitter / Instagram


    SaveSave

  • 1st Birthday Photo Collage (A Personal DIY Party Decoration)

    1st Birthday Photo Collage (A Personal DIY Party Decoration)

    Today, I have another DIY party decoration from the blue and pink 1st birthday party to share with you! This one is a big more personal and everyone loved seeing it at the party.
    I created a birthday photo collage with photos of the kid from her first year.
    Birthday Photo Collage

    Birthday Number Photo Collage

    For baby girl’s 1st birthday, I wanted to have something special to welcome everyone to the celebration. This birthday collage was perfect propped on the front porch. Naturally, there were many oooohhhhsss and ahhhhhhhsssss. I mean, I did it, so, it was fabulous. Oh, and the kid is pretty cute too.
    I started out with lots of pictures, an old barn door from the family farm, and painter’s tape. Seriously high tech stuff, y’all.
    Making a Birthday Number Photo Collage
    Before I started taping photos to the door, I laid them out in a “1” first to make sure I had enough photos and to decide exact placement.
    How to Make a Birthday Number Photo Collage
    After I had it mapped out on the floor, I started from the bottom and worked my way up.
    DIY Birthday Number Photo Collage
    I used a couple pieces of painter’s tape on the back of each photo.
    When I was finished with the “1” I decided to add a little bunting with card stock at the top of the door for some pops of color, and to incorporate the blue & pink theme.
    1st Birthday Picture Collage
    Birthday Number Photo Collage
    The birthday collage really was a big hit and another simple DIY party decoration. Everyone loved seeing how Landry has changed in the past year. The neighbors loved the door as well. They really had no choice since it sat on our porch for days after the party while I was lazy still recovering from the celebration. Now, the neighbors really adore the barn door with just the cute bunting at the top. I finally took the pictures off, but, the door has not yet moved. They may call the neighborhood association on me soon. Can someone bail me out?

    Have you done a photo collage for special occasions?

    Need more great party decoration ideas? Here you go…

    DIY Birthday Party Hat – so cute and only takes about 5 minutes to make!
    DIY Bunting Cake Topper – you’ll just need scrapbook paper, stickers and scissors!
    DIY Cupcake Pedestals – made from thrift store finds and you can use them over and over again!
    DIY Tablecloth Party Backdrop – THE absolute easiest and cheapest party backdrop!
    And you can always find my entire gallery of DIY party ideas here.
     You know you don’t wanna miss any of this crazy.

    Sign up to get my posts delivered to your inbox here. 

    Stalk Me Here:

    Pinterest / Facebook / Twitter / Instagram

  • How to Make Your Photos PinWorthy with PicMonkey

    How to Make Your Photos PinWorthy with PicMonkey

    When I wrote the post on How to Grow Your Blog with Pinterest, I touched on making your photos pin-worthy. You should have at least one photo in your post that is made specifically for Pinterest.

    Create images that people will want to pin over and over again. How to make your photos Pin-Worthy

    This post contains affiliate links for your shopping convenience. Click here to read my full disclosure policy.

    As you guys already know, Pinterest is huge. Huge. Huge. Pinterest is all about photos (we knew that, Jenna!), and as bloggers, our photos can make or break us!

    As bloggers, we want our photos to be pinned and re-pinned over and over again! So, how do we get readers to pin our photos? We must make them pin-worthy!

    Let me give you an example of a non-pin-worthy photo:

    How to Make Your Photos Pinworthy with Picmonkey

    And a pin-worthy photo:

    Pin-Worthy Photo

    See the difference? The pin-worthy photo is bright, clear, and sharp. I added an overlay with the project name over it so that people would know what that pin would lead them to and I also added a watermark with my blog url in the bottom corner. This image is also vertical – vertical photos do better on Pinterest, rather than horizontal ones.

    Having great photos will not only help grow your blog through Pinterest, but it will keep readers interested in your post, and other posts on your blog.

    Here are the steps I take when getting my photos ready for a blog post, and eventually to go on Pinterest. I use PicMonkey features to do all the edits.

    How to Make your Photos PinWorthy

    Step One:

    Open up your photo in Picmonkey. Under Basic Edits, go to Exposure and adjust the levels as needed. Just play with the levels of each item until your photo looks good. Each photo is different, so there is no exact recipe for this. I usually increase the brightness a bit (especially if the photo is dark to begin with), I will increase the highlights a tad, and the contrast a bit as well. Sometimes, I increase the shadows, but not a whole lot. It tends to make the photo too dark.

    Step Two:

    Under Basic Edits, go to Colors. Adjust the saturation and temperature as needed. Typically, if you started out with pretty good color, you may not need to adjust these levels at all.

    Step Three:

    This is when I add my overlays. First, I add the label overlay that usually states the post / project title. Go to the overlays button, the 5th button down on the left. Picmonkey has lots of different labels you can use for this. I typically use one of the banners under Scrapbooky or something under Geometric. If there is some empty space on the photo to start with, I skip the overlay and write the text directly on the photo. Select which one and click on it. Position it where you want it on the photo. Use the bubbles on the corners to size it. You can use the overlay box that pops up beside it to change the color.

    Step Four:

    Now, you need to add text to your overlay. Go to the text button on the left side, the fourth button down. Click add text. Type your text in the box. Change the color and size with the text box that pops up. Change your font with the menu on the left. When you have your text like you want, drag the text box on top of the overlay.

    Step Five:

    At this point, you can create another overlay with text that says your blog’s name using the same steps you did above.

    Step Six:

    Save your photo.

    That’s it! Not too hard, especially once you get the hang of PicMonkey!

    Do you have any tips for making your photos pin-worthy?

    READ MORE OF THE GROW YOUR BLOG SERIES: 

    My Blogging Story

    7 Things Your Blog Needs to Keep Readers Coming Back

    How to Grow Your Blog with Pinterest

    You know you don’t wanna miss any of this crazy.

    Sign up to get my posts delivered to your inbox here.

    Stalk Me Here:

     Pinterest / Facebook / Twitter / Instagram

    Create images that people will want to pin over and over again. How to make your photos Pin-Worthy