Create your own customized party invitations for any event using this Picmonkey invitation tutorial! No more paying a boatload for custom party invites – now you can do it yourself on the cheap with Picmonkey invitations!
This post contains affiliate links.
Once more, its that time of the year.
When Mama drinks a little more cheap beer than usual.
When she may cry simply because the streamers aren’t twisting just right.
When she is hovering on the edge of a nervous breakdown.
That’s right, its birthday season around here.
Why I put this much stress on myself for the kid’s party, I do not know. I mean, let’s be honest. The minute the kid dropped her first cuss word, that mother of the year award was out of my reach. As if a perfectly decorated birthday party would bring it back.
One thing however, that is going right in the birthday planning are the party invitations I made using PicMonkey.
Bless you, PicMonkey.
Bless you for helping me keep a little piece of what sanity I have left.
Here’s how I made my Picmonkey invitations. You can customize them to your liking or party theme however you wish.
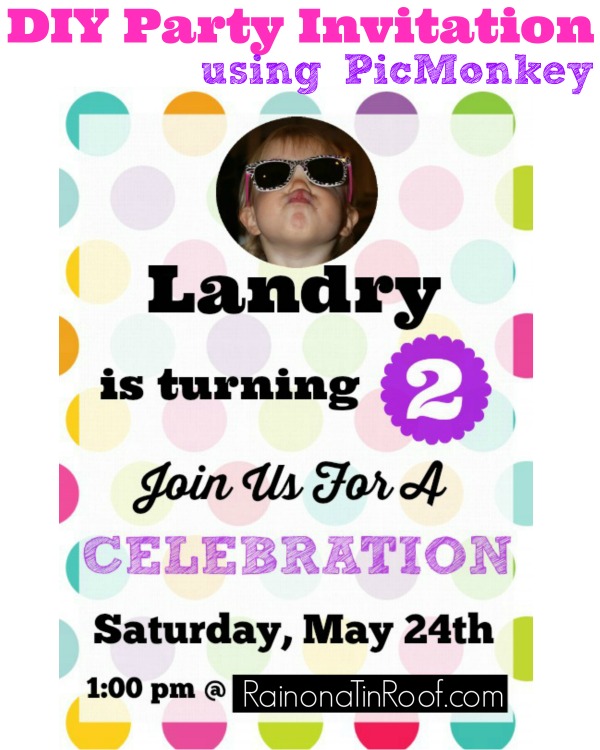
DIY Picmonkey Invitations
These were really easy to make. I think I had it all done in about an hour – more time to make those streamers just perfect.
Steps
Step 1
If you don’t already have a Picmonkey account, you’ll need to sign up for one. You can get a free trial here or just go ahead and pay the $6 a month if you want – it’s completely worth it and honestly, it’s a steal for how much you save making stuff like this yourself.
Step 2
Select a background you want to use.
I went with the different colored polka dots because the kid’s party is a Care Bear theme and ya know, there are lots of rainbows in Care-A-Lot and I didn’t want bears to be exploding from every surface. I just googled rainbow polka dots, or polka dots, or rainbow, until I found an image that I liked and was large enough to work for what I needed. And of course, that was free. When you have your image saved, open it up in PicMonkey, and crop it down to an 8×10 size or a rectangle size of your choice. I do 8×10 and then print in 5×7 sizes. Doing the larger size just gives a better resolution – or I think so anyway.  Step 3
Put an overlay on top of the background.
Obviously, if you tried to put your text on top of all those different colors, it isn’t going to stand out very well. To help with this, put a white faded overlay on top of your background. Do this by selecting the butterfly icon, then the geometric tab, then the rectangle, size it as needed, change the color to white and fade it to 15%. Center it on the background.

Step 4
Add your text and other images.
To make this easier on you and me, I have this handy little graphic that tells you exactly what fonts and images I used.
You can send me a cheap beer to thank me for it.

Last year’s birthday party invitations had quite a few different fonts going on. This year, I stuck with just a few different ones because there was so much going on with the background.
Step 5
Save and Print.
Once you’ve got the invitations to your liking, save them on your desktop. After that, go to Picmonkey Print and print out the invitations or you can also print them elsewhere if you wish. I typically print out our invitations in a 5″ x 7″ size.
Have you ever made party invitations using PicMonkey or something else?
You may also want to see…
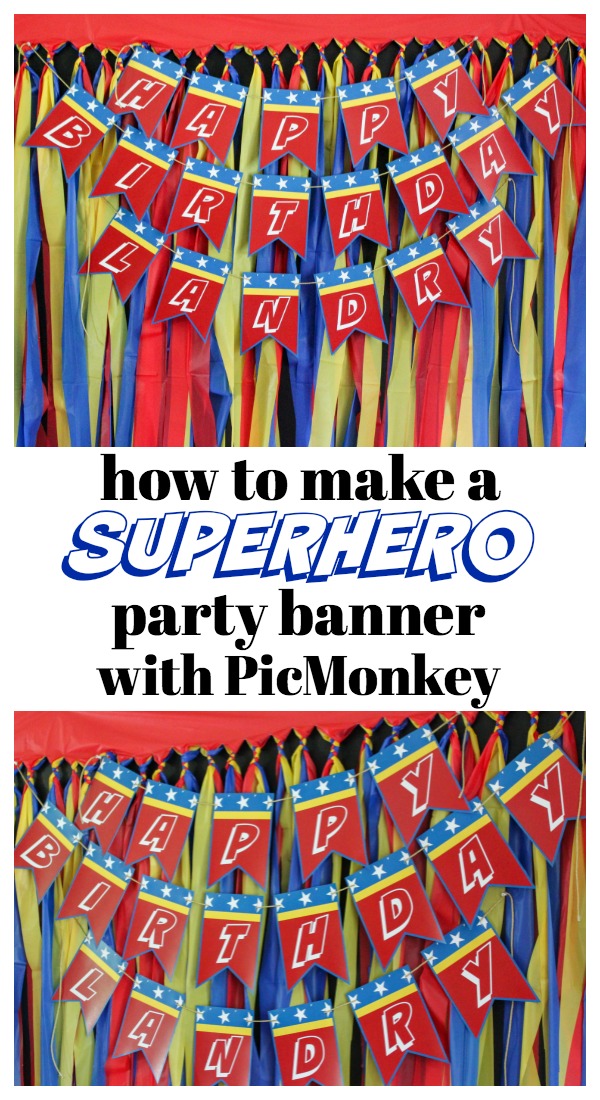
How to Make a Superhero Party Banner with Picmonkey


You know you don’t wanna miss any of this crazy.
Stalk Me Here:
Pinterest / Facebook / Twitter / Instagram

Ashley @ 3 Little Greenwoods says
Picmonkey may be my new best friend I love it so much! I’ve used it for fancy party menus, party invites, and tons of other stuff. This year I’m making my Christmas cards with it. Maybe I should start now…
Love your sweet baby girls’ birthday invite!
~ Ashley
Jenna @ Rain on a Tin Roof says
Thanks, Ashley! I just LOVE PicMonkey too! Its so user friendly and the possibilities are endless!
Patty says
You are such a hoot! I’m sure your precious little girls party will be a big hit. I wish I knew how to use the computer the way the rest of you can, it’s just to technical for me(I think the good Lord forgot to put that part of my brain in). The invitations are wonderful, and set the tone for a fun, fun party.
Jenna @ Rain on a Tin Roof says
Thanks, Patty! I hope the party goes well! PicMonkey is really not the hard to do – I promise!
Emily @ Two Purple Couches says
PicMonkey is awesome, for blogging and more! And yes, the $8/month is SO worth it for all the extra fancy features you can use!
I know the party will turn out fabulously!
Jenna @ Rain on a Tin Roof says
Thanks, Emily! Yes, the $8 is SO worth it!
Elizabeth says
Picmonkey is for so much more than a simple picture. I am learning that all the time! Thank you for the great tutorial. I have a birthday party coming up and will definitely use this idea! Thanks again!
Jenna @ Rain on a Tin Roof says
You are welcome, Elizabeth! And yes – so much more than just editing photos!
Stacy says
Love picmonkey! I just discovered that Costco will print on card stock. 69 cents each for 5×7 includes envelope. They also print your return address label for free! You have to order in advance as they use an offsite company but if you have it shipped to the store for pick up, you don’t have to pay shipping. 🙂
Jenna @ Rain on a Tin Roof says
Stacy, I had no idea Costco did that!! I’m a member there, so that’s awesome! Thanks for the tip!