The Circus has turned five.
I’m not sure how we got here, or how we made it here all in one piece, but nevertheless, we did. #thankyajesus
For her birthday party, she wanted a superhero theme – mostly Wonder Woman, but with a splash of Supergirl and Batgirl as well. #girlpower
I was far too excited about this one. I love Wonder Woman. And really, all things girl power.
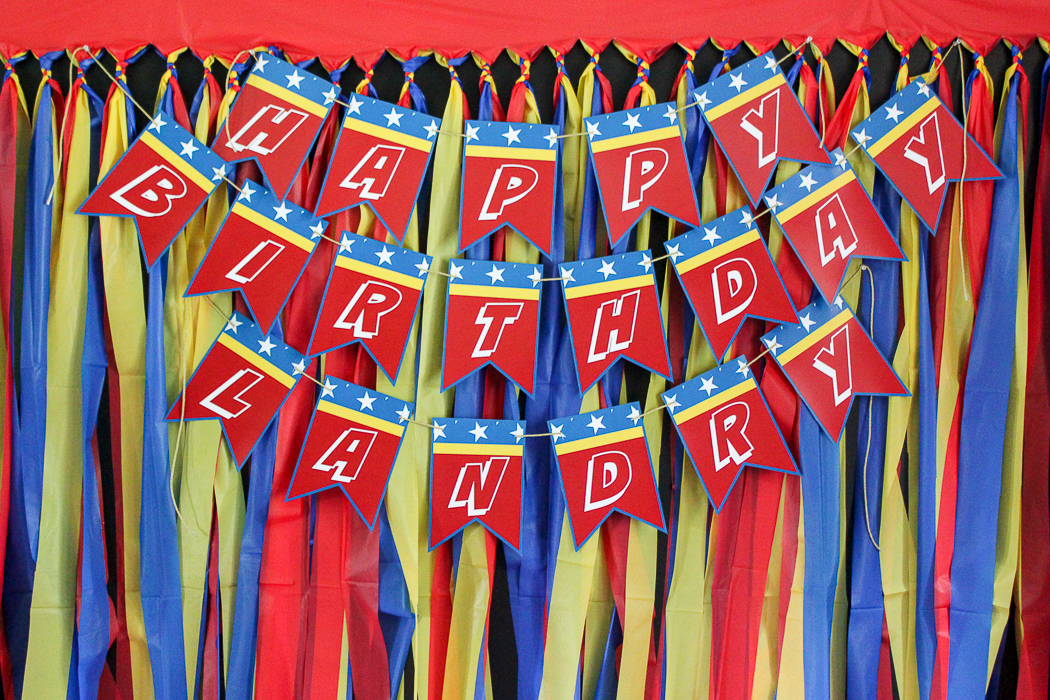
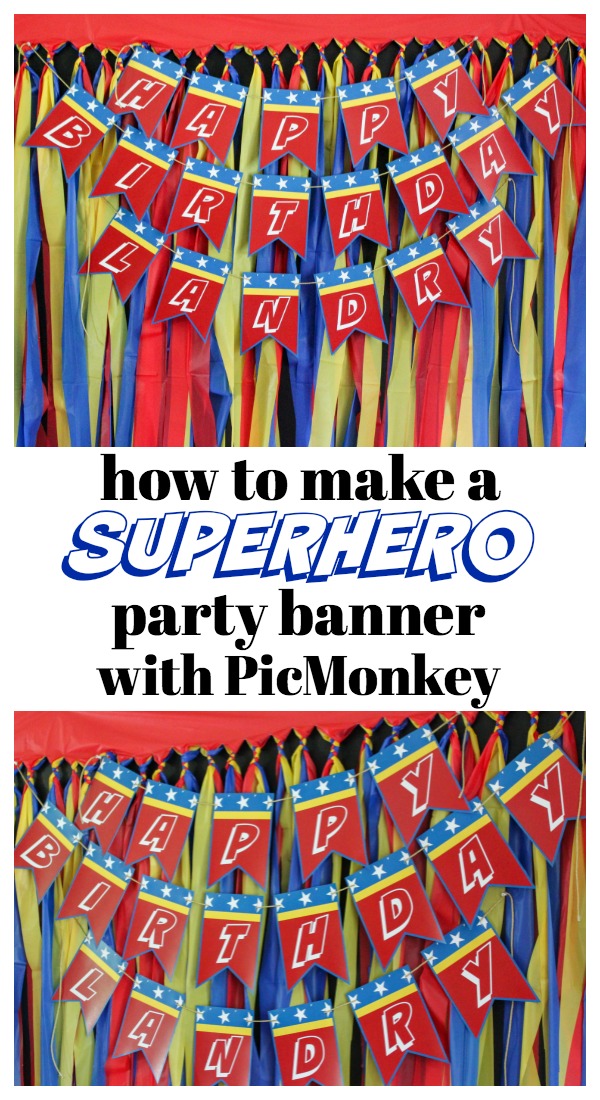
For the party, I made one of my super easy, super cheap party backdrops, then layered on a Wonder Woman / Superhero Style party banner I made using PicMonkey.
The banner is really easy to make with PicMonkey. After you’ve created it, you just print it out, cut out the shapes, and string it together.
How to Make a Party Banner with PicMonkey
Besides obviously needing a computer and the internet, you’ll also need a couple of other things after you print out the banner.
- Scissors
- X-Acto Knife
- Ribbon or String to string the banner onto and hang it with (we went with a small gold twisted cord to mimic Wonder Woman’s golden lasso of truth.)
- Thumbtacks or Push Pins
Step 1.
Watch the video below to first make the banner using PicMonkey. Keep in mind you can customize the banner however you wish once you have the basic shape of the banner made – change up the colors, switch out the backgrounds, etc.
Some of the fonts and features I used for the banner are part of PicMonkey’s Premium Features which aren’t available with the free version of PicMonkey. You can switch those out and use their free features or you can spring for the premium features, which are $3.99 – $7.99 per month. Personally, I couldn’t live without the premium features and the price is more than worth it to me.
Step 2.
Upload each of your banner files to a place where you can print them off. I used Staples for this and just uploaded all of my files into their copy and print services website, placed the order, then picked them up in-store. I printed mine out on a heavy 8.5 x 11 cardstock so that they would lay nice and flat against the backdrop. Also, be sure you print multiples of any letters you may need more than one of.
Step 3.
Once you get your banner sheets printed out, cut out around the shapes as I noted in the video.
Step 4.
To string the banner together, use the X-Acto knife and cut a small slit in each upper corner of each bunting. Weave your ribbon, string, or golden lasso 😉 through the buntings to connect them together.
Hang the banner on the wall with thumbtacks or push pins.
Our mini Wonder Woman thought the party decorations were pretty cool!
Do you have any favorite things to whip up with PicMonkey?
You might also want to see…
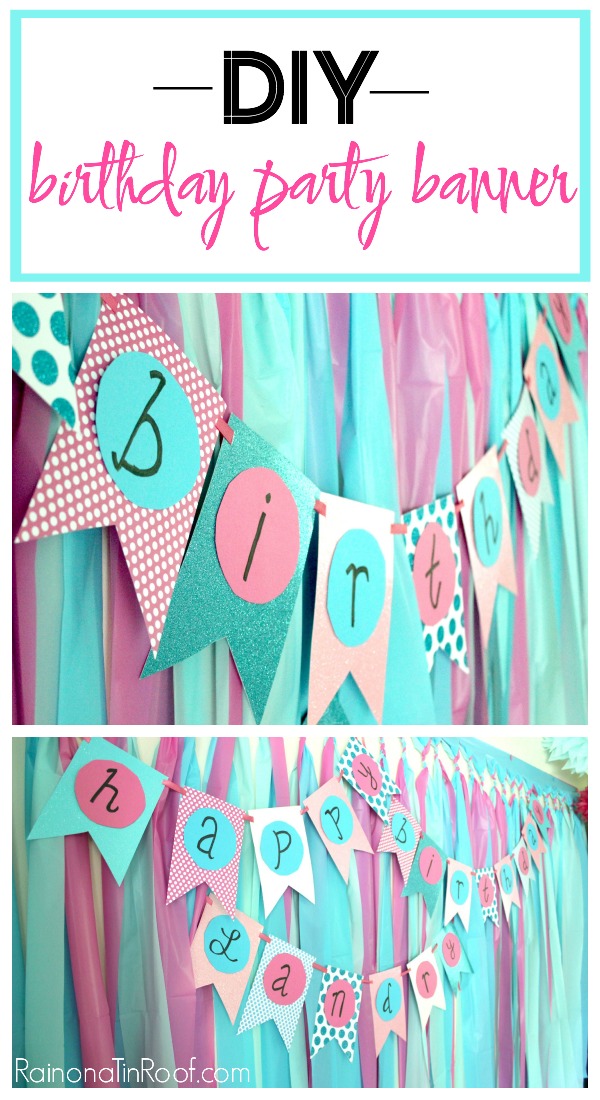
DIY Birthday Banner with Paper, Scissors and a Marker
PicMonkey Tutorials, Tips and Projects


Linda MacDonald says
Am I the only one who wondered who the heck Landry was??? You mean Circus isn’t her real name? LOL
Jenna says
hahahahaha!!!!
Patty says
Jenna she is growing up too fast. The Circus is a beautiful little Wonder Woman, and the boots are gorgeous. Love the banner, The banner and the Circus make me wish my granddaughter was turning five again.
I just bet the party was so much fun, and the kids were all adorable.
Brigitte Baker says
This is super cool, thank you so much! 🙂
Samantha says
The Circus makes an adorable wonder woman! This was too cute! Thank you for the tutorial. I make most of the decor for my little girl’s birthday parties and this will be great!
Sue from Sizzling Towards 60 & Beyond says
This looks great and thanks for sharing the video. Always good to have you link up with us at #overthemoon with helpful ideas. I’m sharing on social media. Have a lovely week and see you next week.
Sue from Sizzling Towards 60 & Beyond
Theresa says
How cute! Thanks for sharing at the #InspirationSpotlight party @DearCreatives
Jenna says
Thanks, Theresa!