Disclosure: This post was a partnership with Velvet Finishes. However, all opinions and negligence of trying out the colored stain sooner are 100% mine.
Last year, I figured out a way to make furniture glazes in any color. When I did that, I had just tried out different colors on spare pieces of trim I had lying around. I always intended to go back and makeover an actual piece of furniture using the method.
But then life happened. #bestofintentions
A few weeks back, as I was clearing stuff off the front porch at our-previous-house-soon-to-be-the-inlaws-house, (don’t judge me that we still haven’t gotten all of our stuff out of there, ok?) I picked up an old table and was about to toss it.

But then I realized that this table would be the perfect candidate to try out my colored glaze on.
Yes, this table had been sitting on my porch for the past year and never once did this idea pop into my head before. #smh
So I finally tried out my colored glaze on that table.
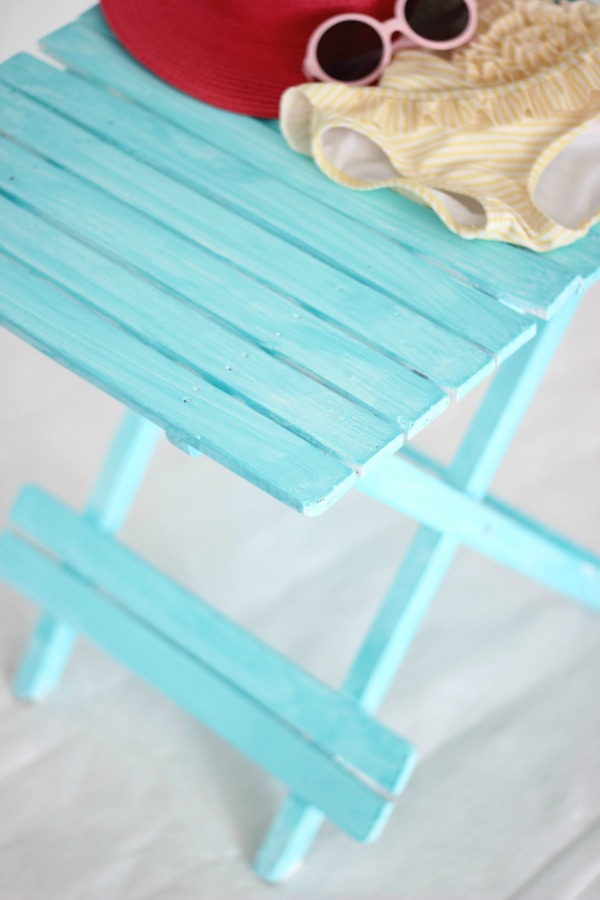
And I ended up with this really cool beachy colored look.
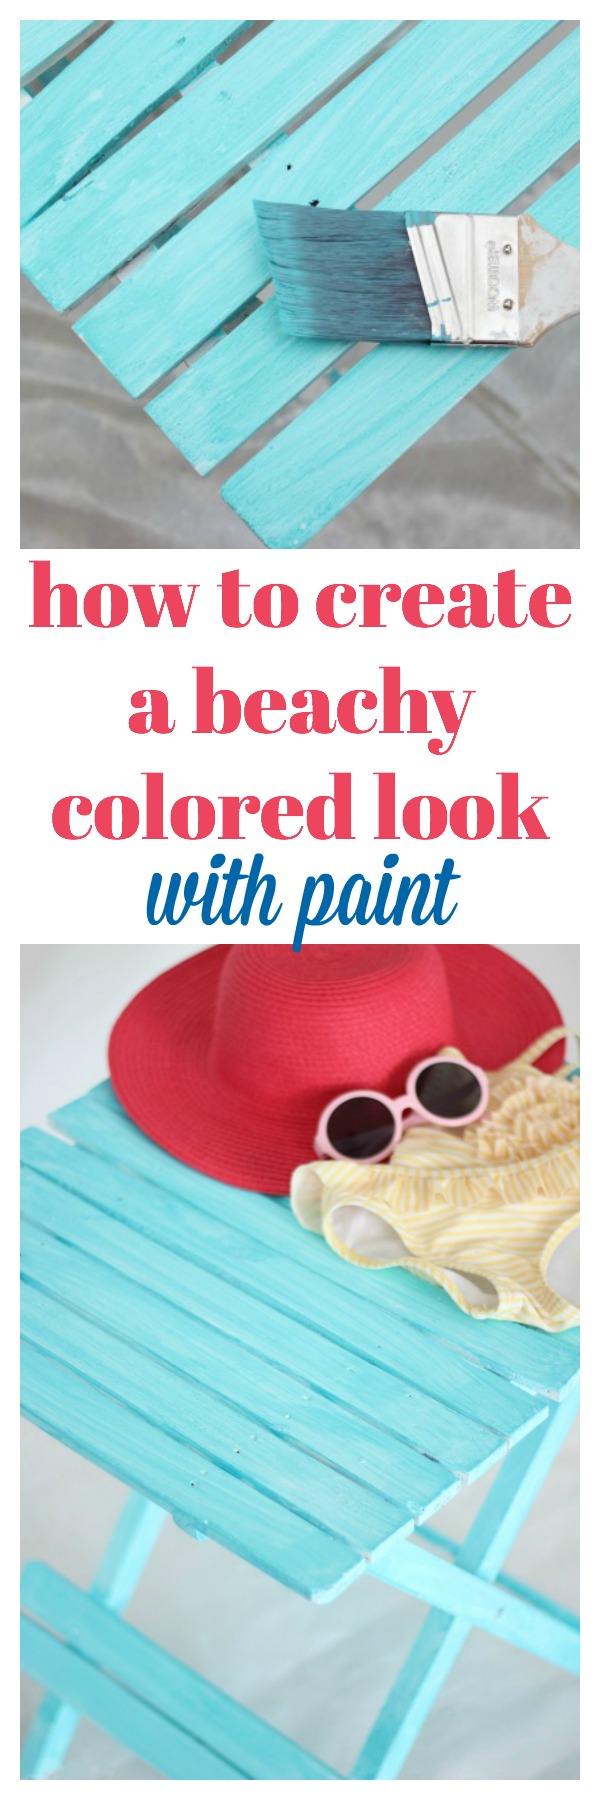
How to Create a Beachy Colored Cook with Paint
Affiliate links may be contained in this post.

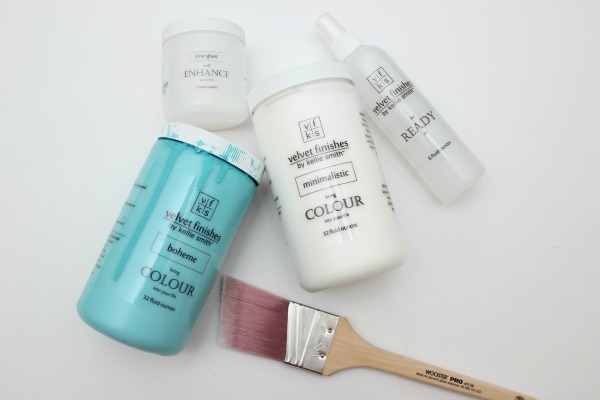
- Velvet Finishes Ready
- Velvet Finishes Minimalistic Paint
- Velvet Finishes Enhance Clear Glaze
- Velvet Finishes Boheme Paint (or another color of your choice)
- Good Paintbrush

**Psst – there’s a video toward the end of this post you can view that has these steps as well. Just don’t judge my very elementary video skills.
Step 1.
First, you’ll want to make sure the surface you are painting is clean. I did this with Velvet Finishes Ready. Ready will clean your furniture and de-gloss it at the same time, which means you don’t have to worry about using a primer or sanding before you paint. Simply spray it on the table, let it sit for a minute or two, then wipe it down with paper towels.
Step 2.
To achieve the beachy colored look, you want a base color of white on your piece before you add on the colored glaze.
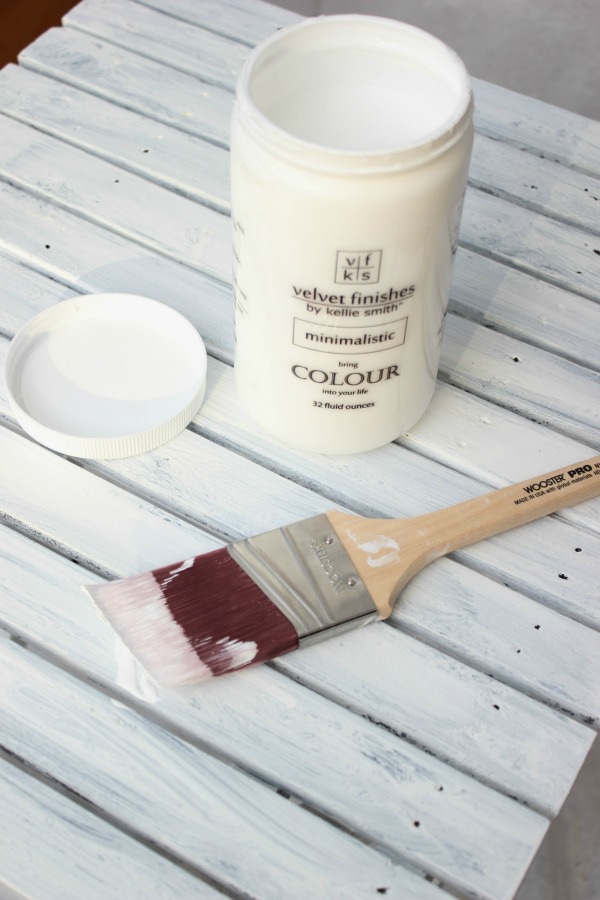
I gave the table two coats of Minimalistic, a true white, before layering on the glaze.
Step 3.
After the Minimalistic was good and dry, I made the colored glaze.
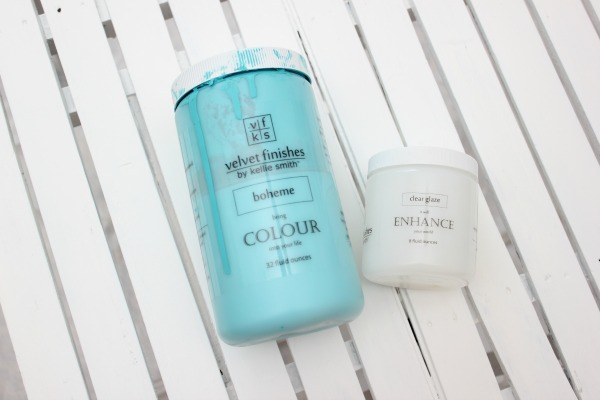
To make the glaze, I used Velvet Finishes Boheme and Enhance Clear Glaze. All you do is mix a little bit of glaze with a little bit of paint.
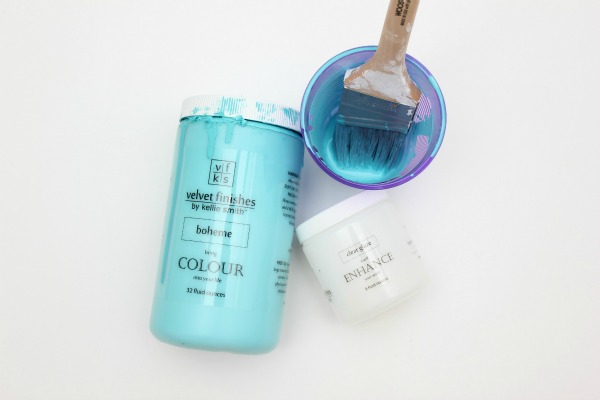
I do this in a plastic cup so I can just throw it away when I’m done rather than having to clean out a paint tray. #lazygirl You’ll want a little more of the clear glaze than the paint. The consistency should be watery. You can see how little is in that cup in the photo above – you won’t need to mix up much at all. This stuff goes a long way. Once more, you can watch the video below to see it in action. This is something where you may have to go back and add a little more glaze or a little more paint to the mixture. You really can’t mess it up though.
Step 4.
With a paintbrush, apply the colored glaze to your surface.

Just put a little on your brush – you don’t need much at all – and brush it back and forth just like you would with paint. If your glaze is too dark or too colored to your liking, use a lint free cloth to wipe away some of the glaze, but be sure to do so before it dries. With this table, I started by wiping up some of the glaze as I went, but decided I actually liked it better with the glaze as-is on the table, so I just brushed it on the entire table and let it dry.
Here’s the video if you want to see it all in action:
Stellar video skillz, no? #icrackmyselfup
After the table dried, I was left with this cool beachy vibe on it.
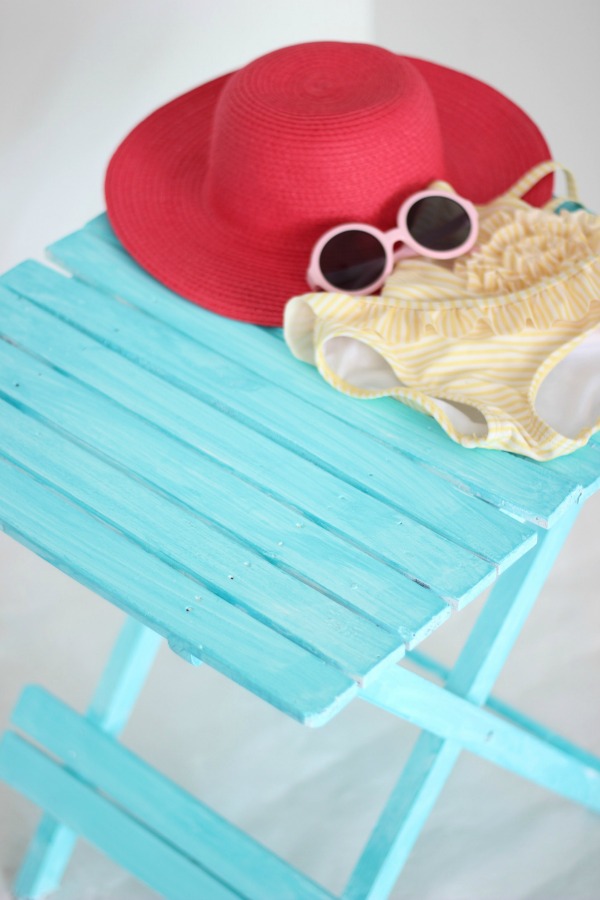
So of course, I threw the Circus’ swimsuit, sunglasses and beach hat on top of the table for photos. Because really, who can deny how cute a little girl’s swimsuit is?
What do you think of the beachy colored look? Any colors you think would work great for mixing up your own colored glazes?
Liked that? Then see this…
DIY Bright Colored Wood Stains – wood grain, beware!
How to Make Furniture Glaze in Any Color – your makeovers will never be the same!
Polka Dot Chair Makeover – everything is better with polka dots, right?


Disclosure: This post was a partnership with Velvet Finishes. However, all opinions and negligence of trying out the colored stain sooner are 100% mine.

Jennifer says
Great instructions! Can’t wait until I can try this on my next victim.
Jenna @ Rain on a Tin Roof says
Thanks, Jennifer!! I’m ready to try more colors too now!!
Kellie Smith says
Love this Jenna! So fun and such an easy technique.
Jenna @ Rain on a Tin Roof says
Thanks, Kellie!
Marly says
#glazygirl
Jenna @ Rain on a Tin Roof says
oooooo – I like that hashtag!
Arlie Boutwell says
Great video Jenna, hearing your voice made me smile, when your not from the south hearing a little southern accent is a surprise. You rocked the video.
Arlie
Jenna @ Rain on a Tin Roof says
haha!!! Thanks, Arlie! I do have a southern accent, they say! 😉
Patty says
Jenna, I love that look, the color is so pretty I love that lighter turquoise color.
I love that it looks so simple and usually the thinner the product the easier it is to work with. I bet you could easily layer colors with this product to really give it depth.
I wish I could have watched your video, but it kept coming up error, I’m sure it is on my end nothing you did, but I will try again later.
Where do you buy the Velvet Finishes products? I hope it isn’t one of those products you can only find in a few specialty shops like some of the other paints, I hate it when I have to drive 100 miles just to buy paint.
Jenna @ Rain on a Tin Roof says
Hey Patty! I’m so sorry the video wouldn’t work for you! You can find the Velvet Finishes products online – there are links in this post to them! 🙂 This was such an easy project with a great outcome! Glad you like it!
Candy Walsh says
I CANNOT wait to try this and I have just the little table to give it a go! It almost looks ridiculously easy (my kinda DIY-ing!!!)
Thanks for another awesome idea!
Jenna @ Rain on a Tin Roof says
It is ridiculously easy, Candy! Let me know how it goes!
Charlotte says
This is adorable and I absolutely LOVE that table! Hoping to move in about 9 months (I need more space than the 1BR the bf and I are currently sharing with our 60-lb dog!) and these tutorials are so inspirational since I plan on upcycling a lot of things 🙂 Thanks for this; stopping in from SITS Sharefest today 🙂
Jenna @ Rain on a Tin Roof says
Thanks so much, Charlotte! I’m so glad you found the post helpful!
fabiola garcia says
Hi Jenna…
Your blog post How to create…shared at http://www.fabifabu.com/2016/10/23/inspiration-galore-project-party-9/ is going to be feature in our next week pty #10. Thanks for sharing this easy method of painting using colored glaze.
Jenna @ Rain on a Tin Roof says
Thank you so much for the feature!!
Bobbi says
Hi Jenna,
This table is gorgeous! I love the color choice. I even put together a Pinterest board just for this color.
Jenna says
Thanks so much, Bobbi!
Pamela says
What a great save! I have always just painted with whatever colors I have on hand or can mix but this blue is spectacular and I like that glazed look. Perfect for my coastal home. Thanks for the inspiration.
Jenna says
Thanks so much, Pamela! I love how this one turned out too!
Christine says
Wow, gorgeous color and just in time for me too. I am adding final touches to my backyard and blue is the main attraction. Thanks for sharing this at the Dishing It & Digging It Link Party.
Jenna says
Awesome, Christine! Glad you like it! Thanks!
Linda says
Thank you for sharing at What’d You Do This Weekend? Hope to see you back next week!
Wishes for tasty dishes,
Linda
Sue from Sizzling Towards 60 & Beyond says
What a fabulous job you did and the videos are a helpful addition! Thanks for sharing with us at #overthemoon link party. I’ve pinned and shared. Have a great week.
Sue from Sizzling Towards 60 & Beyond
Cherryl says
I love the look! I pinned it and plan to try it soon!
Emily says
This turned out amazing! That beachy blue is really pretty. Thanks for sharing at Merry Monday – I’m going to feature your table makeover at next week’s party 🙂
Jenna says
Thank you so much, Emily!
Matt says
I have been waiting for the right timing, where I can be able to have a house makeover. This is a perfect DIY idea. The combination of colors you discussed here are awesome. Thank you for some ideas you have posted here.
Marga Lee says
Wow! I could not believe you made it perfectly in my sight. What an elegant table turned to. Perfect DIY indeed!
James says
Great post Jenna! So fun and such an easy technique. Thanks for sharing this.
Jason Roof says
So easy and it looks fantastic! Nice work.