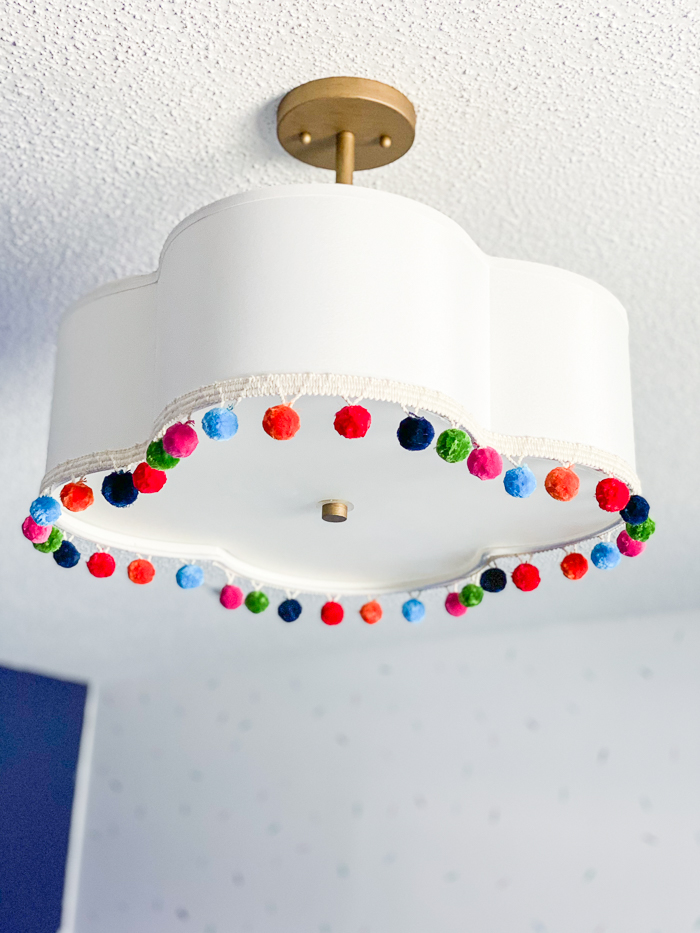
Trim + Peel N’ Stick Fabric Tape = A light fixture full of pizzaz all in 15 minutes or less.
There’s this “rule” so to speak in the blogging world that you shouldn’t write a blog post and throw it up there just because you feel like you need to post something. I get that – to a degree. People don’t want their inboxes flooded with crap. Listen, I hit delete on probably 100+ emails a day – I get it.
However, I think that this “rule” has snowballed somewhat and now lots of us feel like every blog post we write should be some detailed tutorial of an elaborate project that you never would have dreamed of before or an in-depth post on all the different types of painting techniques, types of paint, etc. I get that too – those posts are super valuable and awe inspiring sometimes, right?
But what about those simple little projects that you may not see as much of anymore because they aren’t deemed “blogworthy”? What about those little gems that can be tackled in just that wee bit of time that we are able to carve out between school pickup and cooking dinner? We need more of those! Those are often the projects that give us that jump we need to tackle those bigger projects on the weekends, right?
So here’s one of those projects. A simple light fixture upgrade with trim. It’s nothing monumental. It’s nothing that hasn’t been before. But it’s simple, added some pizzaz and took a whopping 10 minutes and costs about $15.
This post contains affiliate links for your shopping convenience. Click here to read my full disclosure policy.
The Circus was given a budget for her room makeover. Her paint and any other new items she wanted for her space had to come out of her budget.
She said she wanted a new light fixture.
I said that will take up more than half your budget.
She said never mind.
She’s a penny pincher, y’all.
So I proposed the idea of using trim to run along her current light fixture’s shade as a way to upgrade it without killing the budget. She was in.
We went to Hobby Lobby and I introduced her to the fabric trim aisle. Oh the possibilities, y’all. We were on that aisle for a solid 10 minutes (which is a long time for a kid) trying to decide between a tassel trim, a solid colors pom pom trim, or a tie dyed colors pom pom trim. Just as we were about to get the tie dyed colors pom pom trim cut, she changed her mind once more and ran back for the solid colors pom pom trim.
Serious, life altering decisions, y’all.
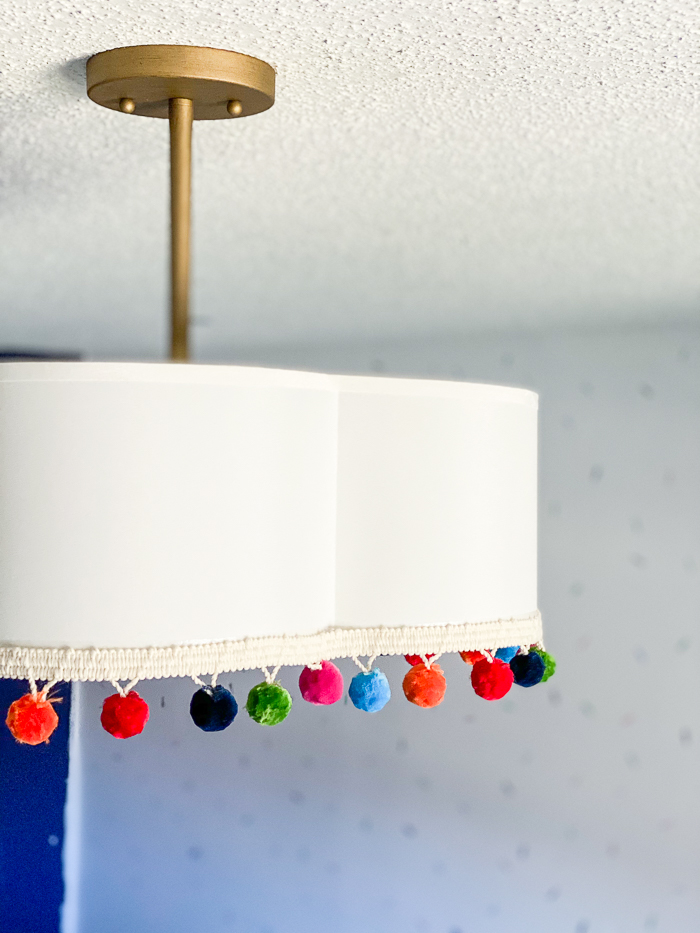
We came home and ran some Peel and Stick Fabric Fuse along the bottom edge of the light fixture’s shade, then the trim on top of it. All done in about 10 minutes.

And in the end, she was confident she made the right trim decision. Thank you Jesus.
There’s a sneak peak of the room coming together – guess we should really switch out those Christmas sheets, huh? Real life, folks.
A few other ways we’ve utilized some fun fabric trim around the house…
On the Circus’ shower curtain in her colorful boho bathroom…
On a window cornice in my office…
On an adorable step stool makeover…
And on some storage boxes in my closet…
I promise to be back soon with some elaborate post that will be absolutely mind blowing – or not. 😉
Ashlie Vieira says
This is the kind of content that is honestly so valuable! Sometimes I have to check-out because everything gets too elaborate and the overwhelm sets in. Then I just end up saying “Nah too much.” Give me all the fabric trim lighting updates! Here.for.it. Keep these posts coming! Thank you!!
Jenna says
Thank you, Ashlie! I totally get it – I can get very easily overwhelmed myself. Sometimes simple is better. And easier. And cheaper. haha!
Paula Evans says
What?! Peel and Fuse link takes you to Amazon where the $4 roll of tape has a hefty shipping fee of $15.99. You may want to talk to your affiliated link people!
ChicagoMom says
For me this is mind blowing! I never really think to use fabrics as an upgrade and now I know there is a stick n’ peel fabric…wth?! I tend to go towards spray paint or paint of any kind. Love this quick little option. The trim looks super cute and a noticeable pop of color. Thanks.
Karolyn Love says
I love how her overhead fixture looks now!. Love the simple, inexpensive, update-a-thing posts! BTW, I still have my Christmas sheets on our bed cause they’re flannel and NOT switching out yet to regular ones!! Flannel stays until the days stay warm!! Have a great rest of the week!
Julie says
Love it! Way to go!
Renee Lind says
Thank you for this post. I enjoy the “smaller/quick” projects for just the reason you described. Happy day.
tammy says
What an incredibly fun update! And yes….. so very approachable for the average household. Thank you so much!
Jenna says
Thanks, Tammy!
Maria says
I think this is a fabulous idea and it looks AWESOME!!! I would have never thought of doing that to an overhead light. Thanks for sharing:)
Jenna says
Thank you, Maria!
Sonja says
This is exactly the kind of adorable seen in Pottery Barn or Anthropologie with a whopping price tag, so you NAILED IT!
Cheers!
Sonja
Lynn O'Brien says
I love how you are so real and down to earth with and about everything including blog posts and diy projects. My “kids” are 18 and 21 and I am not crafty but I enjoy your posts because they make me chuckle. Stay safe!
Linda Johnston says
I am not one who does many DIY or elaborate design decorating at all but neat little inspirations like this?! Right up my alley. Appreciate what you said too about blog posting. Perfection and comparisons can be so stifling.