I am a sucker for many things.
Laffy Taffy.
Kelly Green.
Oh, and Navy Blue or Cobalt Blue – its pretty good too.
Sausage & Biscuits.
Grunt Labor.
Cherry Coke.
Cheap Beer.
Lucite.
Good Southern Movies.
The last two are the focus of this project.
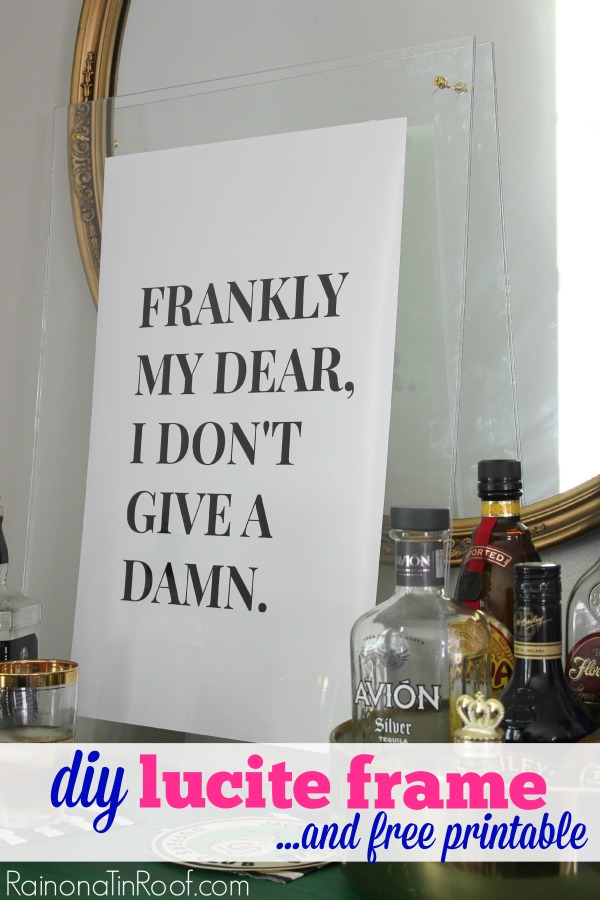
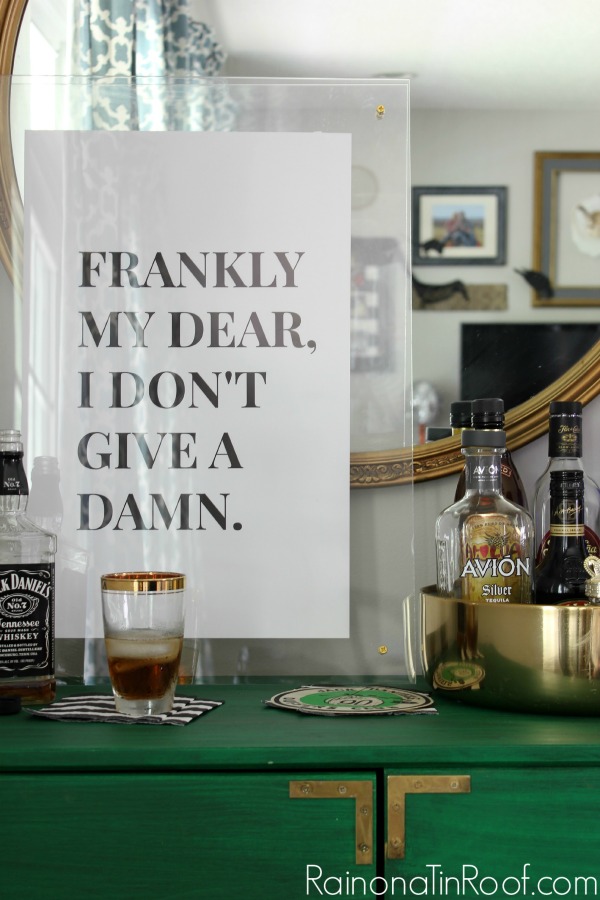
Because really who doesn’t love a little faux lucite and a good Gone With the Wind quote?
Now, let’s pair those together in this DIY Lucite Frame.
This post contains affiliate links for your shopping convenience. Click here to read my full disclosure policy.
Start to finish, this is going to take you all of 10 minutes. If that.
Boom.
How to Make a Lucite Wall Frame
Tools & Supplies Needed:
- Printable (link at end of post) or other art of your choice.
- 2 pieces of Acrylic or Styrene Sheets in whatever size of your choice. Mine are 18″ x 24″, but you can do whatever size you want. I got mine at Home Depot. They are also on Amazon and I’m sure at other home improvement stores.
- 4 – #8 Machine Screws 3/4″ length (the length can be smaller if you aren’t using as thick of acrylic as I was.)
- 4 – #8 Screw Nuts
- Drill and Drill Bit the size of your screw ends
- 4 Small Clamps
- Pen or Pencil
Steps
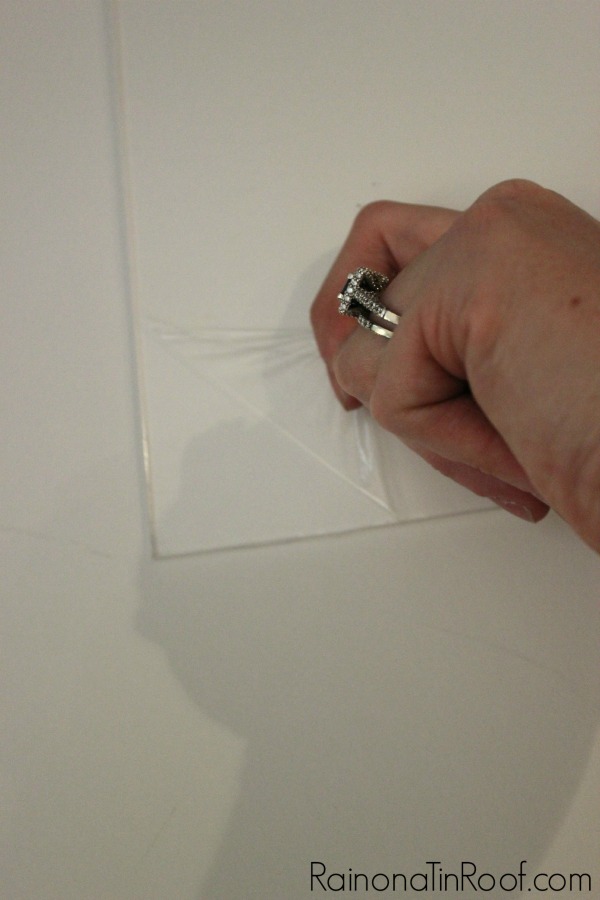
Step 1:
Take the plastic off the acrylic.
Step 2:
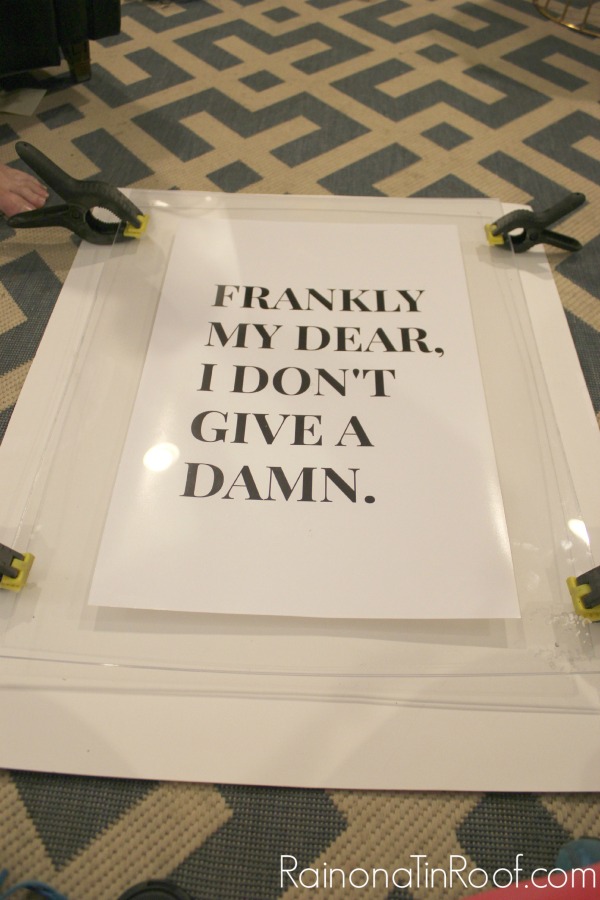
Place your art on one of the pieces of acrylic. You may want to put a couple pieces of tape on the back of the art to keep it in place while you make the frame. Next, place the other piece of acrylic directly on top of that.
Clamp it all together.
Step 3:
Mark where you want your screws to go.
I came in about 1 1/4″ on both sides.
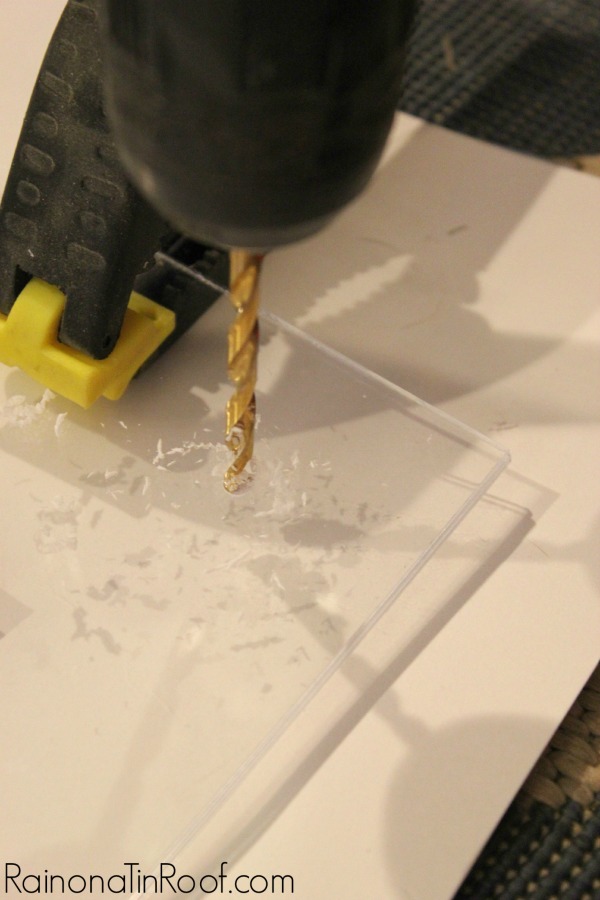
Step 4:
Going slowly and not putting too much pressure on the drill, drill through your marks until you make it through both pieces of acrylic.
Step 5:
Place a screw through each of the holes and screw a nut onto the back.
Heck of a lot cheaper than having someone else frame art for you.
Don’t you just love that quote from Rhett?
It will never get old.
I hope you have a damn good day.
Looking for more great projects to add to your list?
How to Make a Huge Wall Frame for Cheap – and I mean huge. And cheap.
DIY Lucite Handrail – the sexiest handrail you ever did see.
DIY Lucite Trays – another lucite hack and it costs less than $5 to make.
Free Printable Horse Art – gorgeous artwork that’s free!
You know you don’t wanna miss any of this crazy.
Sign up to get my posts delivered to your inbox here.
Stalk Me Here:
Pinterest / Facebook / Twitter / Instagram






Brenda Kula says
Very clever! Love the clean look of it.
Brenda
Jenna @ Rain on a Tin Roof says
Thank you, Brenda!
Jordan@the2seasons says
Love this we are going to feature it on tomorrow for our Saturday Selections. Plus I am a huge fan of Gone with the Wind!
Jenna @ Rain on a Tin Roof says
Awesome, Jordan! Thanks for the feature!
Amber says
brilliant!! I needed this tutorial 3 days ago when I was trying to figure out how to frame a vintage rodeo poster for my One Room Challenge!!! Ha!
Jenna @ Rain on a Tin Roof says
ooooo, Amber – the vintage rodeo poster sounds awesome!!
Nicole says
Question, what size did you print in?
Thanks!
Jenna @ Rain on a Tin Roof says
I think I originally printed it in an 11×14, but ended up cutting it down a bit to showcase the words.
Victoria @DazzleWhileFrazzled says
Great DIY project and great saying. Love the look of lucite! Visiting from Made By You Monday party.
Jenna says
Thanks, Victoria!
Beverly says
I love that quote from Rhett. Love your DIY project too.
Thanks for sharing at Over The Moon Party.
Hugs,
Bev
Jenna says
Thanks so much, Beverly!
Erin says
I love this! I think that is my favorite movie quote of all time. I love how it looks so clean and stylish, perfect for any room in your house.
Jenna says
Thanks, Erin!
JUDY says
i want the printable