Need a little more storage space in your home? Why not build a bookcase? This rustic bookshelf also has a gorgeous modern feel. It’s a simple DIY project that can easily be customized to your home’s style.
I am not a builder, y’all.
I usually come up with amazing build projects and think they are going to be really easy and I can totally do it – then I have to call in Grunt Labor at some point for help.
But this modern rustic bookshelf is so easy to build, Bill and I did it all by ourselves.
Well, we did have Grunt Labor on standby.
After Bill had decided what he wanted in his room makeover, I found this bookshelf over at Waiting on Martha.

I thought it would work perfect for his room, so I tracked down where it was from…All+Modern…and it was $1000.
One Thousand Dollars.
I’m sorry, but I just don’t know if I could ever bring myself to pay $1K for a bookshelf.
On top of that, the bookshelf was quite a bit larger than what we needed or could even fit in the space. After looking at it though, I was totally like, we can build that. I sent an image of the shelf to Bill and asked if he liked it. His response was “That’s awesome.” So the next day, we went and bought our materials and came up with our own DIY bookshelf version for less than $50.

It is seriously an easy build ya’ll and I am so thrilled with how well it turned out.
Rustic Bookshelf DIY
This post contains affiliate links for your shopping convenience. Click here to read my full disclosure policy.
Materials Needed:
- Two – 2″ x 10″ x 10’s (That link is to the pressure treated version, which you don’t need – you just need the regular wood version. For some reason, that is not online, but I wanted you to know what I was talking about.)
- Two – 2″ x 2″ x 8’s
- 3″ Wood Screws
- Wood Stain (We used this shade.)
- Spray Paint (We used this green shade.)
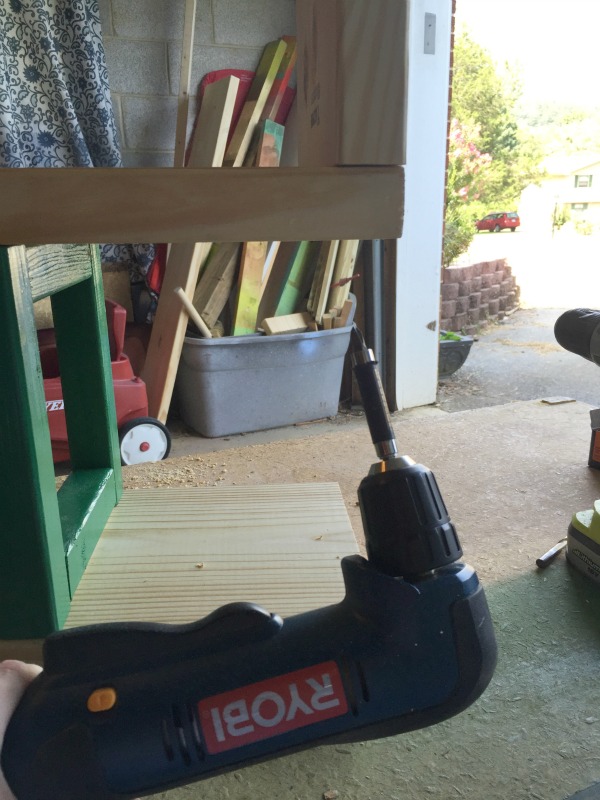
Tools Needed:
- Either a circular saw or miter saw (We used our miter saw.)
- Drill & Drill Bits
- Nail Gun (We use this battery powered one.)
- Wood Glue
- Clamps
- Right Angle Drill (We found this helpful, but it is not necessary.)
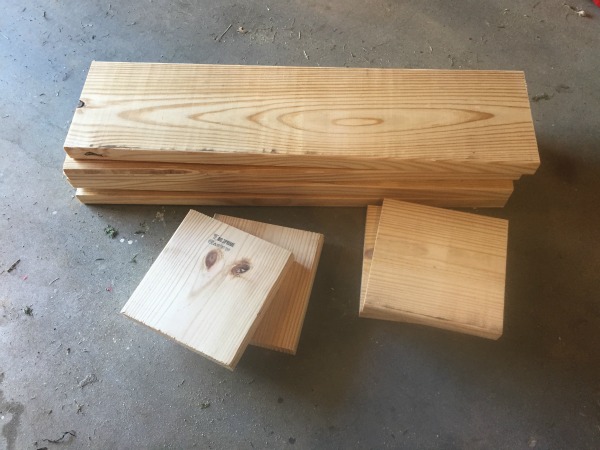
Cut List:
- Five – 2″ x 10″ x 36″ (Cut the 2″ x 10″ x 10′ down into five 36″ long pieces.)
- Four – 2″ x 10″ x 9 1/2″ (Cut the 2″ x 10″ x 10′ down into four 9 1/2″ long pieces.)
- Eight – 2″ x 2″ x 6 1/2″ (Cut the 2″ x 2″ x 8′ down into eight 6 1/2″ long pieces.)
- Eight – 2″ x 2″ x 9 1/2″ (Cut the 2″ x 2″ x 8′ down into eight 9 1/2″ long pieces.)
Steps
Step 1:
Make all the cuts noted above.
Step 2:
Set aside the 2″ x 10″ cuts. Gather the 2″ x 2″ cuts, wood glue, nail gun and clamps.

Create a square using two of the 2″ x 2″ x 6 1/2″ pieces and two of the 2″ x 2″ x 9 1/2″ pieces as shown below. Put wood glue on all the joints and clamp.
 After clamping, nail the pieces together. Do not remove the clamps yet. We waited a few hours before removing the clamps to ensure the glue dried properly.
Repeat this three more times to create a total of four “open” squares. These will become your shelf supports.
After each square is completed and dried, paint or stain the squares the color of your choice.
Step 3:
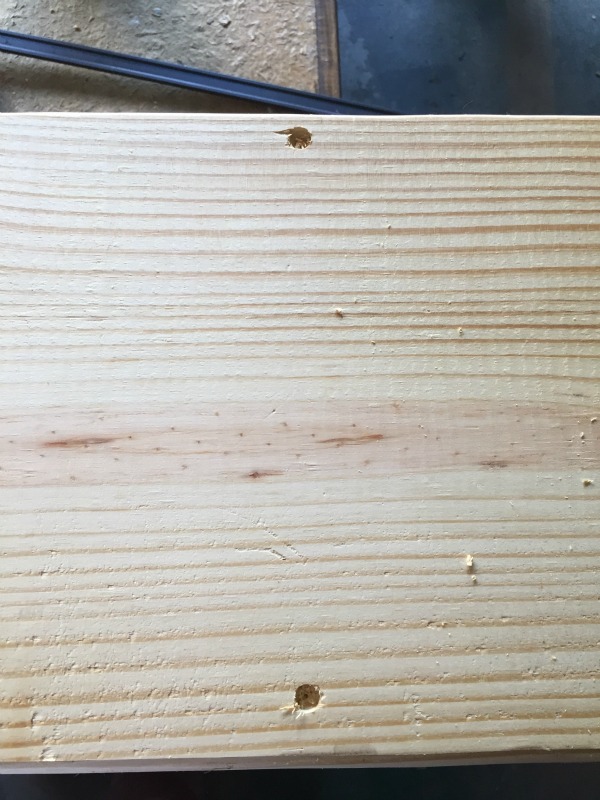
Take one of the 2″ x 10″ x 36″ pieces and drill three pilot holes along the left end of the board.

After drilling the pilot holes, come back with a larger drill bit that is the size of the screws head and drill out just a little bit over the pilot hole – this is so you can countersink your screw and give the shelf a more finished look.
On the same board, come in 9″ on the other end of the board and drill two more holes the same way you did above, however you only need one on each side of the board as shown below.
Step 4:
Using the wood screws and drill, place one of the 2″ x 10″ x 9 1/2″ pieces on the end of the board where you drilled three pilot holes and secure it from the bottom of the longer 2″ x 10″ piece. Place one “open square” on top of the place where you drilled two pilot holes and secure this piece with wood screws from the bottom as well as shown in the image below.
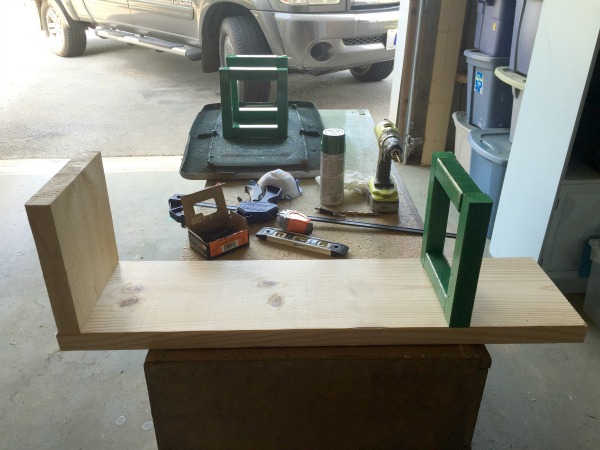
It comes in really handy to have someone on standby to hold the pieces as you secure them.
Step 5:
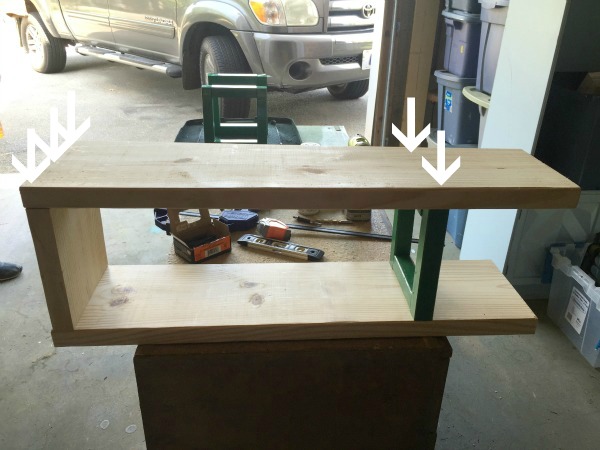
Place one of the 2″ x 10″ x 36″ pieces on top of the pieces you just fastened together.
Repeat the same process with the pilot holes and fastening the pieces together with the screws, however this time, you will be doing this from the top.
The arrows in the image below indicate where your pilot holes and screws should go.
Step 6:
Place an open square and a solid square on the second shelf you just fastened together as shown below.

Once more, you are going to drill pilot holes, then fasten the pieces together with screws as you did before. This time you will be coming up from the bottom. This is where we found that a right angle drill came in handy.
It was easier to get the right angle drill into the tight spots, rather than the full size drill.
Step 7:
Place a 2″ x 10″ x 36″ piece on top of the open square and solid square you just fastened together.

Repeat the pilot hole and fastening process as you did with the other shelves.
Next, you will add on another open square and solid square, however you are alternating the location of each with each new shelf you add as you can see in the image above.
Continue fastening on shelves and squares until you have no more left. You can also alter the size of the shelf by adding more or less shelves.
Step 8:
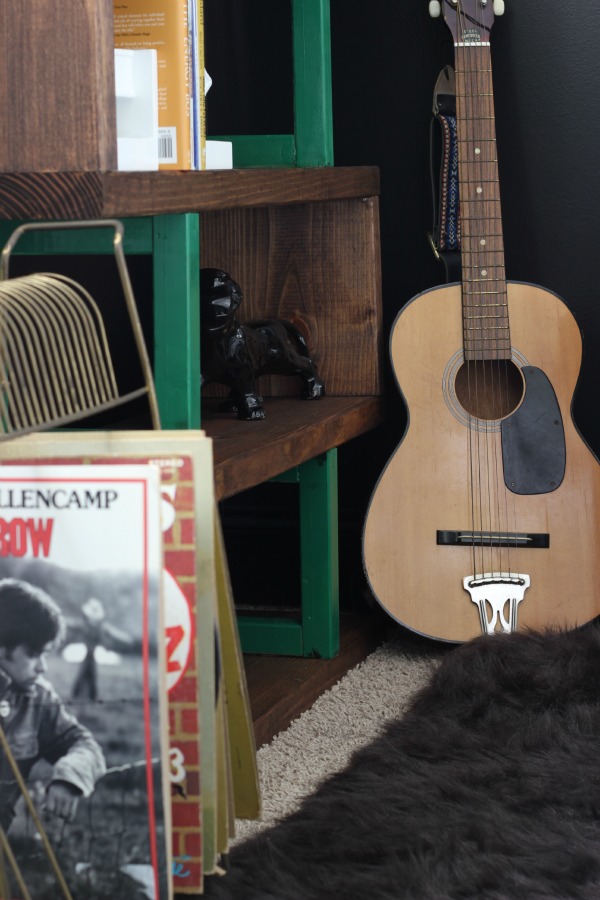
After the shelf is assembled, stain or paint it the color of your choice. I did this after the shelf was assembled, however, I should have done it before – would have been much easier!
$50 DIY bookshelf vs. $1000 bookshelf. I’ll take the $50 any day of the week.
Have you ever made a DIY bookshelf before?
Want more easy DIY projects and decor ideas?
See the full Masculine Bedroom Makeover – this shelf is used in here!
How to Build Wall to Wall Shelves – built-in shelving that is easy, easy, easy to make and super functional.
Power Tools 101 Series – Learn how to use a drill, saw and more – perfect for beginning DIYers!
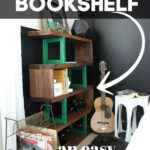
Want to remember this post? Pin the image below!


You know you don’t wanna miss any of this crazy.
Sign up to get my posts delivered to your inbox here.
Stalk Me Here:
Pinterest / Facebook / Twitter / Instagram

Whitney Shortt says
It looks great and I like the price so much better!! I like the stain you guys chose and the addition of green is really cool 🙂
Jenna @ Rain on a Tin Roof says
Thanks, Whitney! I know – no way was I paying $1K for that other one!!
Lindsay Eidahl says
Great job! I love it!!!
Jenna @ Rain on a Tin Roof says
Thank you, Lindsay!
Shirley says
You did a great job. $1000!! These shelves could be used in any room. Also “Scarecrow ” is an awesome album!
Jenna @ Rain on a Tin Roof says
Thanks, Shirley! Yea- definitely couldn’t pay $1000 for it!! Crazy!
Patty says
I love the book case, and it does look like an easy build, I’m in the process of re-doing the computer room and this would be perfect in there. I just might work up the nerve to try it on my own. what I like about it is not only the simplicity of it but you can make it as wide or as tall as you like, paint it or stain it or both even glam it up which is the way I’m leaning with it. I was thinking painting it a pretty pale grey with chrome trim, I have some peel and stick chrome trim that would glam it up.
Jenna @ Rain on a Tin Roof says
Patty, you can SO do this – it really is easy! And you are right – you can easily make it as big or as small as you would like. Even if the measurements changed, the basics of putting it together stay the same. I must know where you found peel and stick chrome trim! I wanted to do the green on this shelf in chrome or gold, but since we had the other accents of green, the green worked best.
Alexandra says
Wow Jenna that looks ace! Definitely don’t think I could recreate it but my joiner husband will be in our lounge. He just doesn’t know it yet. we are halfway through renovating so thanks again for the inspiration! ????
Jenna @ Rain on a Tin Roof says
I bet you could do it, Alexandra!! It really is a super easy build!
Jan B says
Can I give you a BIG Hug!!! you just made my day with a simple bookcase to make!!
Am pretty sure that many of your fans and myself here cannot justify the cost of a $1000 for a unique bookcase
but so glad that you shared this awesome plan and savings!! thank you soooo much!!! ((HUGS)) 🙂
Jenna @ Rain on a Tin Roof says
You are welcome, gal! I’m thrilled to hear you are so excited about it!! It really is an easy build and once you get those first couple of shelves together, you fall into the rhythm and will have it finished in no time!
Susan the Farm Quilter says
Fabulous bookcase!!! The green must look great with the rest of the room…need a pic of the whole room with the bookcase! Now, where can I put one like this in my house?????
Jenna @ Rain on a Tin Roof says
Thanks, Susan!! There is a picture of it in the whole room in the room tour here: https://rainonatinroof.com/2015/11/masculine-bedroom-makeover/
Terri Hughes says
Thanks so much for the instructions……I have got to have one of these shelves. So much nicer than the Waiting On Martha shelve. You and Bill did a great job!!!!
Jenna @ Rain on a Tin Roof says
Thanks, Terri!! I hope the instructions were clear enough. I know many people have those fancy programs to work their builds into printable plans, but I have no idea how to do that! It really is an easy build, though! I’m thinking I might even make another one for my office in the new house.
Brigitte says
This is super cute! I have a spot in my house that this would work in, too. Similar to you, I’ll need to get MY version of Grunt Labor to help me, too. LOL!
Jenna @ Rain on a Tin Roof says
haha!! Awesome, Brigitte!
Jessy @ The Life Jolie says
What an awesome project- I love the the colors you chose!
Jenna @ Rain on a Tin Roof says
Thanks, Jessy! It was an easy build!
Pauline Molinari says
Such a cool shelf! Thanks for sharing your crafty inspiration on this week’s Monday Funday Party!
Jenna @ Rain on a Tin Roof says
Thanks, Pauline!
Chas says
Wow I really like these shelves! Pinned. Thanks for sharing on To Grandma’s House We Go!
Jann Olson says
Yes, a much better price! I love the pop of green color! Thanks for sharing with SYC.
hugs,
Jann
sandra says
I LOVE BUILDING THINGS THAT I KNOW STORE BOUGHT ARE OUTRAGEOUS PRICES LOL
THAT SHELF IS SOO CUTE MODERN YET RETRO IF THAT MAKES SENSE
I THINK WE MAY NEED ONE IN OUR BAR/GAMES ROOM LOL
Erlee says
I like your $50 shelf more than the $1000 one! It’s kind of ridiculous how much furniture pieces can be and if you can DIY and save $$$, that’s the best!
Alice says
It sounds like it was a lot of work but it came out very nice and I think well worth the time and effort. $1000 for a shelf? That is pretty crazy. Thank you for linking this post up with us at #omhgww
Jordan says
We made it and it’s DOPE!