This post is sponsored by Velvet Finishes, however all opinions are 100% mine. Affiliate links may be contained in this post.
Sometimes I forget how much I love painting furniture. Before this project, it had been too long since my last furniture makeover. With a few furniture painting projects prior to this one, there seemed to be hiccups every time I turned around and I think I finally just got burned out for a little while. Hiccups happen. A lot. That break and this project though, was exactly what I needed to remind me how much I love seeing a piece of furniture do a 180°.
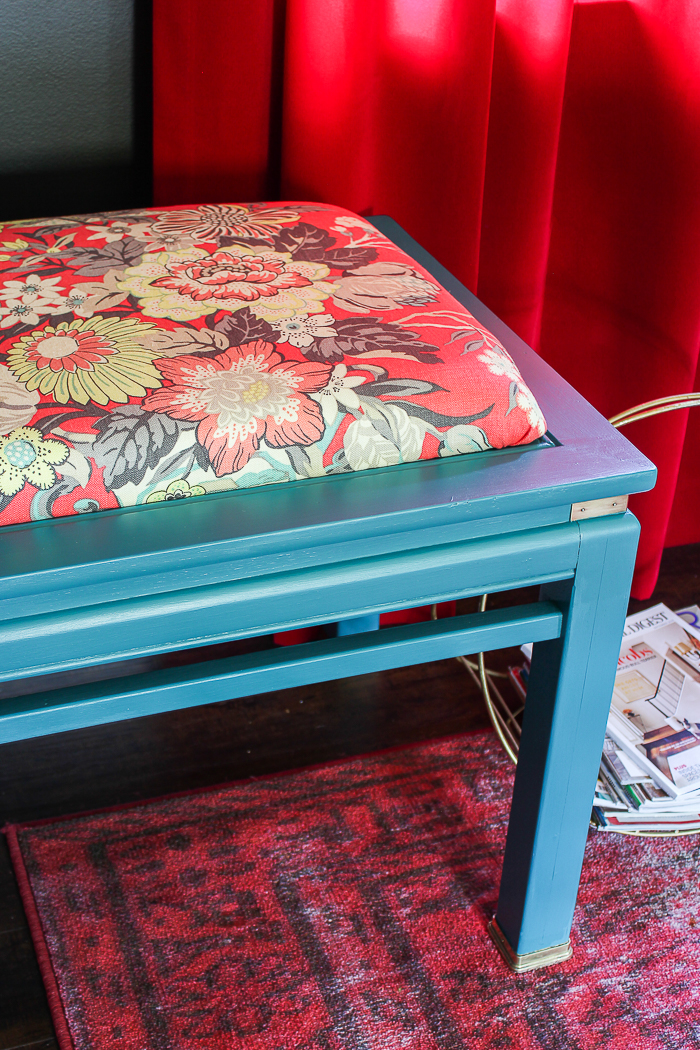
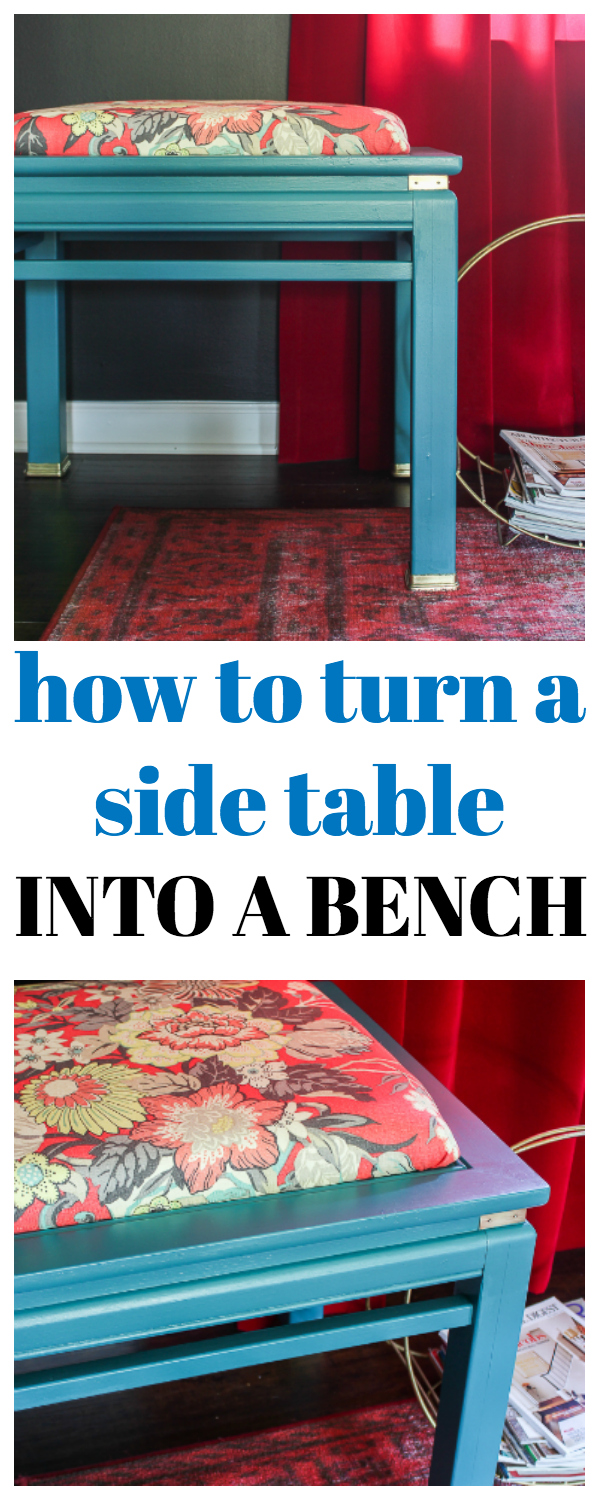
This one turned out better than I imagined. I took an old, beat up side table and turned it into a classy bench. In the process, I also fell in love with this new blue color – more on that in a minute though.
How to Turn a Side Table Into a Bench
- Side Table
- Velvet Finishes Ready
- Velvet Finishes Tranquil
- Velvet Finishes Protect
- Good Paintbrush
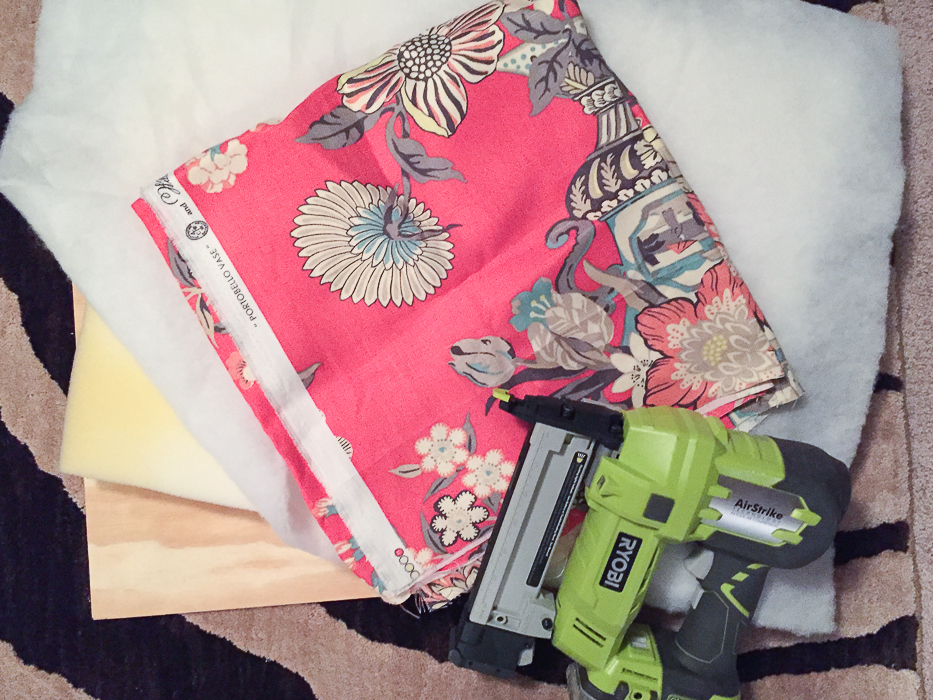
- 1/2″ Plywood (a little smaller than your tabletop)
- Foam – I used 2″ foam, but you could use any size your prefer.
- Batting
- Upholstery Material
- Electric Knife or Utility Knife
- Utility Stapler or Power Stapler
- Drill and Drill Bits
- Screws – ones slightly longer than the thickness of your tabletop
Step 1
This is what my table looked like to begin with:
Now, I came up with the idea for turning this into a stool because of the way the tabletop was with those slats. I fell in love with the lines of the legs and the brass hardware on the table, but that slatted top was weird. That being said, you can still turn any side table into a stool – it’s just a matter of making the upholstered top whatever size you want it to be.
To start with, I sprayed the table down with Ready.
This helps to remove any shine left behind from the previous finish and also works as a cleaner. Ready is kind of like a de-glosser and cleaner in one. Most of the time, it’s going to eliminate the need for priming or sanding.
All you do is spray it on there, let it sit for a few minutes and then just wipe it off.
You can see above some of what it took off my table there.
Step 2
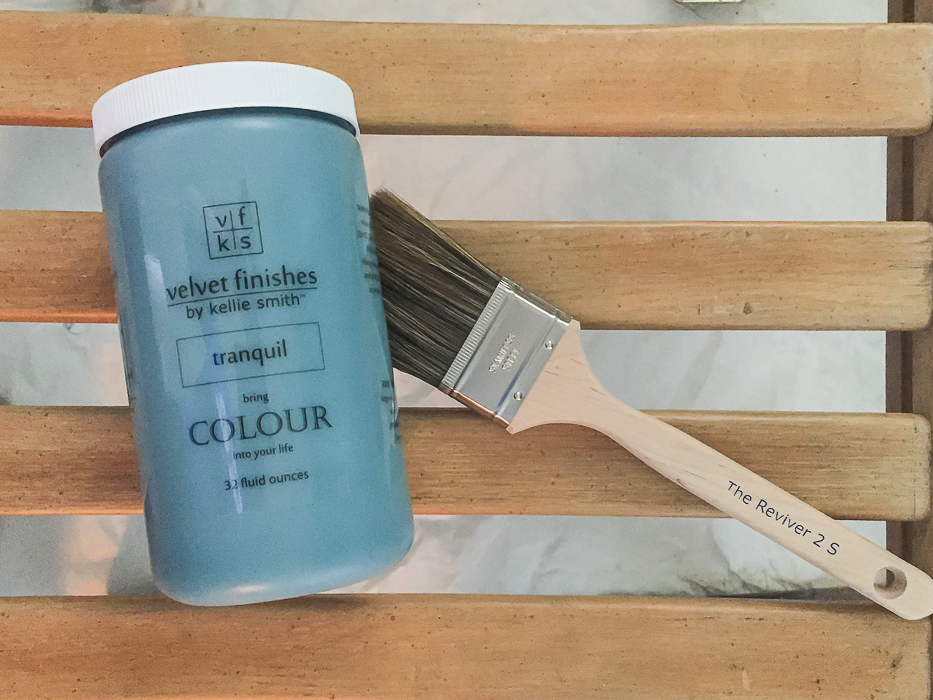
Now, you’re ready for paint. Velvet Finishes has just introduced new colors to their line. When I saw them, I was so excited to get my hands on a few of them. Tranquil was one of those colors.
It’s not a navy blue or a bright blue, but somewhere in the middle and I love, love, love it. I gave my piece two coats of Tranquil.
This was also my first time using the Velvet Finishes brushes. I really liked how smoothly they applied the paint.
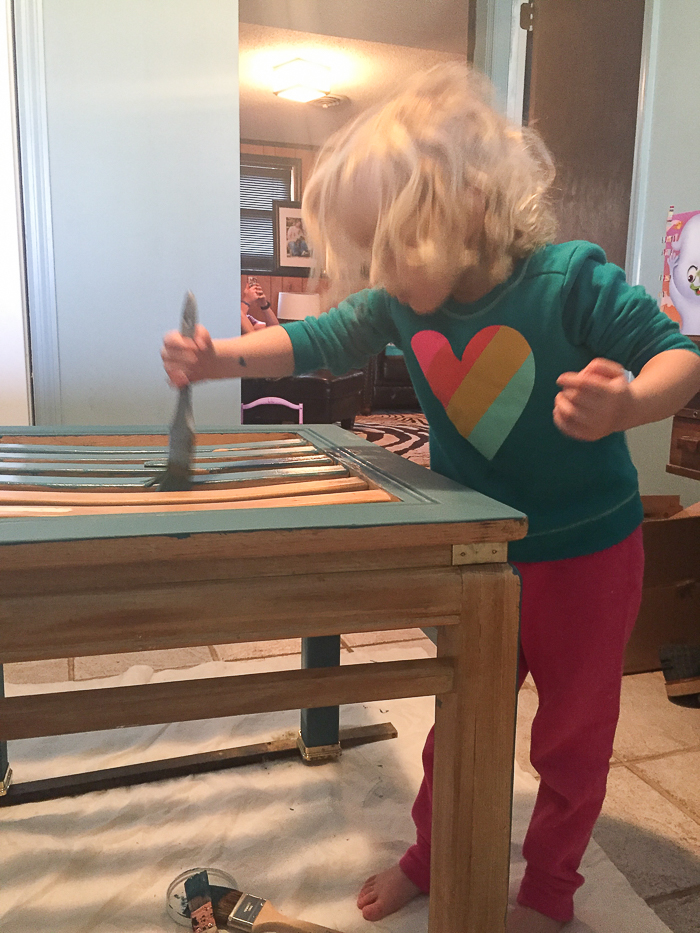
The Circus has become very adamant about assisting in painting lately, so I let her have at it and help me. Those slats didn’t really have to be painted since they were getting covered up, but ya know, it gave her something to do. 😉
Step 3
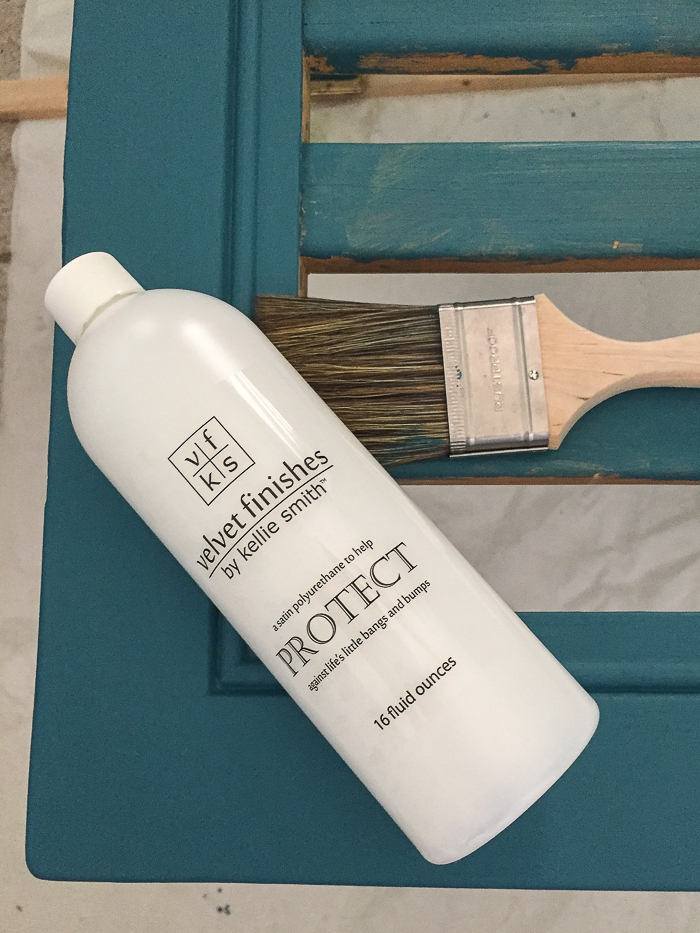
After the final coat of paint was dry, I followed up with Protect for a little added protection.
Since this piece was getting a new life as a bench, I wanted to give it a little more protection against legs and banging feet. I also used the Reviver paint brush to apply the Protect.
Step 4
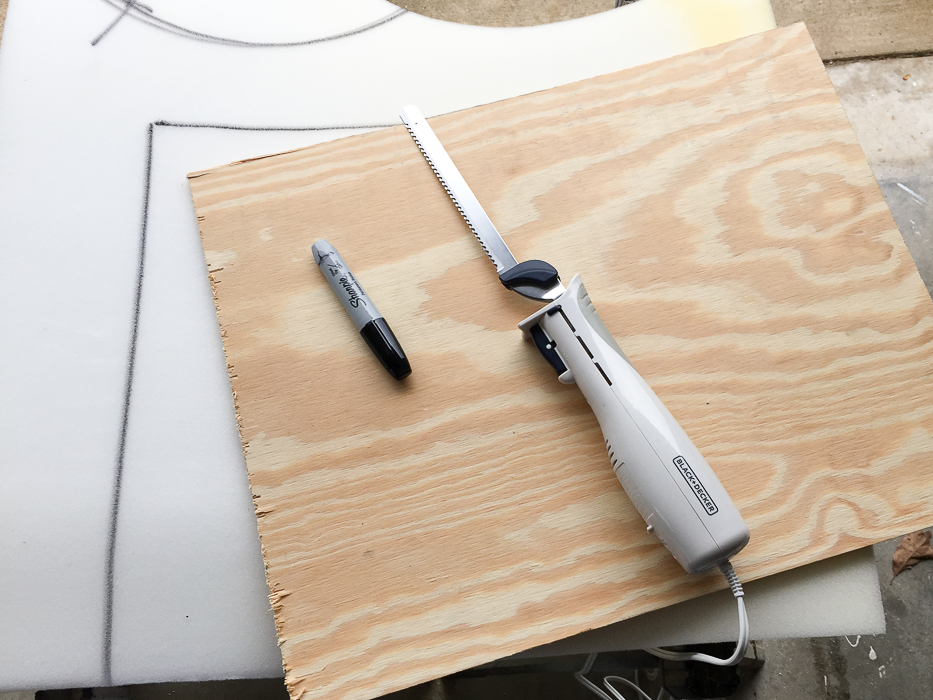
The next step is to make the cushion for the top of the table. Since I had those weird slats on the top of my table, I made my cushion the same size as that area to cover it up. If you’re doing this on a solid tabletop, then just determine how big you want your cushion to be and cut a piece of 1/2″ plywood down to that size.
After you cut the plywood to size, lay it on top of a piece of foam and trace the shape of the plywood onto the foam, then cut the foam to size. You can do this with a utility knife, but I finally bought an electric knife to cut my foam with about a year ago and it has been one of the best purchases I’ve ever made. That sucker cuts through foam like butter instead of having to do all that sawing with a knife.
Once the foam is cut, put a little glue on the plywood, then attach the foam to it.
Step 5
Lay batting over the foam and cut enough out to wrap around all the edges of your cushion. Do the same with your upholstery material.
Finally, wrap the wood and foam with the batting and material, stapling it securely to the other side. You can use a regular utility stapler to do this, but I do prefer a power stapler. Like with the electric knife, it just makes the job go so much faster and smoother. No hammering in staples that don’t go all the way in.
Step 6
After your table is fully dry, use your drill with a small drill bit attached and drill pilot holes a little inside the four corners where your cushion will go. I did this from the underside, but I think you could probably do it from the top too. Finally, place your cushion on top. Attach the cushion onto the tabletop by screwing it from the bottom up through the pilot holes.
Isn’t that color gorgeous???? I definitely see myself using this color on more furniture in the future. I am just crazy over it.
The material I used was actually left over from recovering my old dining room chairs. It is called Williamsburg Portobello Vase Ladybug. I love how it looks against the Tranquil. I also cleaned up the brass hardware with Bar Keepers Friend to make it look all shiny and new.
What do you think of this new color?
You might also want to see…
How to Get a Layered Caribbean Blue Look
Happy Painting!
*This post is sponsored by Velvet Finishes, however all opinions are 100% mine.





Patty says
Jenna I love your bench and how easy can it be. Love the color it is a beautiful blue with gray in it, and love the fabric you used.
I have some extra side tables we don’t use and I think I will give it a try. Thanks for the inspiration.
Jenna says
Awesome, Patty! Let me know how it goes – it’s such an easy project!
Jane Stein says
You are amazing! I love the groovy magazine rack! I just got on Etsy.com and purchased one just like it! Keep on Flying your Flag – we’re loving your posts.
Jenna says
Thanks so much, Jane! I love that magazine rack too!!
Pam S says
I see a major bidding war happening in Chattanooga this coming weekend!!! Or….I could just give you my shipping address~ ~ ~. Yeah, I didn’t think you’d fall for that! LOL
You are absolutely right. That I.S. a gorgeous color! And could the fabric be any more perfect??
Jenna says
hahahahaha!!!! Thanks, Pam!
Sharon H says
Really like this one, Jenna. And love that color too. Thanks for the link to get the color cards, I can hardly wait to get them!
Jenna says
Thanks so much, Sharon! And you are welcome!
Terri Hughes says
Very nice……..love the new color.
Jenna says
Thank you, Terri!
Ruth Ulett says
Jenna
When you say “electric knife”, are you talking about one you would cut meat with? I am new at redoing furniture (with NO help from my husband) so any little tip works with me!!!
Ruth Ulett
ps..I ordered the little denim dress from Tilly’s. I can’t wait to wear it!!!
Jenna says
Hey Ruth! Yep, that’s the kind of knife I’m talking about! Hope you love the dress – I love mine!!
Diane says
Love this color Jenna. Beautiful job on your new bench. I never would have thought of doing this. Love love love reading your blog!!!
Jenna says
Thanks so much, Diane!!
creativejewishmom/sara says
love it! thanks for sharing on craft schooling Sunday as always!
Jenna says
Thank you!
Lisa A. says
Jenna great project….I want the magazine rack….is it vintage?
Jenna says
Thanks, Lisa! Yes, it’s vintage! I love that piece! Look on Etsy – I bet they have some there!
Julie says
Brilliant makeover, love the colour and the padded cushion is a great finishing touch.
Jenna says
Thanks so much, Julie!
Nancy says
Amazing! I think I can do this!
Jenna says
Oh you totally can – it’s so easy!
Susan the Farm Quilter says
Love your stool!!! The color kinda reminds me of Williamsburg Blue that i used in tole painting back in the 80s!!! Love the color with the fabric you chose!! Maybe I’ll need to get you to pick the colors I use in my next quilt because you certainly have an amazing way of combining colors in ways I don’t think of!!!
Jenna says
Thanks, Susan!! I LOVE this combination as well – honestly, I didn’t know if the upholstery and paint color would work together, but I went giddy like a schoolgirl when I realized how well they did work together! That color scheme is a new favorite combo!
shelley says
This turned out great. Thanks for sharing at Over the Moon.
Jenna says
Thanks so much, Shelley!
Theresa says
Such an awesome up cycle! Love the colors & fabric you picked. Pinned & sharing Thanks for joining the Inspiration Spotlight party.
Jenna says
Thanks, Theresa! This is one of my favorites to date!
Pinckard Debra (Debbie) says
Hi Jenna, You are so clever and talented! I discovered you in Nooga.com. Where in the Scenic CIty might I find the Velvet paints and supplies you favor? Thanks
Jenna says
Hi Debbie! Unfortunately, Velvet Finishes isn’t sold anywhere in Chattanooga. You can purchase it online through their website though: velvetfinishes.com I’m so glad to have you around!
Pinckard Debra (Debbie) says
Thanks so much for the information!
Rachel Price says
Have said it before and will say it again. Hell, I would shout it from the rooftops,! You are amazing and talented beyond all reason. Education’s loss was definitely a gain for the Circus, the grunt, you, and the rest of the world. You go girl. It seems strange to think about flying my freak flag at 70, but I am loving it, Rachel (also know as Momma Price?).
Jenna says
You’re too sweet, Price. Miss you!!