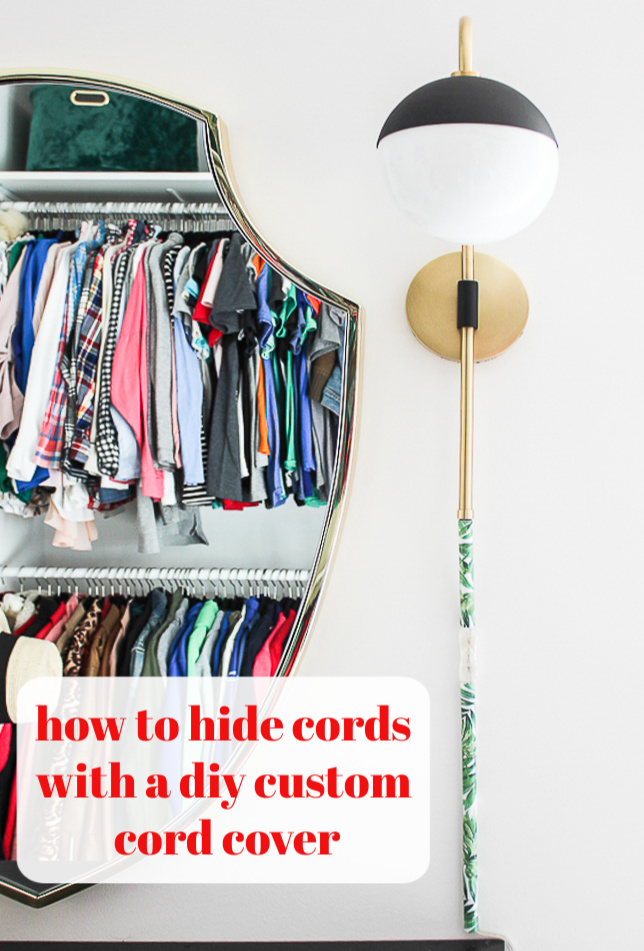
Ready to find out how to hide cords easily and stylishly? Make your own DIY cord covers in patterns or colors of your choice to fit with your home decor. It’s easy!
I love that so many gorgeous sconces are now available with a plug-in option as opposed to just a hard-wired option. That being said, when going the plug-in route, you’re often left dealing with dangling cords on the wall.
Thus was the case with the sconces I used in my recent closet makeover.
The sconces were beautiful, but that dangling cord was a distraction.
I didn’t want to use just plain Jane as-is cord covers you can find at your local hardware store. Even if you paint the cord cover to match your walls, it’s still obvious that it’s there. So, I opted to embrace the cord cover but give it a colorful spin.

Isn’t it a fun punch of color? I gave my cord covers a custom look to fit with my space perfectly – and it was so damn easy, y’all.
This post contains affiliate links for your shopping convenience. Click here to read my full disclosure policy.
DIY Cord Cover Tutorial
Supplies and Tools Needed:

- Cordmate Cord Channel with Self Adhesive Backing
- Patterned or Colored Paper (I used this scrapbook paper.)
- Satin Mod Podge
- Craft Size Paintbrush
- Pencil
- X-Acto Knife
Steps
Step 1
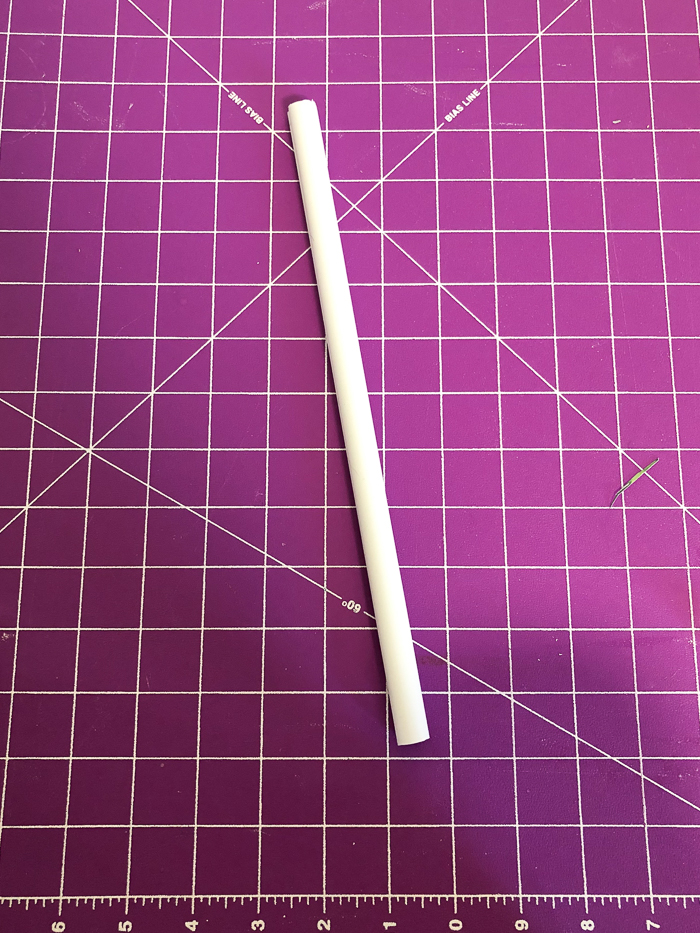
Measure how long the cord is that you need to cover. Cut a piece of the cord channel to that same length.
Cut a piece of the scrapbook paper to the same length of the cord cover you just cut and a little over 1 1/2″ wide. Note: If you have a wider cord cover than the one I used, you’ll want to cut your width wider. Measure as needed.
Step 2
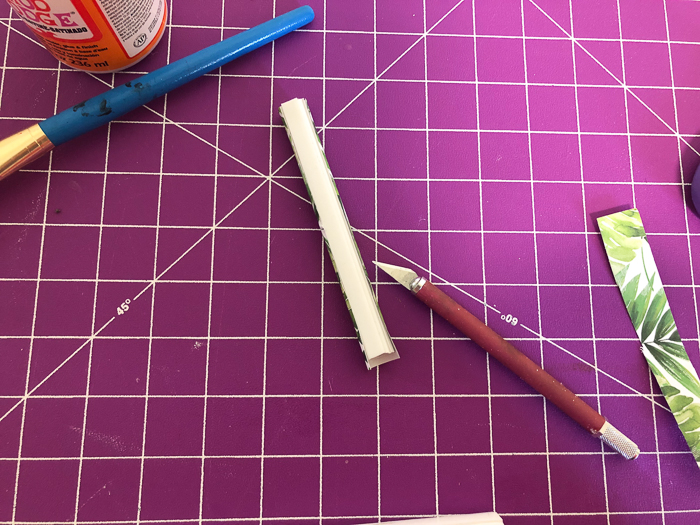
Apply a thin coat of Mod Podge to the cut cord cover.

After applying Mod Podge to the cord cover, immediately apply the cut paper to the cord cover, wrapping it around the cover. Leave the slit in the cord cover (where the cord will slide in) open. If your paper covers this slit, just trim the paper as needed.

Press the paper smoothly onto the cord cover. Give the now paper covered cord cover another thin coat of Mod Podge.
Step 3
After the Mod Podge has dried, trim off any excess paper from the cord cover.
Apply 1-2 more thin coats of Mod Podge to the cord cover, letting it dry between coats.
Step 4
Once the cord cover is dry, push your cord into the cover through the slit on the side. Remove the paper from the self adhesive backing on the cord channel then firmly push the back of the cord cover against the wall to stick it in place.
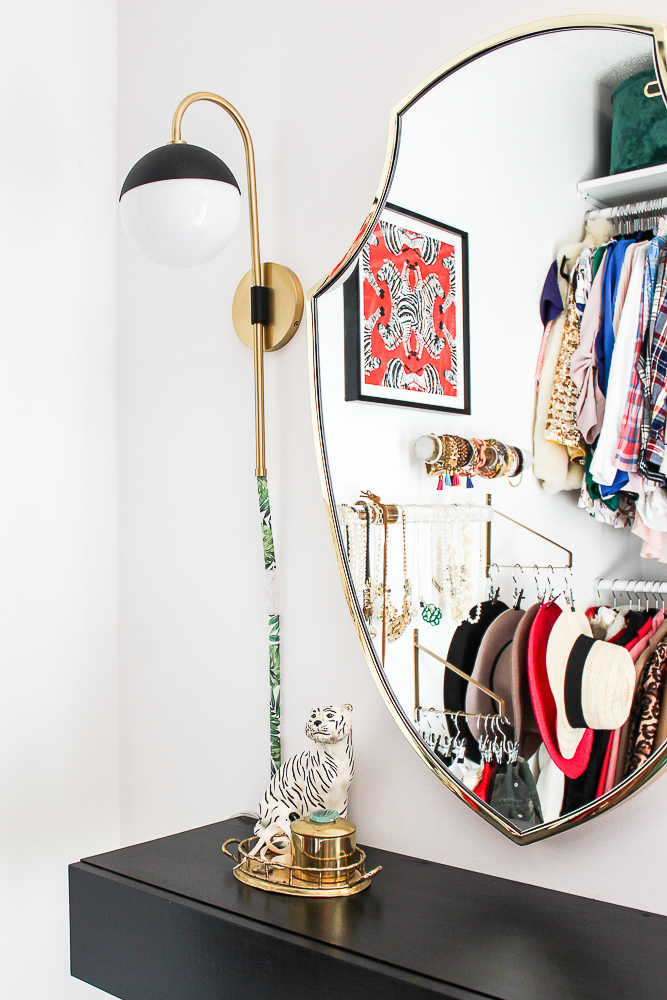
These are so much better than having dangling cords or just a plain white cord cover!

The extra little pop of color these DIY cord covers give is a fun touch for this space as well! If you’re wondering about that floating makeup vanity table, you can find out how to make it HERE! It even flips down for hidden storage. 😉
Do you have any tricks to share for how to hide cords on walls?
If you liked this project, you should take a look at these too…
Wall Mounted DIY Makeup Vanity Table – a simple build!
Complete Closet Makeover & Reveal – where these beauties you just read about reside!
16+ DIY Lamp Ideas and Makeovers – find out how to DIY your own lamp, lampshades, finials and more!
Be sure to follow on social media:
Facebook | Instagram | Pinterest | Twitter

Heather says
Totally love this and will be doing it immediately!!
Jenna says
Thanks, Heather! It’s so freakin easy and I love the color pop it adds!
Sherri says
This is such a great idea, wish I had some cords to cover 🙂
Jenna says
Thanks, Sherri! Well at least now, when you need to cover one, you’re set!
Erin says
What a great idea and I love the paper you chose.
Jenna says
Thanks so much, Erin!
Susan the Farm Quilter says
Great cord covers!!! Definitely better than the cord or just a white cover. It looks as though there is something clear holding it to the wall…what is that?? Love the new picture of you at the top of your blog!
Jenna says
Thanks, Susan! These covers have an attached sticky part on the back of them – that’s all it is. 🙂
K. Rupp says
This is such a fantastic idea!! I can’t stand electric cords that hang down. I will have to do this. Saw your post at the snickerdoodle make create bake party. pinning!
Jenna says
Thanks! It drives me crazy too – this is an easy and pretty fix!
creativejewishmom/sara says
Love it Jenna, thanks so much for adding your creativity to craft schooling Sunday!
Jenna says
Thanks!
Ironmongery Experts says
Lovely idea Jenna! And stunning paper! Thanks for sharing. Carolina at Ironmongery Experts.
Jenna says
Thanks!
Brigitte says
This is GENIUS! I love it, thanks for the tip!
Jenna says
Thanks, Brigitte! So easy too!