I watched reruns of I Dream of Jeannie when I was a kid. It wasn’t one of my favorites, but I thought Barbara Eden was so pretty. And while Larry Hagman will always always always be J.R. Ewing in my mind, he was still pretty great in I Dream of Jeannie.
Well over a year ago, I found a lamp that screamed “I Dream of Jeannie” at a yard sale.
It was $2.
It came home with me.
And as most things do around here, it sat for a while until I had a great idea for it.
And finally I did.
If you follow me on Instagram, you may have seen this image where I asked YOU to tell me what to do with the lamp…

Disclosure: This post was a collaboration with Velvet Finishes. However, all opinions and love of bright and cheery color schemes are 100% my own. This post contains affiliate links for your shopping convenience. Click here to read my full disclosure policy.
You guys were just full of ideas.
So many ideas that I was even more confused as to what to do to the lamp.
Some of you even said to leave it as is, but that wasn’t an option – there were lots of chips in the finish and you know me – I needed some color.
As I was pouring over my paint swatches stressing over what to do, the part-time child, Will, who insists on being called Bill on the blog (I know – I have no idea why either) walked over, played with the paint swatch for a while and said let’s do these colors…

I looked at the colors and wondered how in the hell a 17 year old boy could come up with that great color combination in under five minutes.
So we started painting.

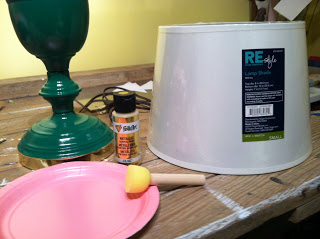
To do this lamp makeover, we used:
- Paintbrushes of various sizes
After sitting in my craft room for a year, this lamp was pretty dirty. So, to start with, we cleaned it up really well with Ready, which also primes pieces at the same time.

I just sprayed the Ready onto a paper towel and wiped the lamp down. You can also spray it directly onto a piece, let it sit, then wipe it down.
I gave the lamp a little while to dry and then started painting.

With all the nooks, crannies, and designs going on with this lamp, we used a variety of paint brush sizes. And I won’t lie, since we were using three different colors, it took a while to finish this lamp. I worked on it on and off for 30 minutes or so each day over the course of about five days. First, I painted all spots I wanted Bold, then I went back and painted the spots I wanted Exotic, and finally finished it off by painting some of the small details Minimalistic.

It wasn’t as hard as it looks to paint all the trim and details. When you use a small paintbrush, its actually pretty easy. I did have baby wipes on hand to quickly wipe up any paint if it got where it wasn’t supposed to be.
I haven’t decided where I will put it just yet, but I’m thinking its the perfect color scheme for an outdoor living space – maybe the porch?

It also seems very Lilly Pulitizer-ish to me, which I won’t even get started on that whole Target fiasco.
What do you think about this bold color scheme?
Need more lamp makeover ideas?
Don’t miss these 16 lamp ideas and makeovers – they are so good.
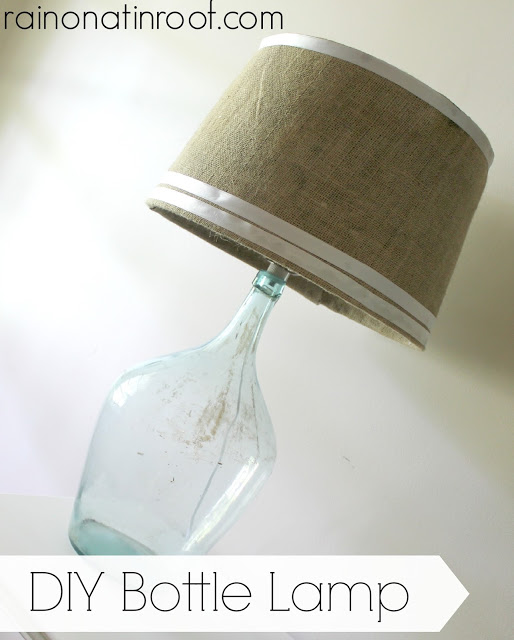
Find out how to make a lamp out of a bottle here.
And see how easy it is to make your own gorgeous agate slice lamp finials here.
You know you don’t wanna miss any of this crazy.
Sign up to get my posts delivered to your inbox here.
Stalk Me Here:
Pinterest / Facebook / Twitter / Instagram




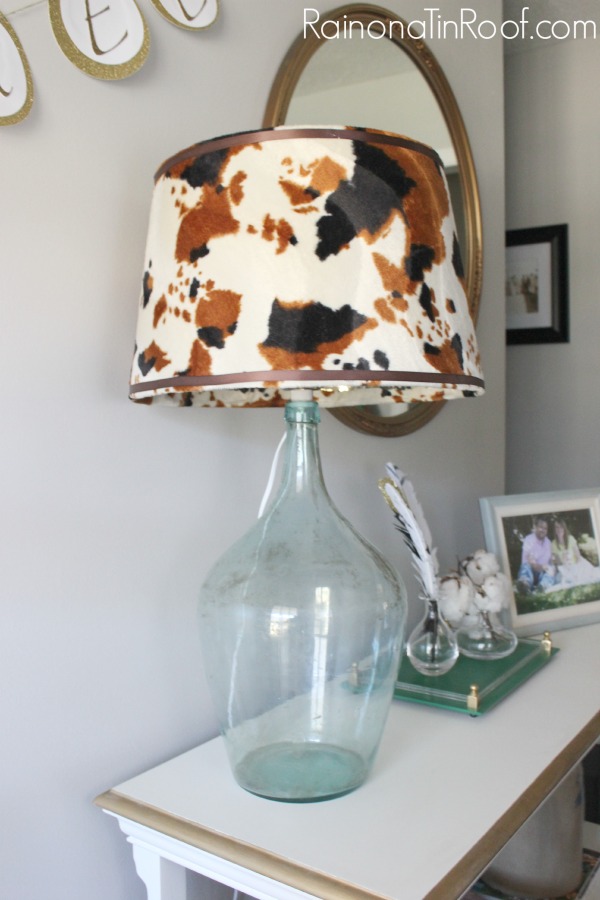

 I rolled the lampshade over the fabric to get a good idea of how much fabric I would need, then did a rough cut of the excess fabric.


 I sat the lampshade upright and snipped the fabric where the metal frame was, then hot glued those edges down and trimmed the fabric.

 And that’s it.