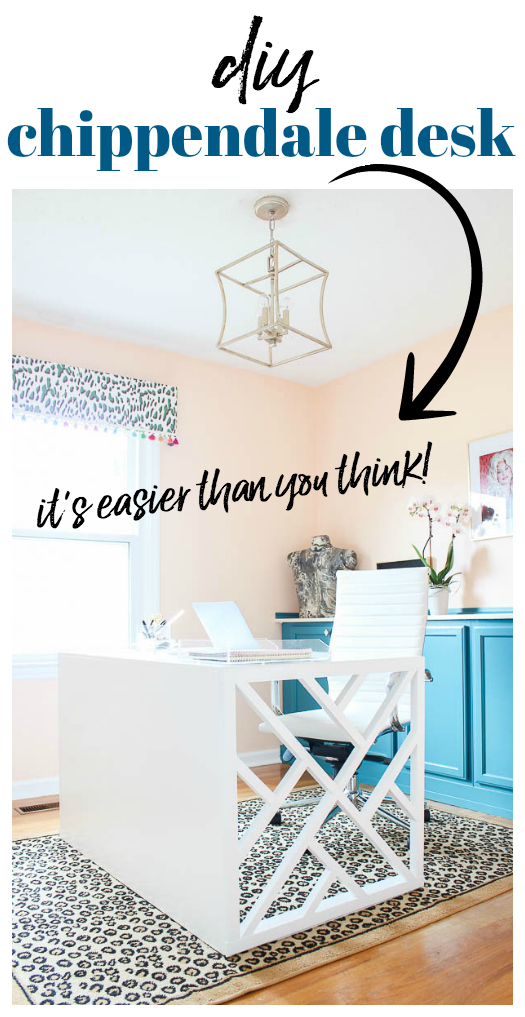
I almost gave up on this idea no less than 10 times.
I mulled over tons of different options and ideas for how to build this chippendale desk for weeks.
Nearly every idea I came up with seemed to eventually hold up a bright red STOP sign.
I would go back to the drawing board. Sometimes, I would even go straight to my computer and start searching for a desk I could buy because I just didn’t think this idea was going to work out.
But I kept coming back to it. I just couldn’t leave the vision I had in my head of this chippendale beauty behind.
And then magically, it was like it all came together. It was more than a light-bulb moment.
Actually, it was just a hell of a lot of back and forth in my head, troubleshooting, mulling over all the different ways it could possibly be done and then making Grunt be my sounding board for all the above.
But I did it.
Yes, I.
I built this little baby all by myself.

At first glance, that might seem like a big deal, but I assure you if I can do this, anyone can.
And don’t fret – you don’t have to make those chippendale panels yourself…
DIY Chippendale Desk
This post contains affiliate links for your shopping convenience. Click here to read my full disclosure policy.
Supplies & Tools Needed
- 2 Readymade Chippendale Panel Inserts – mine are these, these also appear to be the same ones on Amazon.
- 1 sheet of 1/2″ Sanded Plywood
- 1 – 1″ x 4″ x 6′
- 1 – 1″ x 2″ x 6′
- 12 – 3/4″ Corner Braces
- 4 – 1 1/2″ Corner Braces
- Wood Glue
- Circular Saw
- Drill
- Finish Nailer or Finish Nails and Hammer
- Caulk / Caulk Gun
- Primer – I used Kilz 2
- Paint of Your Choice – I opted for oil-based paint because it is the toughest paint out there and my desk gets some hard use. The color is Bit of Sugar by Behr in Semi-Gloss.
- Good Paint Brush and Roller
Cut List
• Using your circular saw, cut the sheet of plywood into two pieces:
- 1 piece should be 29″ x 48″ – this is going to be the front panel of your desk.
- 1 piece should be 29 7/8″ x 48″ – this is going to be the top of your desk.
• Using either your circular saw or a miter saw, cut the 1″ x 4″ x 6′ into two pieces that each measure 28 3/4″ long.
• Using either your circular saw or a miter saw, cut the 1″ x 2″ x 6′ down to 46 5/8″ long.
If you don’t want to do the cutting yourself, then usually your local hardware store will cut them for you.
Steps
Step 1
First, you’re going to need to reinforce your chippendale panels. When I first pulled my panels out of the wrapping, I quickly noticed that some of the fretwork wasn’t super secure. To keep all the fretwork in place, you want to put wood glue between all the joints.

Just squeeze a little bit of glue where every joint is, as noted above, then rub your finger over the joint to push the glue into the joint. Once that side of the chippendale panel is dry, flip it over and do the same thing to the other side. It might not seem like this is going to make a huge difference, but it really does. Wood glue is serious stuff.
Do this with both chippendale panels, front and back. Let the glue fully dry before proceeding to the next step.
Step 2
Now, you’re going to be attaching feet to the chippendale panels.
Lay both chippendale pieces down with the inside facing up. You’ll also need both of your cut 1″ x 4″ pieces (the 28 3/4″ long pieces) now too.

Run wood glue along the inside edge of the chippendale panel that is 28 3/4″ long. Be sure you are gluing on the right edge – the chippendale panels are not perfect squares!.

Place your cut 1″ x 4″ pieces along where you just ran your glue and secure it with a finish nailer or with finish nails using a hammer.

Stand your panels up.

Let this dry completely before moving on to the next step.
Step 3
Now, you’re going to attach the front solid panel of the desk.
Stand both chippendale panels up on their feet. Attach corner braces along the sides and foot of each panel as shown below.

You’ll use single hole corner braces, the 3/4″ inch ones along the chippendale panel and one double hole corner brace, the 1 1/2″ ones, where the foot is.
Place the 29″ x 48″ piece of 3/4″ plywood in front of the brackets, then attach the brackets to the plywood panel.
An important thing to note – before attaching the brackets to the plywood panel, make sure the screws aren’t too long and won’t go through the front of the plywood. Some brackets come with longer or shorter screws than others. If your screws are going to be too long for the plywood panel, then just go to the hardware store and buy shorter screws that have about the same size screw head as the ones that came with your brackets.

Step 4
Now, you’re going to put on the desk top.
Start by attaching four single hole braces (3/4″ braces) along the top edge (shown below) of the front panel of plywood you just attached.

Attach two more single hole braces (3/4″ braces) to each chippendale side panel along the top, as shown below.

Lay your 29 7/8″ x 48″ piece of plywood on top of the front panel of plywood and the side chippendale panels making sure everything is even and squared up how you want it, then just like you did with the front plywood panel, attach the top plywood panel to the corner braces you just installed.

Step 5
Now, for a little added support in the back of the desk, you are going to attach your cut 1″ x 2″ wood piece that you cut down to 46 5/8″ long just along the inside top at the back of your desk.

Place it so that it meets up with that inside frame of the chippendale panel.

Attach the 1″ x 2″ to the desk using the 1 1/2″ double hole corner braces on each side as shown in the image above.
Step 6
Caulk any gaps in the desk to give it a nice clean finished look. I caulked all along the places where the plywood met the chippendale panels.
Step 7
Prime and paint the desk.
I opted to prime my desk before painting it so the raw wood wouldn’t soak up too much of the paint. I was very glad I did because it allowed me to only need one coat of the oil-based paint, which we all know isn’t great fun to work with.

That was after the primer coat.
And the finished DIY Chippendale Desk….
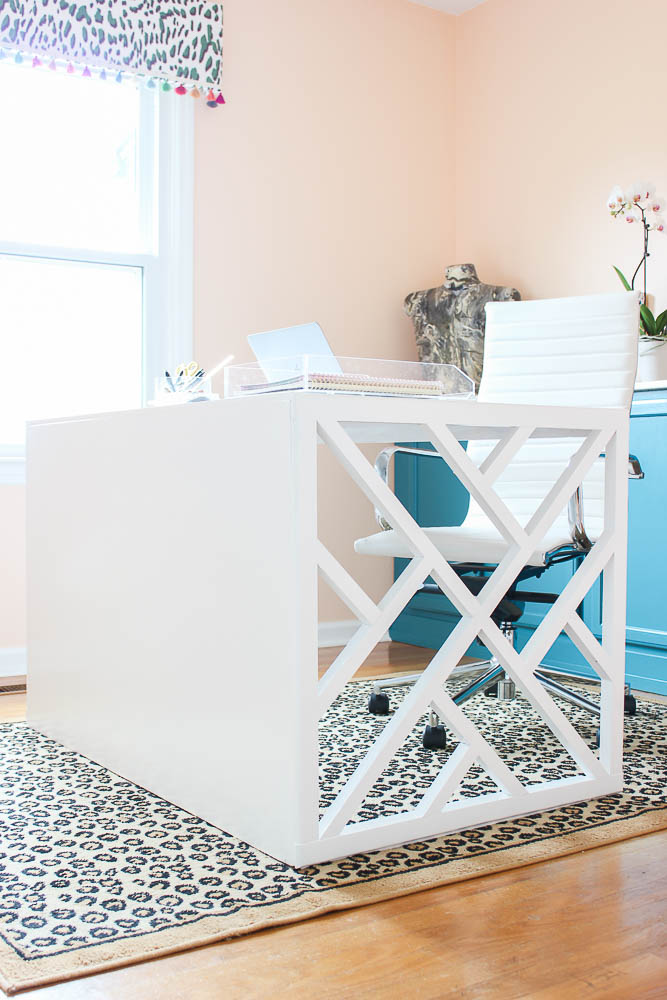
Desk Chair / Leopard Print Rug (similar)
Isn’t she a beaut? It is the perfect size for my smaller office with the perfect touch of interest.

So – do you think you’ll give this easy desk plan a whirl?
You might also want to see…
How I DIYed those Built In Cabinets:

The Full Office Makeover:

Budget-Friendly DIY Office Makeover

12 Stylish and Comfortable Office Chairs
If you want to come back to this project later, just pin the image below!