Tag: background

  • Easy Party Backgrounds for $10 or less (Video)

    Easy Party Backgrounds for $10 or less (Video)

    Having a great photography backdrop for any event or party is always fun for guests. Make this colorful rainbow backdrop in under an hour for just about $10.

    As you may well know, kid’s birthday parties can get expensive really quick.

    And I’m not even talking about their gifts. I’m talking about feeding everyone, decorations, invitations, etc.

    I like to DIY as many party decorations as I possibly can to save money.

    I first showed you my easy party backgrounds last year when I did one for the kid’s 1st birthday party. This year, I added a bit more umph to it.

    Easy DIY Rainbow Backdrop

    This post contains affiliate links for your shopping convenience. Click here to read my full disclosure policy.

    Rainbow Photo Backdrop

    To make these, you only need plastic rectangle tablecloths. Last year, I only used two different colors for the backdrop. This year, I started out using just green, blue, and yellow. The result was a very lemon-limey, Sierra Mist, Sprite looking backdrop.

    Not exactly what we were going for.

    Since the kid’s party was a Care Bear and Rainbow theme, I didn’t want that.

    Rainbow Photo Backdrop using Plastic Tablecloths

    I ended up going back to the party store and buying the other three colors of the rainbow (red, orange, and purple) and making a second backdrop to layer on top the lemon-lime one.

    To add the extra colors, I just left the lemon-lime background up on the wall, then pinned up the new colors and made a separate backdrop with them. The tutorial for how to make the basic party backdrop is here. After I had finished the new rainbow color background, I just ran my fingers through both and blended them together. You can also find the tutorial for that simple birthday banner here.

    Rainbow Color Background Tutorial for parties.

    You can watch the video below to see how to make one of the backgrounds. To make one with more than three colors, just layer another three different colored backdrops on top of the first one.

    [adthrive-in-post-video-player video-id=”yhS6773x” upload-date=”Tue Aug 16 2016 14:38:10 GMT+0000 (Coordinated Universal Time)” name=”Rain on a Tin Roof – DIY Party Backdrop” description=”Make this less than $5 and very simple diy party backdrop to spruce up any party! All it takes is a little time and three plastic tablecloths.”]

    Of course, it doesn’t have to be a rainbow background; you could use any colors you wish. These make the perfect photography backdrop to document those fun memories made at the party!

    Rainbow is better than lemon-lime any day of the week, right?

    I got my tablecloths from Party City at $2 each, however you could easily use ones from the Dollar Tree and have $6 in this bad boy.

    Have you made a rainbow party backdrop before?

    Need more DIY party decorating ideas?

    DIY Birthday Party Hat – so easy to make and easily customizable for any party colors or theme!

    Easy DIY Cake Topper – you just need stickers and some scrapbook paper for this adorable cake topper!

    And don’t miss all these simple DIY Party Decorations on a budget!

    If you want to remember this rainbow backdrop for later, just pin the image below!

    Rainbow background on a wall made using plastic tablecloths.

    You know you don’t wanna miss any of this crazy.

    Stalk Me Here:
    Pinterest / Facebook / Twitter / InstagramSaveSave

  • Party Background Tutorial with tablecloths for $5 (Video)

    Party Background Tutorial with tablecloths for $5 (Video)

    Looking for an easy party backdrop for an upcoming event? This one is your answer! This party background is super easy to make and costs just around $5 in supplies!

    This is the easiest and cheapest party background. In the history of ever.

    Really, I promise.

    Would I lie to you?

    Why absolutely not!

    This is one of the many DIY party decorations I made for my daughter’s 1st birthday party and it was also probably the easiest, but yet the largest scale one!

    Go figure, right?!

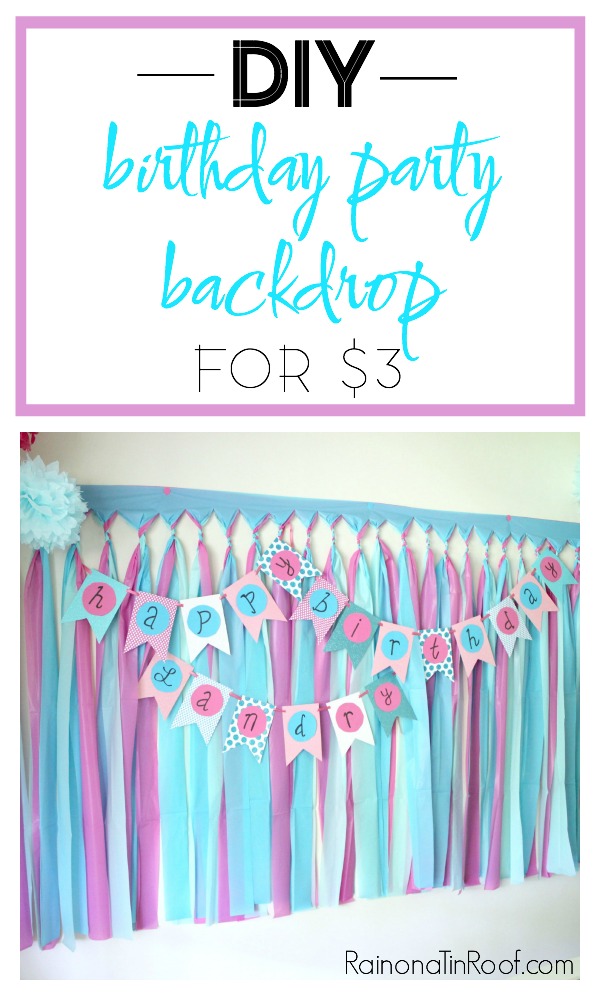
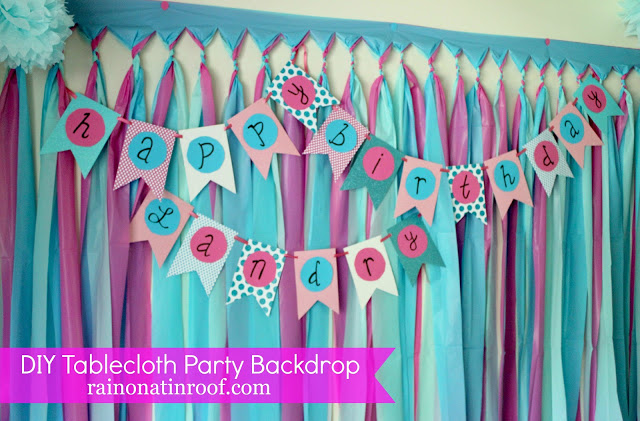
    DIY Party Backdrop made with Plastic Tablecloths - pink and blue - Rain on a Tin Roof

    This party backdrop costs about $3 – $6 to make depending on how much you spend on your plastic tablecloths. You can buy the $1 tablecloths for it at the Dollar Tree or you could splurge a little and buy ones that are about $2 or $3 at Party City. It’s totally your choice and it’s totally customizable – you can choose whatever colors you want to for it. Personally, I got my tablecloths from Party City because they have a huge variety of colors.

    To make this, you’ll need about an hour or so, but it’s an easy hour!

    Party Background

    This post contains affiliate links for your shopping convenience. Click here to read my full disclosure policy.

    Materials Needed:

    Steps

    The video below will show you exactly how to make the party backdrop step-by-step. I’ve also included written instructions below the video as well.

    [adthrive-in-post-video-player video-id=”yhS6773x” upload-date=”2016-08-16T14:38:10.000Z” name=”Rain on a Tin Roof – DIY Party Backdrop” description=”Make this less than $5 and very simple diy party backdrop to spruce up any party! All it takes is a little time and three plastic tablecloths.”]

    Step 1

    Determine if you want your background to hang horizontally or vertically. The one shown in this post you are reading now is hung horizontally because it worked better that way for the space I was hanging it on. I have made these and hung them vertically though as well. You can see a vertically hung party backdrop I did for the sparkly horses birthday party here.

    Step 2

    Once you decide which direction to hang it, open up one of your tablecloths and put it on the wall with thumbtacks. For mine hanging horizontally, it took 6 thumbtacks. Just start in one corner and tack it up as you go. Once you have the first tablecloth up, step back and decide if it needs to be leveled out in any places and adjust as needed. You can put the tablecloths in any order when it comes to color. In the end, all the colors basically mix together. If you’re really particular about one color showing more than the others, then put the one you want to show more as the last layer on top of the other tablecloths. There will be a little sliver of it that will show more at the very top.

    Step 3

    After the first tablecloth is up, open up another one and layer it on top of the first one. I did this by removing one tack at a time, and then putting it back through both tablecloths. Repeat with the third and final tablecloth.

    Step 4

    Next, take a pair of regular scissors and cut strips up to about 3-4 inches from the top of the tablecloths. You are going to cut all three tablecloths at once when you cut a strip. I didn’t even measure the width of my strips, I just eyeballed it. They were each probably around 3-4 inches wide.

    Step 5

    Once all your strips are cut, you are going to braid each set of strips together. Start on one side of the backdrop, take your first set of strips (one of each color that you cut at the same time), and braid them together from the top down. You only want to braid down far enough to hold the strips together. You don’t have to start with a certain color and end with another one. Just braid each set together – once more, all the colors will blend together in the end. Here is how mine looked when I braided it after I had cut all the strips.

    Party Backdrop

    Once you have braided all your strips, you’re done!

    Birthday Party Backdrop

    Told you it was super simple!

    The white thumbtacks were driving me crazy at the top, so I punched out balloon shapes from pink & blue card stock and put them over the tacks with square photo mounts.

    DIY Party Backdrop: Helpful Tips, Tricks, and Questions Answered

    Can I make this ahead of time and then take it to the party location and hang it up there? 

    Yes. What I would suggest doing is lay all the tablecloths on the ground, if you don’t want to put them on your wall. Put some heavy books or something similar along the top to keep them in place, then cut the strips and braid them as stated above. Once braided, you should just be able to pick it up and take it with you.

    Could I do this with more than three colors? 

    You bet! I did this same backdrop with six colors right here!

    Could I staple this together and then attach it to a wall with tape? The place the party is located at doesn’t allow thumbtacks in their walls.

    I definitely think you could staple it together along the top. As for the tape, I would recommend using a wide width FrogTape. It’s strong, but shouldn’t take the paint off the walls.

    Have you ever made a DIY party background before?

    See how I put a spin on this backdrop for the kid’s 2nd birthday by layering in more colors here!

    Looking for more easy DIY party decorations?

    Birthday Photo Collage – perfect for birthday parties, graduations, anniversaries and more!

    DIY Party Banner – no fancy cutting machines required! You’ll just need scrapbook paper and scissors!

    DIY Bunting Cake Topper – another one where you’ll just need some scrapbook paper!

    DIY Cupcake Pedestals – so cute, yet made from thrift store finds!

    DIY Party Hat – if you’ve got five minutes, you can make this adorable party hat!

    Want to come back to this birthday party backdrop idea later? Just pin the image below!

    DIY Party Backdrop with Plastic Tablecloths | DIY Party Background | DIY Party Decorations | DIY Party Decor | Party Backdrop DIY Ideas

    Hang out with us on social media!

    Facebook | Instagram | Pinterest | Twitter

    SaveSaveSaveSave