Hi Friends!
I was secretly MIA last week on a beach vacation. It was great, but of course I’m playing catch-up. So today, I’m going to share the last of my DIY party decorations from the Care Bear & Rainbow Birthday party.
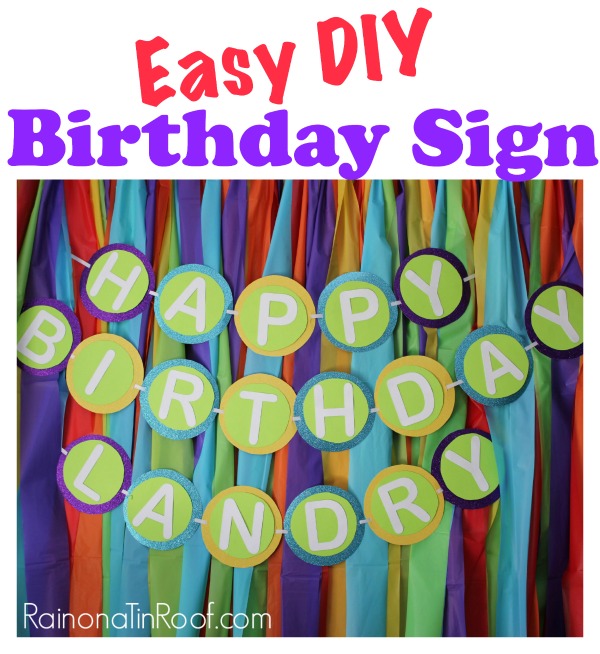
This Happy Birthday sign was easy to make and got the job done.
 This post contains affiliate links for your shopping convenience. Click here to read my full disclosure policy.
Instead of going with a bunting or flag shape like last year’s banner, I opted for simple circles this year.
This was real technical, y’all, so pay very close attention.
If you know anything about me, then you know that last sentence was a lie.
Materials:
Cardstock in colors of your choice, 12 x 12 size – This is for the background circles. I used 10 sheets total. If you are just doing “Happy Birthday,” you will only need 8 sheets. I used glitter card stock as the biggest background circle and regular card stock for the rest.
Cardstock for the letters – 5-6 sheets
Scissors
Silhoutte (optional)
2 Round Objects – 1 slightly smaller than the other
Skinny Ribbon
Pencil
Steps
Step 1
Flip over the card stock you will use as your biggest background circle. This was the glitter card stock for me. Place the largest circle object over it and trace around it. I got four circles on one 12 x 12 sheet.
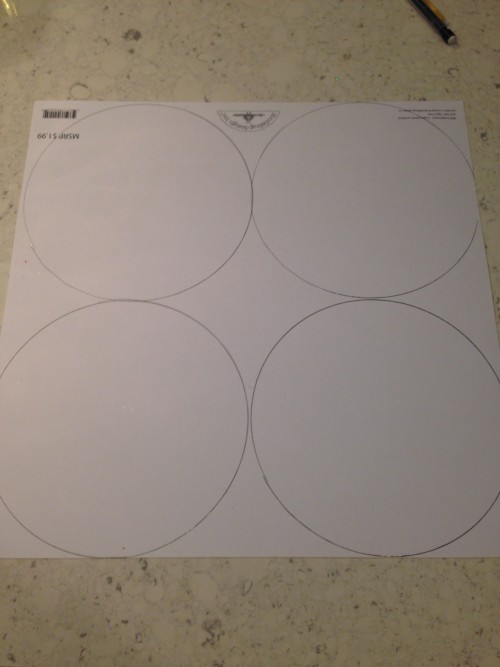
Repeat this on all the card stock you will be using for your biggest circle. Cut them out
Step 2
Trace the smaller circle over the backside of the your other card stock, then cut them out.
Step 3
Glue the smaller circle onto the larger circle. I used hot glue for this.
Step 4
For the letters, I used my Silhouette. You can do that, or you can use large sticker letters or trace some and then cut them out like I did here.
Step 5
Adhere the letters to the top circle.
Step 6
Cut small slits on each side of the circles and weave ribbon in out and to connect them.
Sorry for the lack of pictures to go along with the steps. I kind of, umm, waited till the last minute to get this done and had no time for photos. Its so simple though, you don’t even need them.
I used thumbtacks to put it on the wall and hid them behind the DIY party backdrop– easiest backdrop ever!
Have you made a happy birthday sign before?
You can find loads more DIY party decorations here.
You know you don’t wanna miss any of this crazy.
Sign up to get my posts delivered to your inbox here.
Stalk Me Here:
Pinterest / Facebook / Twitter / Instagram