Gray is the hot new choice for wall color these days and after just giving my kitchen, living room and dining room walls a fresh coat of Repose Gray, I can see why! This color is a true gray color and was the perfect choice for us! And the icing on the cake? I used a cool, new tool for painting my walls and it made the job so much easier!
That’s right.
I went gray.
Not with my hair yet, though.
Thank the Lord.
Because when the kid tries my patience, its like I can just feel the color fading from my hair, as well as my sanity quickly disappearing.
But right now, just my walls are gray, repose gray to be exact.
Things do change quickly around here though, so here’s hoping there are no gray hairs in my near future.

Repose Gray Walls + The Easiest Way to Paint a Room
Disclosure: This post is sponsored by HomeRight. Y’all know how I roll though, all opinions are 100% mine. This post contains affiliate links for your shopping convenience. Click here to read my full disclosure policy.
Tools & Supplies Used:
- Sherwin Williams Repose Gray Paint – while this is a Sherwin Williams color, we actually had it mixed in Behr paint at Home Depot. They can mix colors of just about any paint brand, just tell ’em the name and brand!
- HomeRight PaintStick EZ-Twist – makes painting a breeze!
- QuickPainter for edging around trim and the ceiling.
Ever since we moved into our rancher and made a mad rush to finish the renovation in two months, I was never really 100% happy with our previous wall color. No doubt, it was my fault – the mad rush took over and I lost all sight of actually taking my time on selecting colors. The same happened in my bathroom, the nursery, the guest room, and our bedroom.
And that’s pretty much every room in our house.
And that’s a lot of re-painting.
Its no big surprise that it took me two years to even begin thinking about re-painting our main living space.
Enter the HomeRight PaintStick EZ-Twist.
 Y’all I painted our entire main living area (that includes the kitchen, living room, dining room, entryway, and hallway) in about four hours with this bad boy.
How to Use the EZ-Twist for Painting Walls
It comes with a big paint stick (as if its name didn’t already allude to that), a roller, a roller cover, and a suction tube and cover for your paint can.
Step 1
Attach the roller to the stick.

Step 2
Attach the roller cover to the roller.

Step 3
Place the suction tube and cover over your gallon of paint.

Step 4
Put your PaintStick EZ-Twist onto the suction tube and pull the paint into the handle of the tube by pulling back on the inner tube.

Step 5
Take the EZ Twist to your walls, twist on the end of it to make the paint come up into the roller cover and start rolling your paint on the walls!
There is no running back and forth to your paint tray hundreds of times.
There is no messy tray to trip over and track paint all over your floors.
Yes. That has happened to me before.
When your roller needs more paint, you simply twist the handle and keep rolling.
 When you have finally ran out of paint in the handle, just go fill it back up.
To edge around all the trim in the areas we painted, I used the HomeRight Quick Painter.
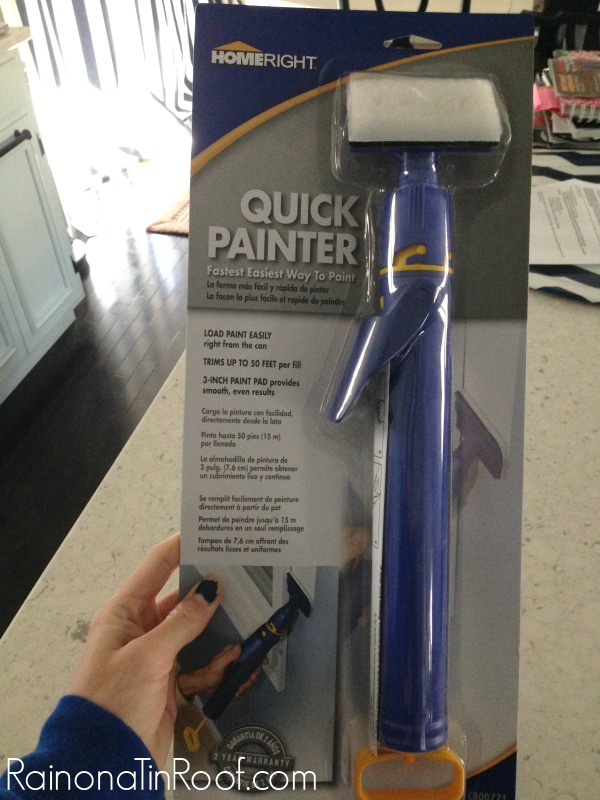
How to Use the Quick Painter
Step 1
Suction the paint right into the handle of the Quick Painter.

Step 2
Place the paint pad on the handle, squeeze the trigger and paint the town, I mean edges.
Want to see the final product?
The Repose Gray in all its glory?
The Entryway


The Kitchen

I especially love how the gray made the subway tile pop a bit more in the kitchen.

Gray Walls in The Dining Room


Gray Living Room


 You can see the boring beige walls of yesterday here. They weren’t terrible, they just weren’t that pretty.
And we all know I like pretty things.
And functional things.
That make my life so much easier.
Sign up to get my posts delivered to your inbox here.
You know you don’t wanna miss any of this crazy.
