Something happened after I stripped and re-stained the buffet in the living room.
After a few weeks, I started missing the red.
Not the red on the buffet itself, but just the color red in general.
Apparently, not only are my beloved colors kelly green and navy, but also a bold red.
This really isn’t surprising. Red was always my favorite color growing up. I’m quite sure it became my favorite color when Reba wore the red dress.
If you know the dress I’m talking about, then we are kindred spirits.
So I started hunting for something to paint red.
Que Lorrie Morgan’s Something in Red.
Sorry, I’m not quite sure how this post has become about country music of the 90’s.
And I happened upon my great-grandmother’s china cabinet turned liquor cabinet.
I know. I know. You can judge me. It won’t bother me at all.
It was time for a change.
And not just a change in color, but also a change in location.
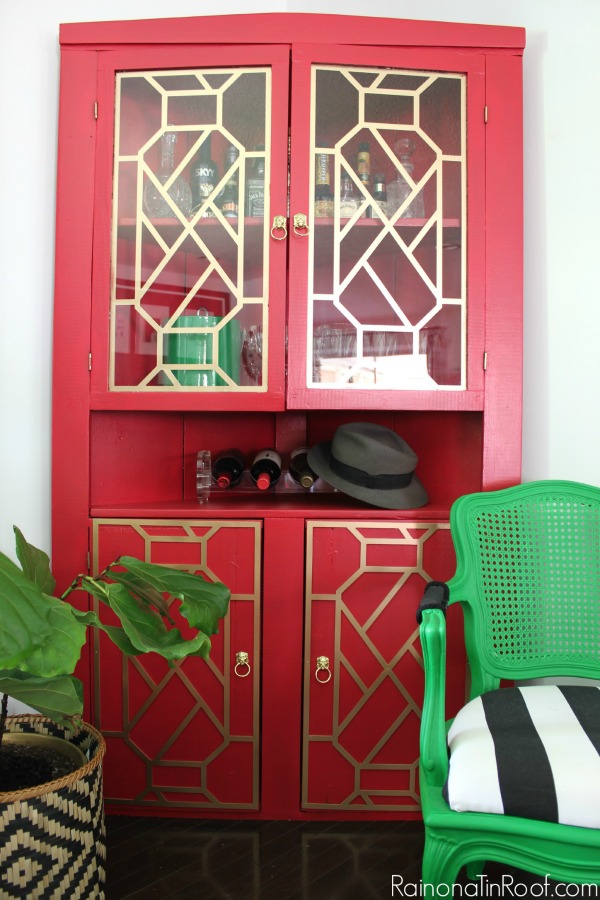
I know, right. It went from flat black to vivid red.

Disclosure: This post was a collaboration with Velvet Finishes and O’verlays. However, all opinions and references to 90’s country music are 100% mine. This post contains affiliate links for your shopping convenience. Click here to read my full disclosure policy.
It also moved from the dining room to the back corner in the living room.
Here’s what we did…
Liquor Cabinet Makeover + Adding Fretwork to Furniture
Supplies & Materials Used:
- Velvet Finishes Ready
- Velvet Finishes Vivid (Red)
- Velvet Finishes Protect
- O’verlays Cheryle Fretwork Panels (I used 4)
- FrogTape
- Wood Filler + Sandpaper (to fill old hardware holes)
- Finish Nail Gun or Wood Glue (for securing fretwork to bottom doors)
- Panel Clips (for securing fretwork behind glass doors)
Step 1:
Before doing anything, I took off all the hardware, including the “campaign” corners that I had added to the piece a while back.

I used wood filler to fill the holes and then sanded it smooth when dry (there’s a full tutorial here about filling holes). After that, I wiped the whole piece down with Ready to pick up any dirt and dust, then taped off the glass with FrogTape. This piece is so heavy that I painted it right there in the living room. Moving it from the dining room to the living room was a job, so once it was there – it stayed. For that reason, I also taped off the flooring around the cabinet.
Step 2:
After the prep work was done, which wasn’t much at all, I started painting the piece Vivid.

Vivid is a true red hue from Velvet Finishes. It took about four good coats to even out the red. If you have painted anything red before, you know it takes a while to even out the color. At my old house, I put eight, nope, not kidding, eight coats of red paint on the kitchen walls before the color evened out. Luckily, this paint didn’t require near as many coats.
Step 3:
After the paint was good and dry, I went back over the piece with Protect.

Protect is a satin poly topcoat. Velvet Finishes already has a topcoat built in, but this piece takes a good beating seeing as how we like our drinks around here, so I gave it some added protection.
Step 4:
While the Protect was drying, I painted the O’verlays.

O’verlays are decorative fretwork panels that you can add to furniture to up your makeover game. 🙂
That’s the Jenna definition anyway.
Really though, they are super cool. There are tons of designs to choose from and you can have them custom sized for your furniture. If you want to makeover an IKEA piece, they already have panels for those pieces sized and ready to go. How cool is that?
I went with the Cheryle panels. They came to me primed white. I had toyed with the idea of leaving them white against the red, but in the end, gold won out. I gave them a few coats of gold spray paint.
Step 5:
Once the panels and cabinet were fully dry, I used my nail gun to attach the panels to the lower cabinet doors. You could also use a glue as well. The top panels went behind the glass. I used these panel clips to keep them in place.
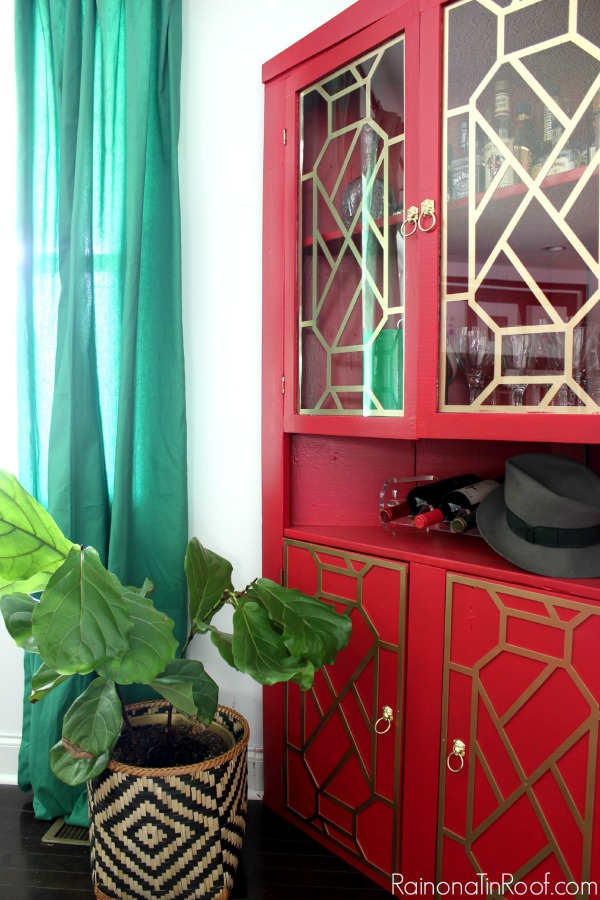
Its vivid, its bold, and I love it.

I kept the lion hardware, but I have to say, I think it pops so much more with the red and gold fretwork than it did before.

And the fretwork? Ahhh, the fretwork – well that was just the icing on the cake, darlin’.
So tell me, are you seeing red now? The good kind?
Looking for more bold and daring furniture makeovers?
DIY Tuxedo Bar – yes, it looks like a tuxedo. I’m serious.
Malachite Credenza Makeover – I like to call this one party on top, business in the front.
Bold and Beautiful Furniture Makeovers – very bold, very very beautiful.



 The top part, the hutch, actually came with that
 Once the table was in place, we set the hutch on top of it, then Grunt Labor found a stud and secured the hutch to the wall with a screw.
 I painted it all glossy black to match the

 And added a fun pillow to keep me workin’ hard.
 And I love it. I seriously love working in this space every single day. I smile every time I look at my new office space.

 I picked up flat corner braces from Home Depot a few months back . They already came in a brass color, but I wanted them more gold, so I spray painted them, then screwed them into the corners of each door.
 I also switched the old wrapping paper out with a new roll I got at HomeGoods for $3.
 $13 for a hutch makeover with big bang?