Have a small space where you’d like to fit in a wall mounted desk? Need a little storage there too? You’re in the right place then! This DIY wall mounted desk is a simple build that folds down to reveal space for your computer or writing and hidden storage.
This project has only been completed for a month or so and I can already confidently say that it is hands-down the Circus’ most favorite thing I’ve ever made her – a wall mounted drop down desk.

Y’all, she is at this desk everyday. In fact, before I could even get photos of it, I had to give it a good wipe down because she’d already gotten marker ink and glue on it from her various art projects.
And from a mama’s point of view, it is so nice to have all her art supplies (sans paint because we ain’t letting her run wild with paint just yet) in one place. And to be able to just close it all up and hide the mess is the icing on the cake.

This DIY desk can easily be made to work for both kids and adults. For adults, you’ll just want to raise up the mounting height a bit and possibly increase the overall size of the desk. For me though, even as an adult the size is more than adequate.
This post contains affiliate links for your shopping convenience. Click here to read my full disclosure policy.
DIY Fold Down Desk
Supplies and Tools Needed
- 1″ x 8″ x 8′ Common Board
- 3/4″ Sanded Plywood Project Panel
- 1″ x 2″ Furring Strip
- Pegboard Project Panel
- Two Magnetic Door Catches
- 1 Pair of 90 Degree Surface Mount Hidden Spring Hinges
- 1 Lid Support Left Hinge & 1 Lid Support Right Hinge
- Pegboard Hooks
- Pegboard Baskets
- Knob for Pulling the Desk Down With
- Paint Colors of Your Choice – The Circus chose Tropical Sea and Yellow Groove. We got sample pots of each and those covered our entire desk. We also spray painted the pegboard baskets with this French Lilac color.
- Drill
- Wood Screws – around 1 1/2″ – 2″ long and about 15 total.
- Wood Screws – around 3/4″ long and four total.
- Small Drill Bit for making Pilot Holes
- Circular Saw
- Stud Finder
Cut List
Make the following cuts using either a miter saw or circular saw.
1. Cut the 1″ x 8″ x 8′ piece of wood into the following lengths:
- Two pieces that are 28″ long
- Two pieces that are 17 7/8″ long
2. With the remaining 1″ x 8″ piece of wood that is left, cut four small squares. These don’t have to be perfect at all.
3. Using a circular saw, cut the 3/4″ plywood project panel down to 28″ x 19 1/2″.
4. Using a circular saw, cut the pegboard project panel down to 26 3/8″ x 17 7/8″.
Steps
Step 1
Gather your measured and cut four 1″ x 8″ pieces, drill and longer wood screws.
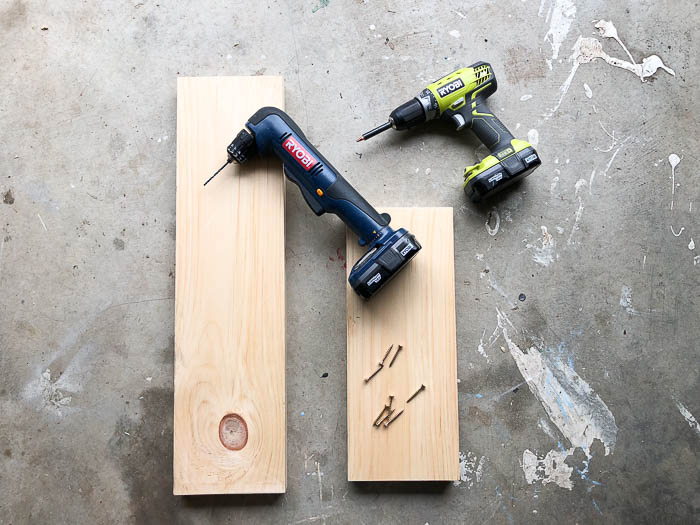
Arrange the boards as shown below.

Attach each longer 1″ x 8″ piece to each shorter 1″ x 8″ piece at the end of each board using two screws on each board. Drill a pilot hole first and then drill your screws in.
To keep these pieces from ever coming apart, you can also apply wood glue along the edges of the boards before attaching together with screws if you wish. We did not do this, as I do think it’s strong enough as is, but if you’ve really got a rough and tumble kiddo, this could be a good idea.
Step 2
Lay your cut plywood panel on top of the 1″ x 8″ frame to make sure it fits properly. It should cover the entire frame.
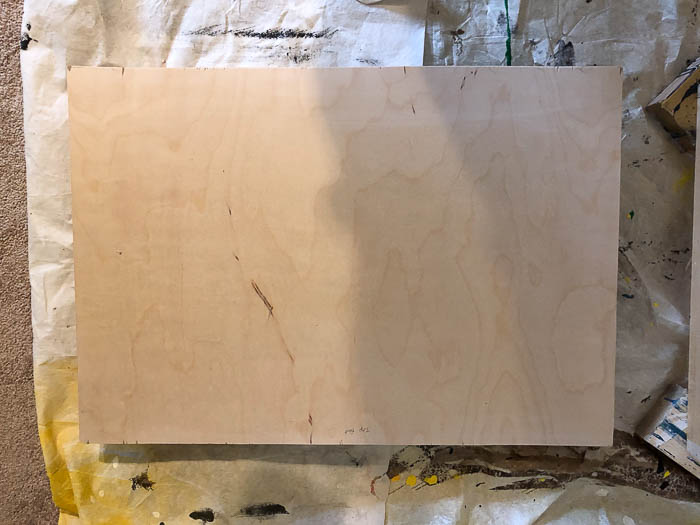
Adjust as needed.
Step 3
If you plan to paint your desk, go ahead and do so now. The Circus wanted two colors, so we painted the frame Tropical Sea and the drop down portion of the desk Yellow Groove.
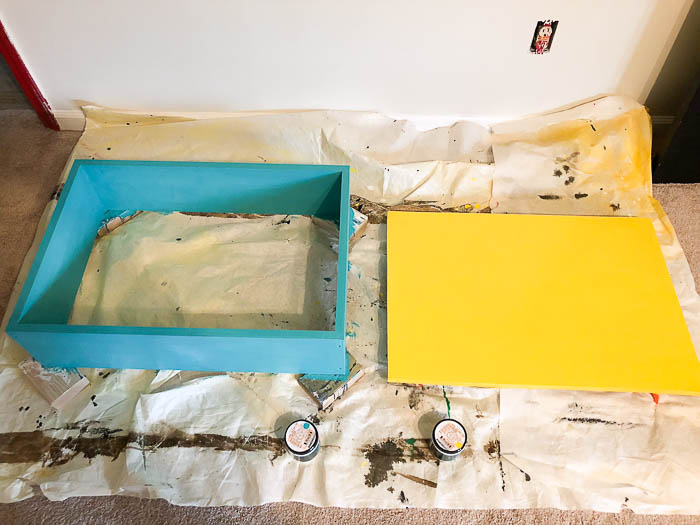
After the yellow was dry, she also made a design with tape to block off a few areas to paint the Tropical Sea on as well.

Step 4
Get your cut piece of pegboard, the four small 1″ x 8″ square pieces you cut and the longer wood screws.

Place a square in each corner of the backside of the desk frame. Drill a pilot hole and then fasten the square wood piece to the desk frame with one of your longer screws.
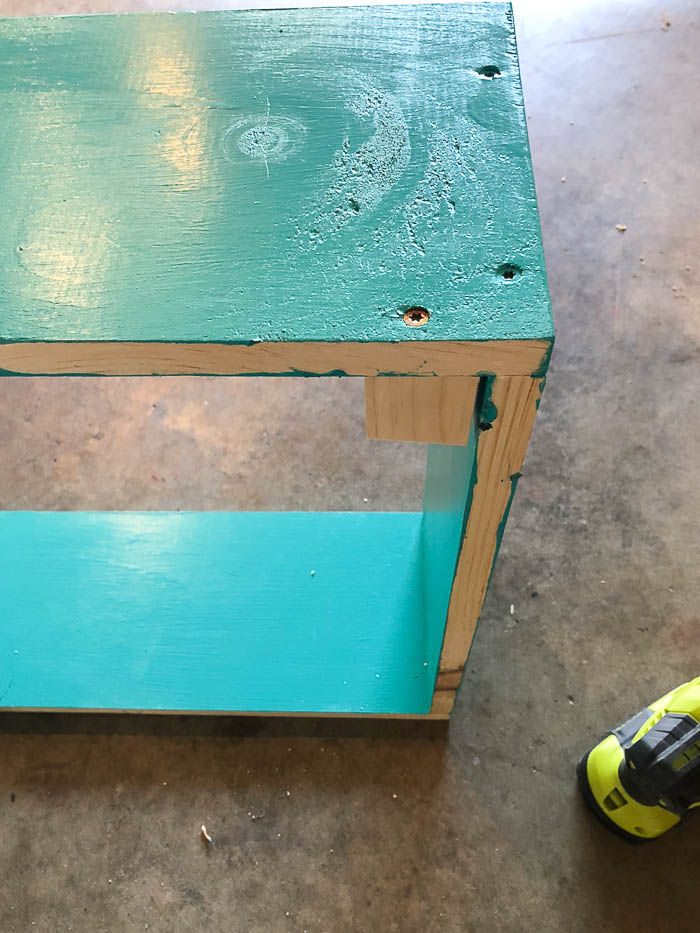
After you’ve attached all four wood pieces, place your cut pegboard piece through the front of the desk frame and attach it to each wood square using a smaller wood screw.

Step 5
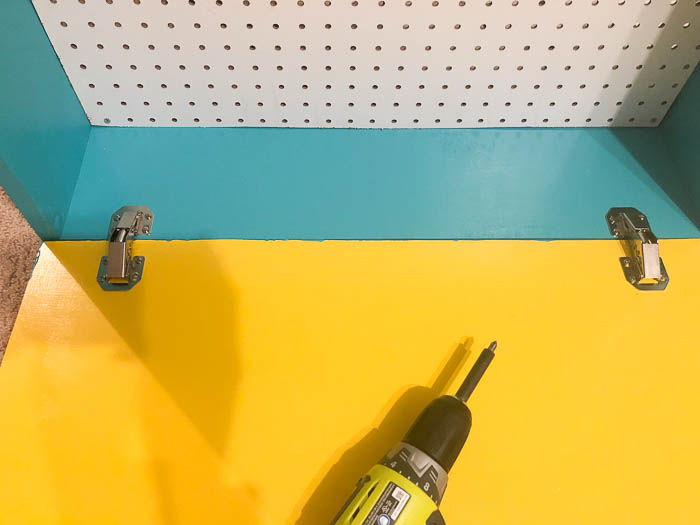
Lay your drop down desk front on it’s face directly in front of the desk frame.
Attach the frame and desk front together by using the 90 degree surface hinges.
Step 6
Get both your left hand lid support hinges and your right hand lid support hinges. Attach each following the package directions.
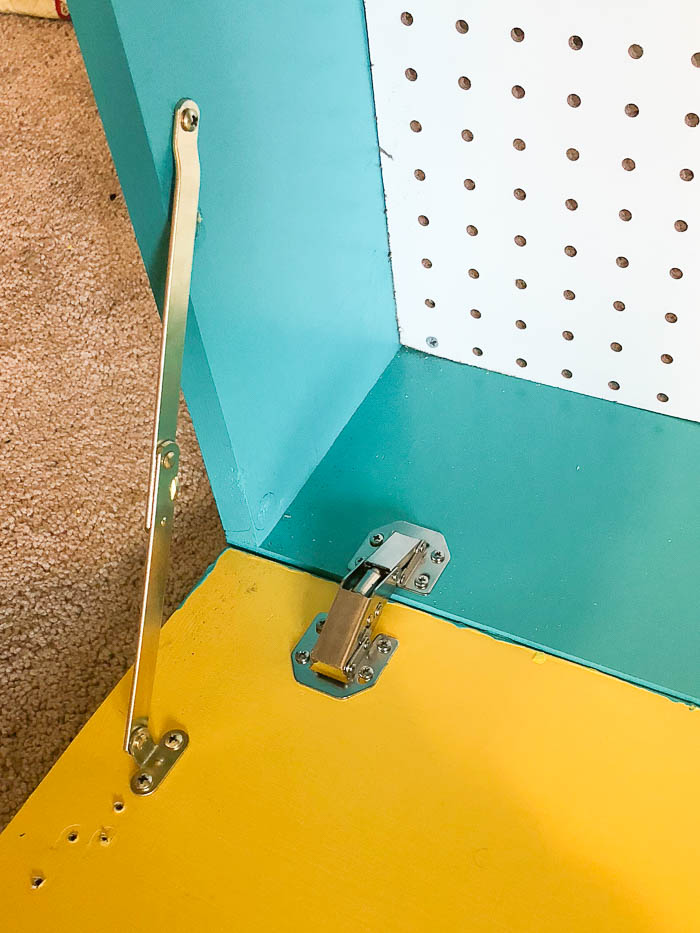
An important thing to note here is that you might have to play with these right and left hinges a bit. For me, the lower portion that goes on the drop down front needed to be scooted in a bit more than what the package directions said (as you can see from my holes above!). This could vary from different brands of hinges. If you do have to play around with it and end up with a few holes, just fill with wood filler, sand and paint over them.
Step 7
Attach the magnetic latches at the top of the drop-down desk frame and lid using the mounting instructions on the package.

Step 8
Attach whatever pretty knob you’ve decided to go with on the top front of your drop-down desk.
Step 9
Determine where you want to hang your new DIY drop down desk. To do this, I had the Circus sit on the seat I knew she would be using at the desk and then held the desk up to see where it would be best to hang it for her. Make a mark on the wall where you want it to hang.
Grab a stud finder and mark all the studs in that area.
On the back of the desk, measure the area between the top two wood squares you attached in the corners. Cut your 1″ x 2″ furring strip to that length or slightly less than.
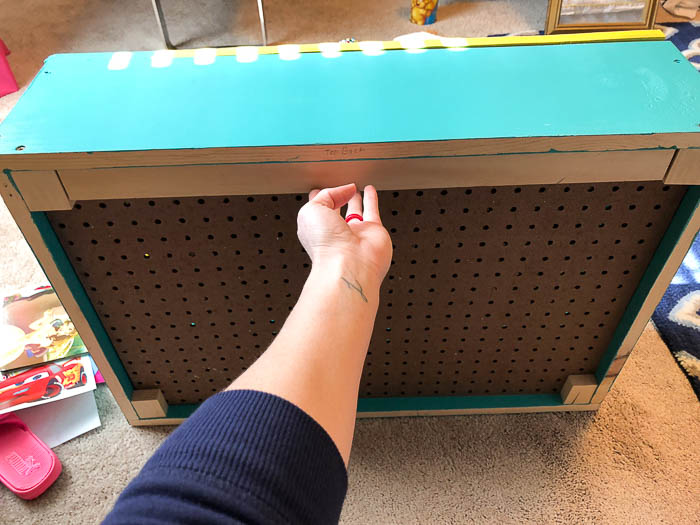
Place the furring strip on the wall and attach it to the wall where studs are using your drill and the longer wood screws.

Use a level to check for levelness before placing the second screw into the furring strip and wall.
Step 10
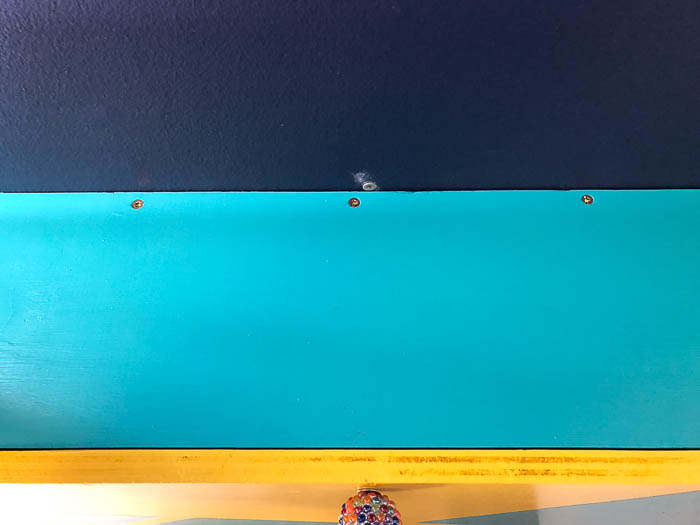
Place the drop down desk on top of the furring strip. Using your longer wood screws, attach the desk to the furring strip you just attached to the wall. I put three screws along the back of our desk top as shown below.
Drop it down and enjoy!

She absolutely loves this thing.

We used pegboard hooks to organize and hang most of her art supplies.

The two purple baskets are part of this set of pegboard baskets that we spray painted. The other baskets are from the Dollar Tree.
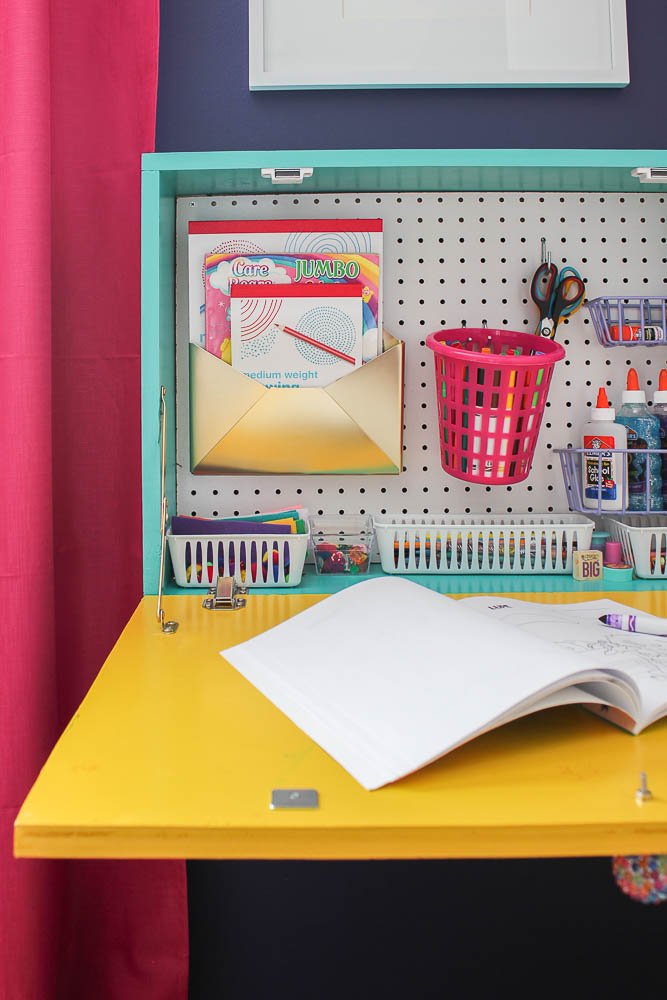
We also placed a few other Dollar Tree baskets along the bottom to hold colored pencils, crayons and random other art supplies.
Hands down, this space saving wall desk is the best thing I’ve built for the kid so far!
Have you made a DIY wall desk before? Need one anywhere? 🙂
Want more great ideas for your kids?
DIY Dress Up Closet– so easy to make and they will love it!
Easiest Ever DIY Lemonade Stand– great for those budding entrepreneurs!
Easy DIY Children’s Stage with Hidden Dress-Up Clothes Storage– they will love you forever for making this one!
If you’d like to save this diy desk build to refer back to later, pin the image below!

