One thing I desperately wish I would have known, or I should say, realized, when I started blogging was how important photos are – and therefore, how important your photography tools and knowing how to use those tools properly are.
Photos are a huge part of a successful blog – well, at least a successful blog in the DIY and home decor niche.
We need clear, sharp, gorgeous photos. These tools and classes will help you get just that.
My Favorite Blog Photography Tools
This post contains affiliate links.
1. Canon EOS Rebel T5i
 This camera is one of my favorite things in the whole wide world. It takes great images, is reasonably priced for a camera of its nature and is, after a little teaching, easy to learn how to properly operate.
2. Photographing Interiors Photography Course

Learning how to use your camera to its full advantage in order to get gorgeous interior shots for your blog is priceless in your blogging career.
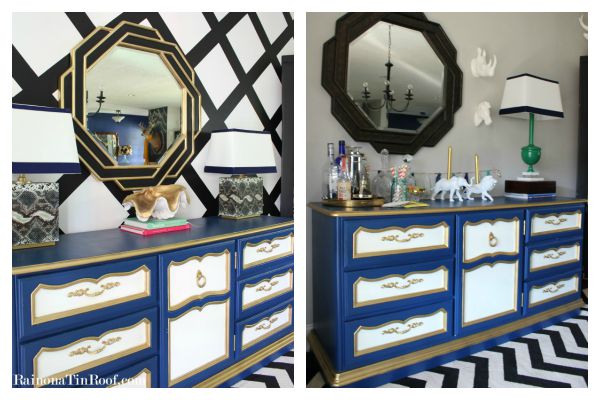
The photo on the left was taken after I learned how to use my camera properly and edit photos. The one on the right was before I knew what in the heck I was doing when I took pictures!
I highly suggest taking a photography course that teaches you not only how to use your camera correctly, but how to edit photos as well. My personal favorite photography course and what has been incredibly beneficial to me is Photographing Interiors. Rachel, the creator of the course, has had countless photos featured in multiple publications. When you take this course, you are literally learning from the pro.
3. 50mm Fixed Lens
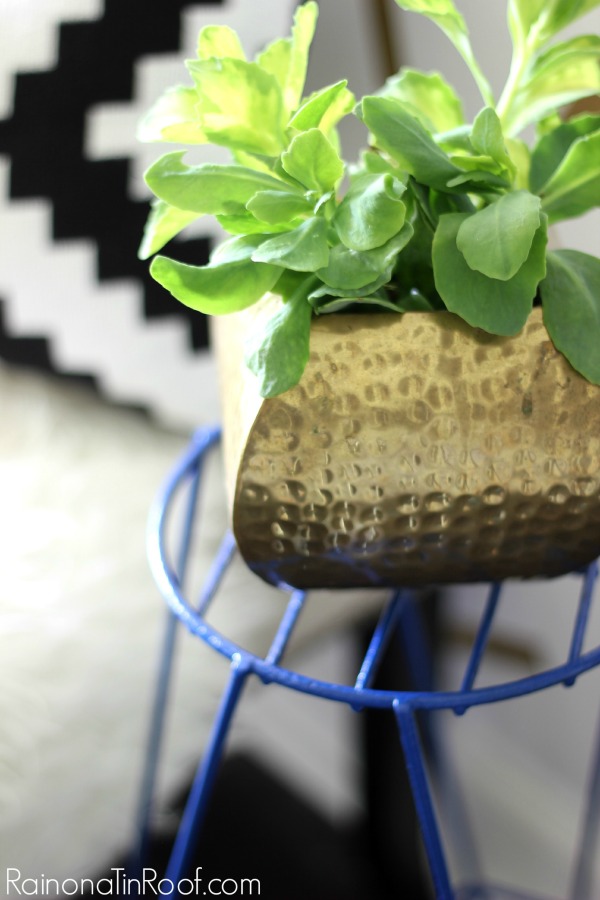
 After you learn how to take photos properly, you’re going to want a 50mm fixed lens. This lens gives that gorgeous blurred background in photographs. It is fixed, so that means it doesn’t zoom in and out – you have to physically move to get the shot. Its a little weird in the beginning, but you will get used to it – and you’ll be so glad you did. Here’s an example of what I’m talking about with the blurred background:
4. A Good Tripod

If there is one thing you don’t want to skimp on, its a tripod. Trust me on this one. If you opt for a cheap one, most likely, its going to tumble over with your camera on it one day. Now, you may barely catch it in mid-air and all will be saved, but you won’t want another traumatic situation such as that again – not that its happened to me or anything before. This Dolica tripod is well worth the money spent.
5. External Flash
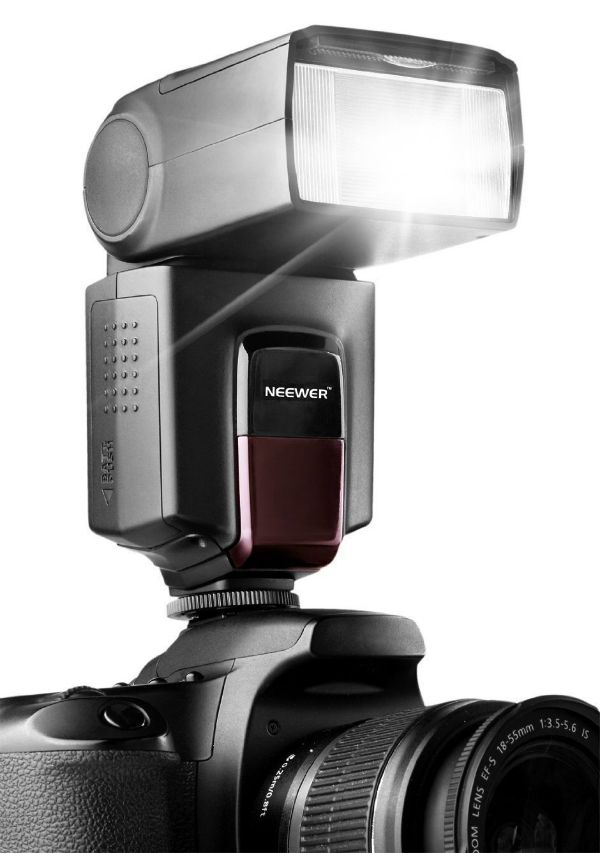
If you ever find yourself taking photos in a room with zero natural light, you’ll wish you had an external flash. With a regular flash – the one already on your camera – the light is focused right on the subject in front of it, therefore often distorting the color of the photograph. With an external flash, you can rotate it anyway you need to bounce the flash. Typically, you want to bounce the flash off of something white, so I always rotate my flash toward the ceiling.
The image above was taken in the man cave – where there is zero natural light, y’all. I used my external flash and bounced the light off the ceiling to get crisp photographs.
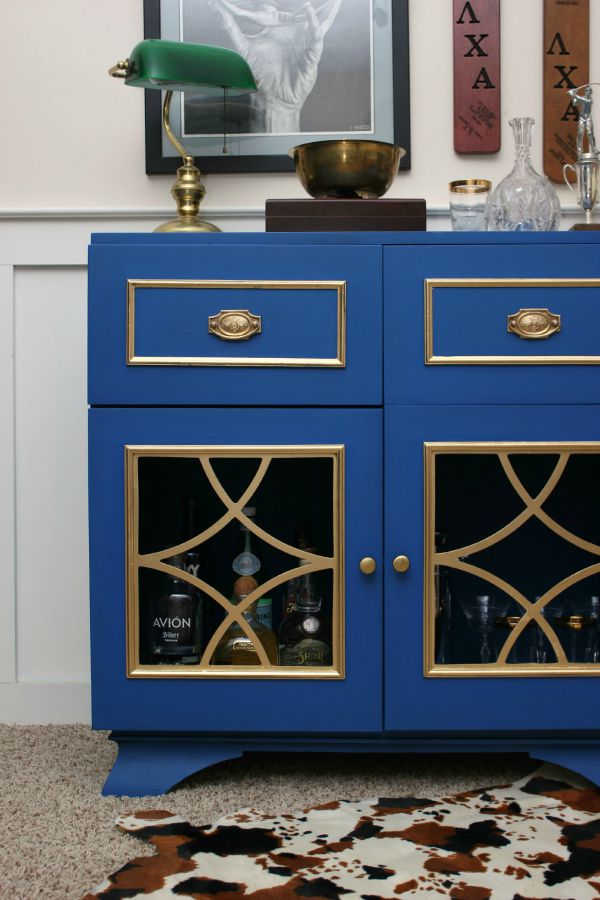
Here’s another example of a photo shot with an external flash.
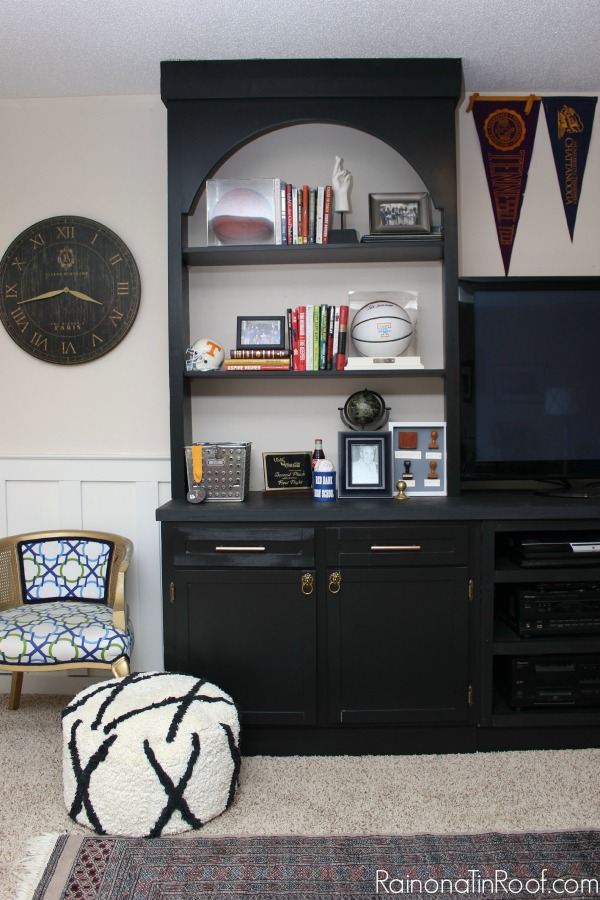
Once more, there was zero natural light in this space, and leaving the overhead lights on gave me a yellow color on the photos that looked terrible. I turned off all the lights and used my external flash to light the image and keep the color correct.
This Neewer flash has been a lifesaver for me – and best yet, it was only around $30.
6. Remote Switch
 Anytime that you have to set your camera on a tripod and slow down the shutter speed substantially to increase the light intake, you are going to want a remote switch. If you use the regular shutter release switch on your camera, you risk moving the camera and causing the image to be blurry. This blurriness can be caused by the slightest move or shake. A remote switch allows you to release the shutter without touching the camera, eliminating this problem.
What are your favorite tools for taking photographs?
