The Circus and I have trekked through some interesting places in our yard sale and estate sale adventures. There are times I pray she doesn’t blurt out something about how bad it stinks wherever we are or how dirty the place is. Oftentimes, I bathe her in Germ-X when we get back in the car. Sometimes I pray there isn’t a psychopath waiting for us at the end of a long hallway in a dark basement.
The latter scenario is how I came to find this little gem.

Unfortunately though, this little gem was quite rough to begin with. The whole thing had to get a new paint job and the upholstery….

Whoo lawd, the upholstery, it was bad. It was greasy and grimy and after I loaded that thing in my truck, I’m certain I used an entire thing of hand sanitizer on my hands. That being said though, I bought it from a sweet old lady who was moving and honestly, I just don’t think she was able to get up and down those stairs to clean it anymore, bless her heart.
My first thought was that I would have to replace the upholstery completely, but I really loved that cute yellow piping on the cushions. So, instead I decided to try cleaning it with a cleaner I had used on a Mid-Century Modern sofa and chairs that had been in similar condition when I purchased it.
And it worked.
Like a charm.
How to Clean Vinyl Upholstery
This post contains affiliate links for your shopping convenience. Click here to read my full disclosure policy.
- Zep All Around Cleaner and Degreaser
- Scrub Brush
- Paper Towels
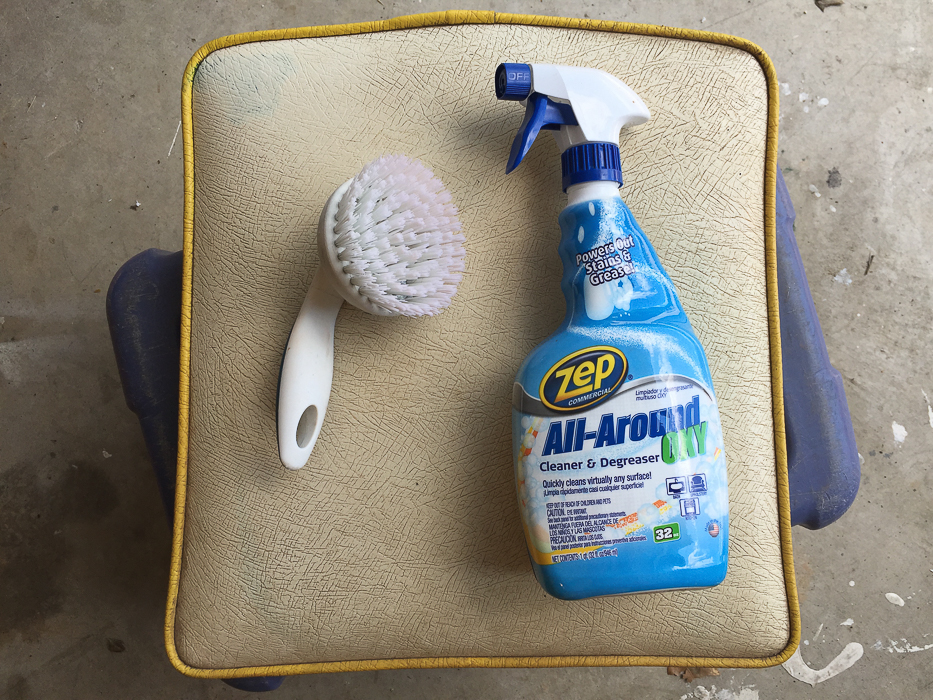
Side note: There might be other cleaners that work, but this was the best one I found after trying a few. This post is NOT sponsored by Zep in any way, I was just amazed at how well their product worked and wanted to share with you.
Step 1.
You want to work in small sections, so first spray a section of part of the piece you are working on. With these cushions, I started with the top, fully cleaned it, then moved to the sides, cleaning each side completely before moving to the next one.
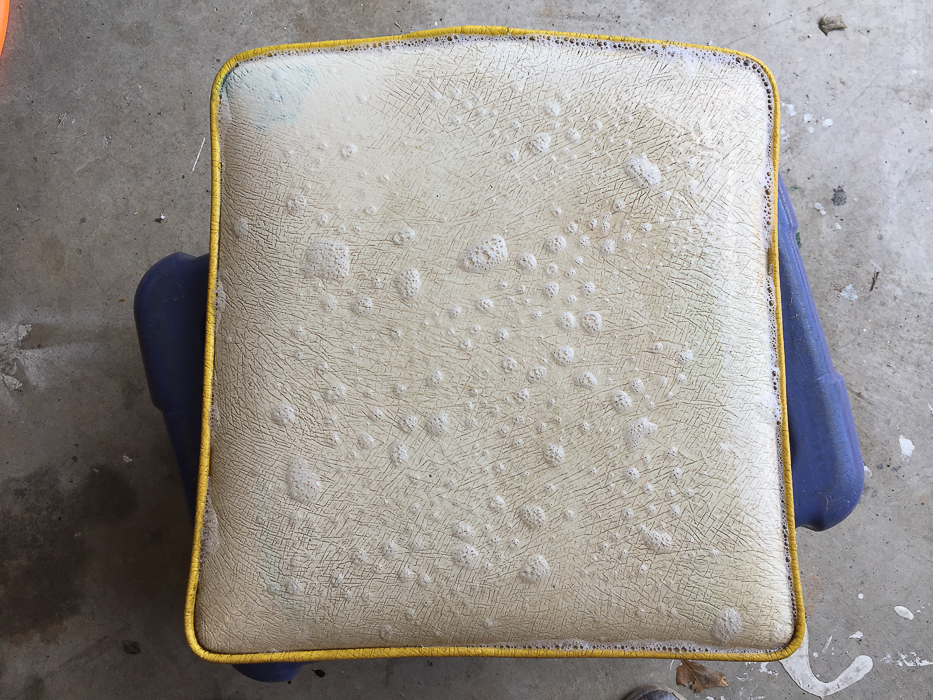
Let the cleaner sit on the upholstery for about 2-3 minutes.
Step 2.
Using your scrub brush, give the vinyl a good scrubbing. You should literally see the dirt, grease and grime start to lift away.

Step 3.
After you have scrubbed the section thoroughly, come back with a paper towel and wipe up all that gross junk.

With these cushions, it only took one round of cleaning per section. However, if your piece is really heavy with dirt and grime, it might take a couple of passes with the cleaner.

And because no cleaning post is good without a little side-by-side before and after action:
What’s even funnier is that I didn’t realize the vinyl was actually supposed to be white when I bought it, I knew it was dirty, but I just assumed it was more of a beige-y color with all the dirt.

I think the yellow piping is just too cute on these chairs. How could I not try to salvage those cushions?!

Any tricks you have for cleaning upholstery?
Want more shortcuts for cleaning? See these then…
How to Remove Rust and Polish Chrome – do not throw away rusty metal just yet! Try this first!
How to Clean Brass – who knew it was supposed to look like that?
Want to come back to this vinyl upholstery cleaning tip later? Just pin the image below!