Louvered doors are dated and a complete pain to paint. Try this DIY louvered closet door makeover to squash both those problems! You won’t believe how much bang for your buck you’ll get with this project!
As most of you know, I spent a large part of July busting ass to get the guest bedroom and bathroom inhabitable for Brandon and Caitlin when they came to visit. I did succeed in having everything painted and cleaned and looking pretty good by the time they got here, but there are still a few things to check off the list in each of those spaces before I’m completely done.
This little makeover though that I did on the closet door in the guest room is by far one of the best “bangs for your buck” that I tackled in there and really probably one of the best bangs for your buck I’ve ever done.

Can you believe that difference??? Ignore the odd paint job in the before picture – long story. I probably spent about $25 on this louvered door makeover – see, I told you – huge bang for your buck. And if you have even just a little bit of woodworking/cutting knowledge, then the project itself is pretty easy!
DIY Louvered Door Makeover
I didn’t want to paint all those slats.
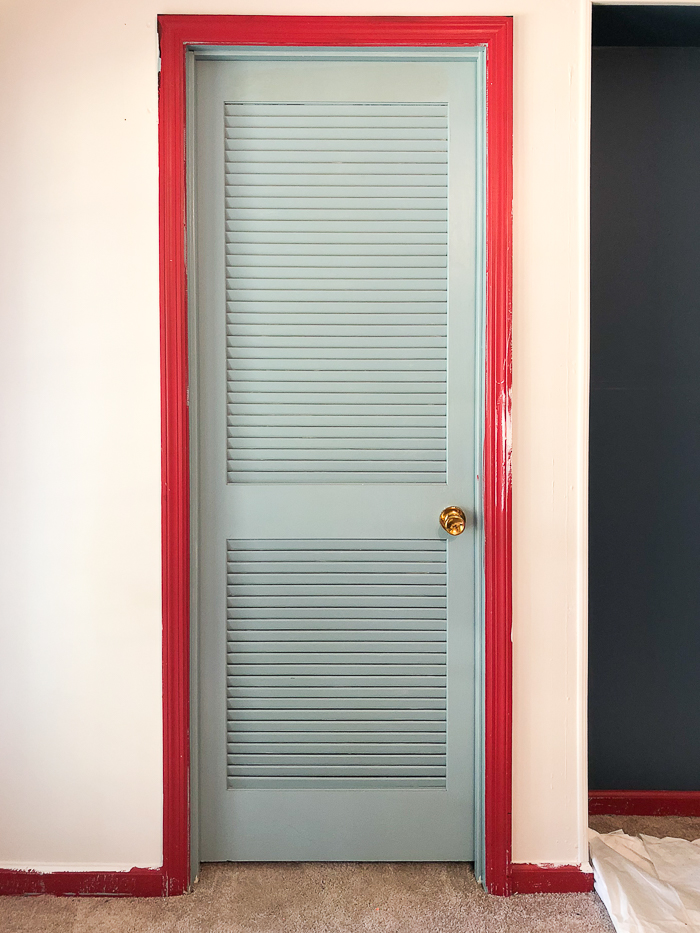
That’s exactly what sparked this closet door idea/makeover.
I went down to the guest room to take some measurements, plot out some ideas and I ended up in the floor staring at that damn door already tired from just thinking about how much of a pain it was going to be to paint. Yes, I could have used my paint sprayer on it, but that would have meant taking the door off the hinges, finding a place to set it up in the garage, taping and covering everything else in the garage so it wouldn’t get paint on it and then sweating my rear end off while painting it because it was July. In the south. And as I’ve told you before, August in the south is just a notch below hell- July isn’t too far behind, friends. That was a lot of work and sweating for just one door.
So then I started thinking about how I could get rid of those slats. Cutting them out crossed my mind, but then you’d have to find something to cover those empty spots. After closer inspection, I decided I could just cover the louvered part with luan and trim it out to look all purty.

And it worked.
How to Cover Louvered Doors
This post contains affiliate links for your shopping convenience. Click here to read my full disclosure policy.
Supplies and Tools Needed
- Luan Panel(s) – How many you need will depend on the size of the louvered areas on your door. Measure from edge to edge of where the louvered portions begin and end. Take that measurement to the store to determine what size and how many luan panels you need. We used two project size luan panels for our door.
- Decorative Moulding/Trim – Measure all sides of the louvered areas you’ll be covering. Add a foot or two to this measurement (in case you cut a piece too short – happens to the best of us ?) and buy that much trim.
- Circular Saw
- Miter Saw or Miter Box and Hand Saw
- Brad/Finish Nailer and/or Finish Nails and Hammer
- Caulk and Caulk Gun
- Spackling or Wood Filler
- Paint – The white on all the doors and trim throughout our house is Bit of Sugar by Behr.
Steps
Step 1
If you haven’t already done so, measure the louvered area(s) you wish to cover on your door. Cut the luan panels down to this size using a circular saw. If you want to make this even easier on yourself, then take your measurements to the hardware store with you and have them cut the panels for you!
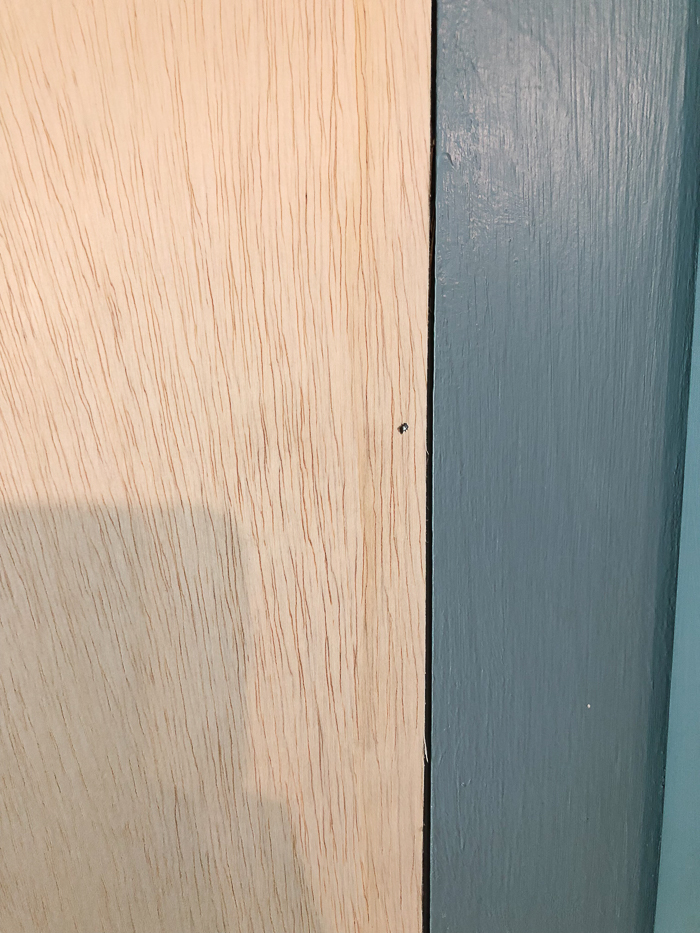
After the panels are cut, use either a finish nailer or finish nails and a hammer to attach the panel to the doors.

Put a nail in every corner, about 3-4 nails along the long edges and 2-3 more along the short edges.
As you put the nails in, you can slightly angle them toward the door frame or you can go through the slats themselves. Just check the back of the door and nip off any nails that stick through the back.
Step 2
Measure from edge to edge the top portion of the area you covered with luan. Cut your decorative trim a few inches longer than this measurement using a miter saw or miter box and hand saw, making 45 degree angle cuts at each end. I prefer to make these pieces longer then go back and cut off a little at a time until I get it just right. If you aren’t comfortable making angled cuts like that, then go with a flat trim instead of a decorative one and do straight cuts. This will give you more of a craftsman look on your door.
Install that piece of trim with your finish nailer once you get it to the right length. Repeat with the opposite end, then do the sides measuring from the longest to longest end of the trim you installed.

Step 3
Once you get all the trim cut and installed, fill the nail holes with spackling or wood filler and caulk all the seams and edges.

If you have any small gaps where your trim joins, these can usually be caulked and you’ll never be able to tell.
Step 4
Paint it all! I gave our door two coats of paint.

It also got a shiny new doorknob.

Also, remember to leave the door open for a few days to fully cure. Yours truly forgot about that and that’s why there’s that little tiny piece of blue paint rearing its ugly head from where a bit of the white stuck to the door frame. #duhjenna
What do you think? Pretty great bang for your buck, right?
You might also want to see…
DIY Painted and Patterned Doors – a great way to add interest with only paint!
How to Paint Trim and Doors – the ultimate guide to a professional paint job, but you did it!
Want to remember this post for later? Just pin the image below!

